
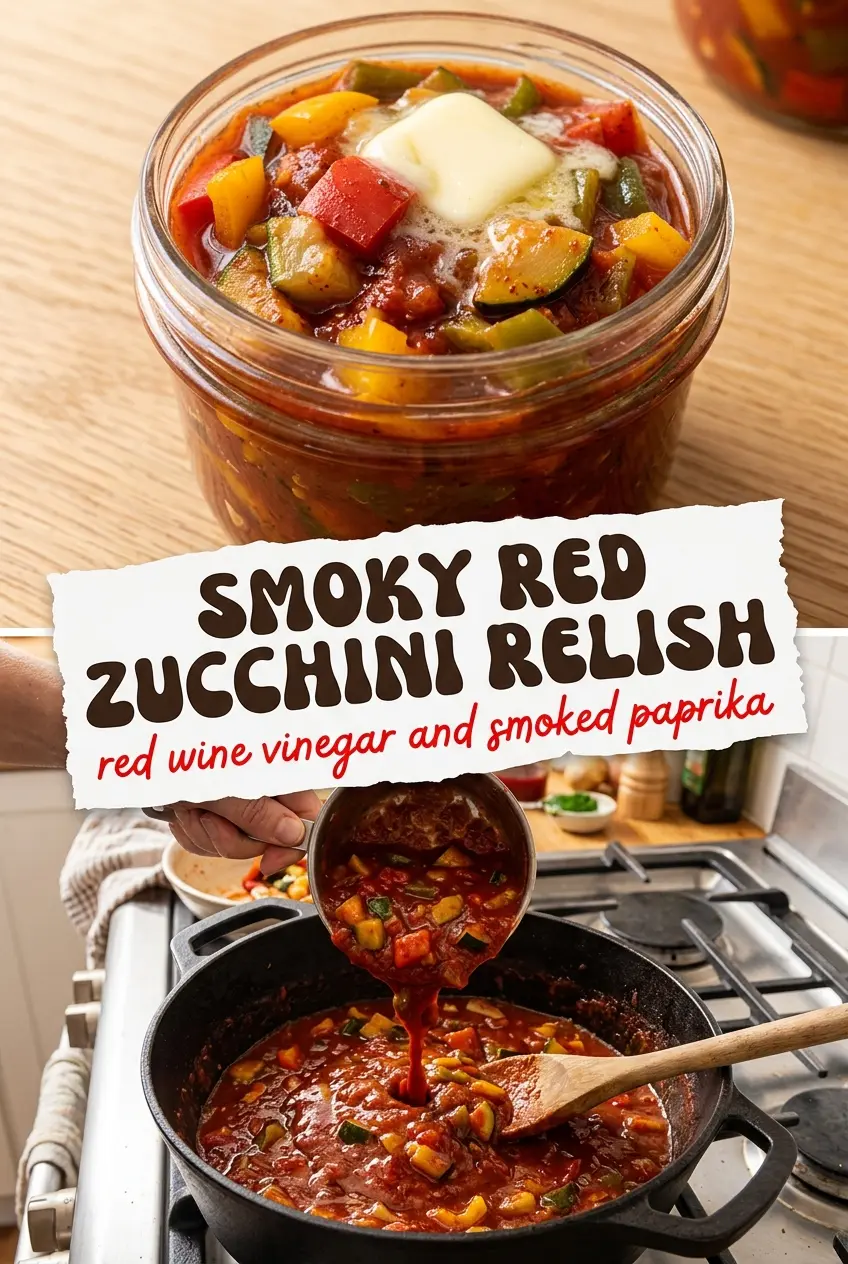
Bright, tangy zucchini relish has a way of turning a pile of summer vegetables into something you’ll reach for all year. The zucchini stays tender but still holds its shape, the peppers add crisp little bursts of color, and the vinegar gives the finished relish that sharp, clean bite that cuts through rich foods beautifully. This version leans deeper and smokier than the pale, sweet versions most people know, which makes it a better fit for burgers, sausages, cheese boards, and anything else that wants a punch of acidity.
The key here is drawing water out of the zucchini first and rinsing it well before it goes into the brine. That salt step isn’t busywork; it keeps the relish from turning watery in the jar. Red wine vinegar and smoked paprika give this batch a darker, more savory edge, while the mix of red and yellow peppers keeps the finished jars vivid instead of muddy.
Below, I’ll walk through the part that matters most: how to get the vegetables dry enough for a clean simmer, how long to cook the relish so it stays spoonable instead of soft, and what to expect during the two-week rest before opening a jar.
The zucchini stayed crisp enough that the relish didn’t turn mushy, and the red wine vinegar gave it a deeper bite than the sweet relish I’m used to. I opened a jar after two weeks and it was perfect on pulled pork sandwiches.
Save this zucchini relish for burgers, hot dogs, and cheese boards when you want a smoky, bright condiment with real color.
The Salt Cure That Keeps Zucchini Relish From Turning Watery
Zucchini carries a lot of water, and that’s the main reason homemade relish sometimes ends up thin in the jar and dull on the plate. The salt pull changes that before the vegetables ever hit the pot. Once the zucchini and onion sit, they release enough moisture that the relish can cook down into a clean, glossy mixture instead of a soupy one.
Rinsing and draining well matters just as much as the salting. If the vegetables go into the vinegar still salty enough to sting, the final relish tastes harsh instead of balanced. The goal is vegetables that are seasoned, not brined. You’re after a mix that looks dry in the strainer but still feels lightly supple when you grab a handful.
The other trap is overcooking. Ten to twelve minutes is enough for the vegetables to soften slightly and take on the vinegar, but not so long that the peppers fade into mush. You want the relish to look lively in the jar, with distinct bits of zucchini and pepper still visible.
What Each Ingredient Is Actually Doing in This Relish

- Zucchini — This is the body of the relish, but it needs the salt step to keep its texture. Smaller zucchini are firmer and less seedy, so they hold up better than oversized ones.
- Red onion — Adds sharpness and a little purple-red color to the jar. Yellow onion works in a pinch, but red onion gives the finished relish a cleaner look and a slightly brighter bite.
- Red and yellow bell peppers — These are there for color, crunch, and sweetness. Using both makes the relish look vivid instead of flat, and that mix also balances the vinegar better than using only one color.
- Red wine vinegar — This gives the relish a deeper, rounder tang than white vinegar. If you swap in white vinegar, the relish will taste sharper and look lighter.
- Smoked paprika — This is what pushes the flavor toward barbecue relish instead of plain sweet pickle relish. Regular paprika will work, but it won’t give the same depth.
- Mustard seed and coriander seed — These whole spices simmer into the brine and give the relish that classic pickled backbone. If you only have ground versions, the flavor will be less clean and the jar will look cloudier.
- Cayenne — Just enough to keep the relish from tasting flat. You can reduce it, but skipping it entirely makes the sweetness and vinegar read louder.
Building the Brine Before the Vegetables Go Back In
Salting and Draining the Zucchini
Toss the diced zucchini, onion, and peppers with the kosher salt until everything looks lightly coated, then let the mixture sit for the full two hours. You’ll see liquid pool in the bowl as the salt pulls moisture out. That liquid needs to go away, not back into the pot. Rinse the vegetables well in a colander, then let them drain until they stop dripping; if they’re wet, the vinegar gets diluted and the relish turns loose.
Cooking the Vinegar and Spices
Bring the vinegar, sugar, and spices to a full boil before you add the vegetables. That bloom wakes up the mustard seed, coriander, and paprika so the finished relish tastes seasoned all the way through instead of just sweet and sour. Stir until the sugar disappears and the mixture smells sharp and fragrant. If the sugar is still grainy when the vegetables go in, the sauce won’t taste as balanced.
Simmering to the Right Texture
Add the drained vegetables and simmer for 10 to 12 minutes, stirring now and then. The vegetables should look glossy and softened at the edges, but the peppers should still have some shape. If the relish starts to look jammy or the zucchini goes translucent and soft, it’s gone too far. Pull it off the heat while it still looks a little loose, because it thickens slightly as it cools.
Jarring and Waiting It Out
Ladle the hot relish into sterilized jars and process them in a water bath for 10 minutes if you’re canning for shelf storage. The color will deepen as the jars sit, which is normal. Once a jar is opened, the flavor needs about two weeks to settle and round out. That waiting period matters; right after canning, the vinegar can taste louder than the rest of the relish.
Three Ways to Make This Relish Fit What You’ve Got
Make it less sweet
Cut the sugar back by a quarter cup if you want a sharper, more savory relish. The texture will stay the same, but the vinegar and spices will come forward more strongly, which works well if you’re serving it with rich meats.
Use white vinegar instead of red wine vinegar
White vinegar gives you a brighter, cleaner pickle flavor and a lighter color. What you lose is depth, so the relish will taste more like classic sweet relish and less like a smoky barbecue condiment.
Make it vegetarian-friendly and gluten-free by default
This relish already fits both of those needs as written, as long as your vinegar and spices are certified gluten-free if that matters in your kitchen. It’s an easy condiment to keep on hand when you need something punchy for beans, grain bowls, or grilled vegetables.
Skip the water bath for short-term storage only
If you’re not canning, keep the hot relish in clean jars in the fridge and use it within a few weeks. The flavor is still excellent, but you lose the shelf-stable pantry storage that comes from processing the jars properly.
Storage and Reheating
- Refrigerator: Store opened jars in the fridge for up to 3 months. The texture stays crisp-tender, though the color deepens over time.
- Freezer: Freezing isn’t the best choice here. The zucchini softens too much after thawing, and the relish loses the clean bite that makes it useful.
- Reheating: No reheating needed. Serve it cold or at room temperature; warming it dulls the crunch and makes the vinegar taste flatter.
Questions I Get Asked About This Recipe
Zucchini Relish
Ingredients
Equipment
Method
- Toss finely diced zucchini, finely diced red onion, red bell pepper, finely diced, and yellow bell pepper, finely diced with kosher salt, then let sit for 2 hours. The vegetables should look slightly wilted and watery as they release liquid.
- Rinse the salted vegetables and drain very well. Keep draining until no excess brine clings to the vegetables.
- Bring red wine vinegar, sugar, smoked paprika, mustard seed, coriander seed, black pepper, and cayenne to a boil in a Dutch oven. The surface should roll with steady bubbling.
- Add the drained vegetables and simmer for 10–12 min. The relish should turn glossy and the peppers should look tender-crisp.
- Ladle the hot relish into sterilized jars, leaving appropriate headspace. Wipe rims clean before sealing to prevent seal issues.
- Water-bath the jars for 10 min. The jars should spend the full time at a steady simmer with bubbles actively circulating.
- Rest the jars for 2 weeks before opening. Flavor will deepen and the texture will set for best results.