
Turkey and cheese cracker lunchables hit that sweet spot between fun and practical: crisp crackers, cool deli turkey, and little squares of cheese that stack neatly without sliding off in the lunchbox. The texture contrast is part of the appeal. You get salty, creamy, and crunchy in each bite, and the whole thing feels more like a lunch kids chose themselves than a meal packed for them.
The trick is cutting the turkey and cheese to fit the crackers instead of leaving them in loose folds. That small step keeps the lunchbox neat and makes the whole thing easier to eat without a mess. Whole grain or multigrain crackers hold up better than delicate ones, especially if the lunch sits for a few hours before it gets opened.
Below, I’ve included the simple prep rhythm that keeps everything crisp, plus a few ways to change it up if you’re packing for a picky eater, a bigger appetite, or a gluten-free lunchbox.
My kids loved building their own cracker stacks, and the cheese stayed in neat squares instead of getting squished in the lunchbox. It was packed in 10 minutes and still looked good by lunchtime.
Turkey and cheese cracker lunchables make lunchbox prep fast, neat, and kid-friendly without relying on packaged snacks.
The Little Detail That Keeps Homemade Lunchables from Getting Soggy
The biggest mistake with a DIY lunchable is letting the crackers sit next to anything moist for too long. Deli turkey carries more surface moisture than it looks like, and cheese can pick up condensation in a sealed container. Pack the crackers in their own section and keep the turkey and cheese in another, and the texture stays right until lunch.
Another thing that matters here is the type of cracker. Thin crackers taste fine at first, but they can go soft or crack under the weight of stacked turkey and cheese. A sturdier whole grain or multigrain cracker gives you that clean snap kids expect when they build their own little sandwiches.
What Each Ingredient Is Actually Doing in This Lunchbox
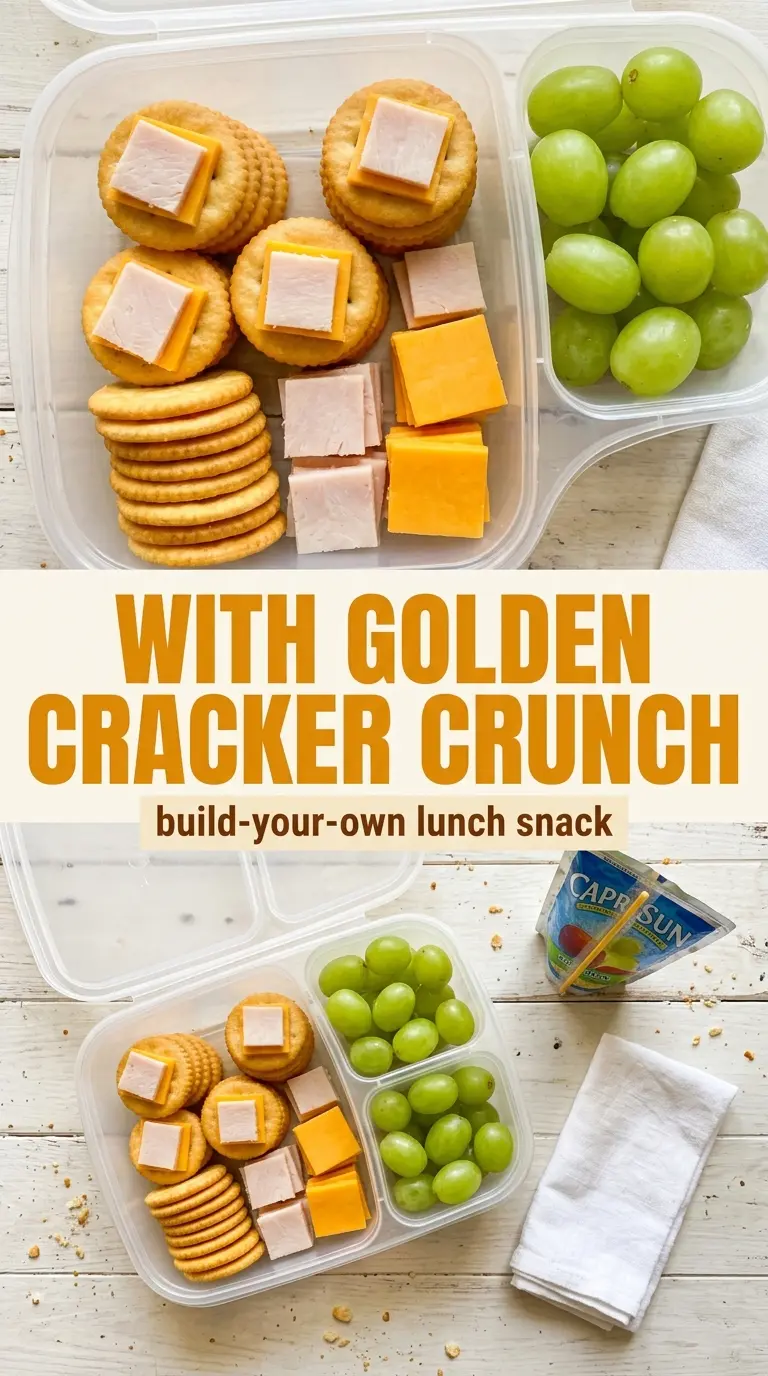
- Deli turkey — Sliced turkey gives the lunchbox its protein and salt, but the way you cut it matters more than the brand. Trim the slices into cracker-sized squares so they stack cleanly and don’t fold over the edges. If you buy thicker-cut turkey, it works fine, but it eats a little more like a sandwich filling than a tidy stack.
- Cheddar or American cheese — Cheddar gives a sharper bite, while American melts into a softer, milder chew that kids often prefer. Square-cut slices are worth the extra minute because they keep the lunchbox organized and make the crackers easier to build on. If you’re using a block of cheddar, slice it thin enough to bite through without dragging the crackers apart.
- Whole grain or multigrain crackers — These hold up better than delicate buttery crackers and bring enough structure to support turkey and cheese. Cheap crackers are fine here as long as they’re sturdy. Avoid anything too thin or flaky unless you’re packing and eating right away.
- Grapes or veggie sticks — This is the fresh, juicy part of the lunchbox that keeps the meal from feeling like a pile of snacks. Grapes add sweetness and work well with the salty turkey; veggie sticks bring crunch and a more balanced lunch. Pat washed grapes dry so excess moisture doesn’t migrate into the container.
Building the Lunchbox So Everything Stays Crisp
Cut the turkey and cheese before you pack anything
Lay the turkey slices flat and cut them into squares that match the crackers, then do the same with the cheese. That one step turns the lunch from random pieces into a real build-your-own meal. If the pieces hang over the edges, kids usually end up tearing the crackers or leaving the lunch half-assembled.
Separate the wet from the dry
Put the crackers in one compartment, then keep the turkey, cheese, and produce in separate sections. The container matters less than the separation. Once moisture touches crackers, they go soft fast, and there’s no fixing that later.
Pack it cold and keep the build simple
Seal the container and refrigerate until it’s time to leave, then pack it straight from the fridge if you can. Cold cheese holds its shape better, and the turkey stays neat instead of curling. At lunch, kids can stack the pieces themselves, which is half the fun and keeps the crackers from getting crushed before they’re eaten.
How to Change This Lunchable for Different Eaters
Gluten-Free Crackers That Still Hold Up
Swap in a sturdy gluten-free cracker with a firm snap, not a rice cracker that shatters as soon as the turkey goes on top. The lunch still works well, but the brand matters more here because weak gluten-free crackers can go sandy or bend under the cheese.
Dairy-Free Version
Use a dairy-free cheese slice that can be cut into squares and held chilled. The texture won’t be exactly the same, but the lunchbox format still works because the crackers and turkey carry most of the structure. Choose a brand that slices cleanly instead of one that smears.
Make It More Filling
Add an extra slice of turkey or a second cheese layer for bigger appetites. That makes the stacks taller and more filling, but the crackers need to be sturdy enough to handle the added weight. If the lunch is for a teen, pack two small cracker sections instead of one large pile.
Storage and Reheating
- Refrigerator: Best within 1 day for the freshest crackers and cleanest texture. The turkey and cheese stay fine longer, but the crackers soften over time.
- Freezer: Don’t freeze this one. The crackers lose their texture and the cheese changes in a way that makes the lunch less appealing.
- Reheating: No reheating needed. Eat it chilled or at cool room temperature, and keep the crackers separate until serving so they stay crisp.
Answers to the Questions Worth Asking
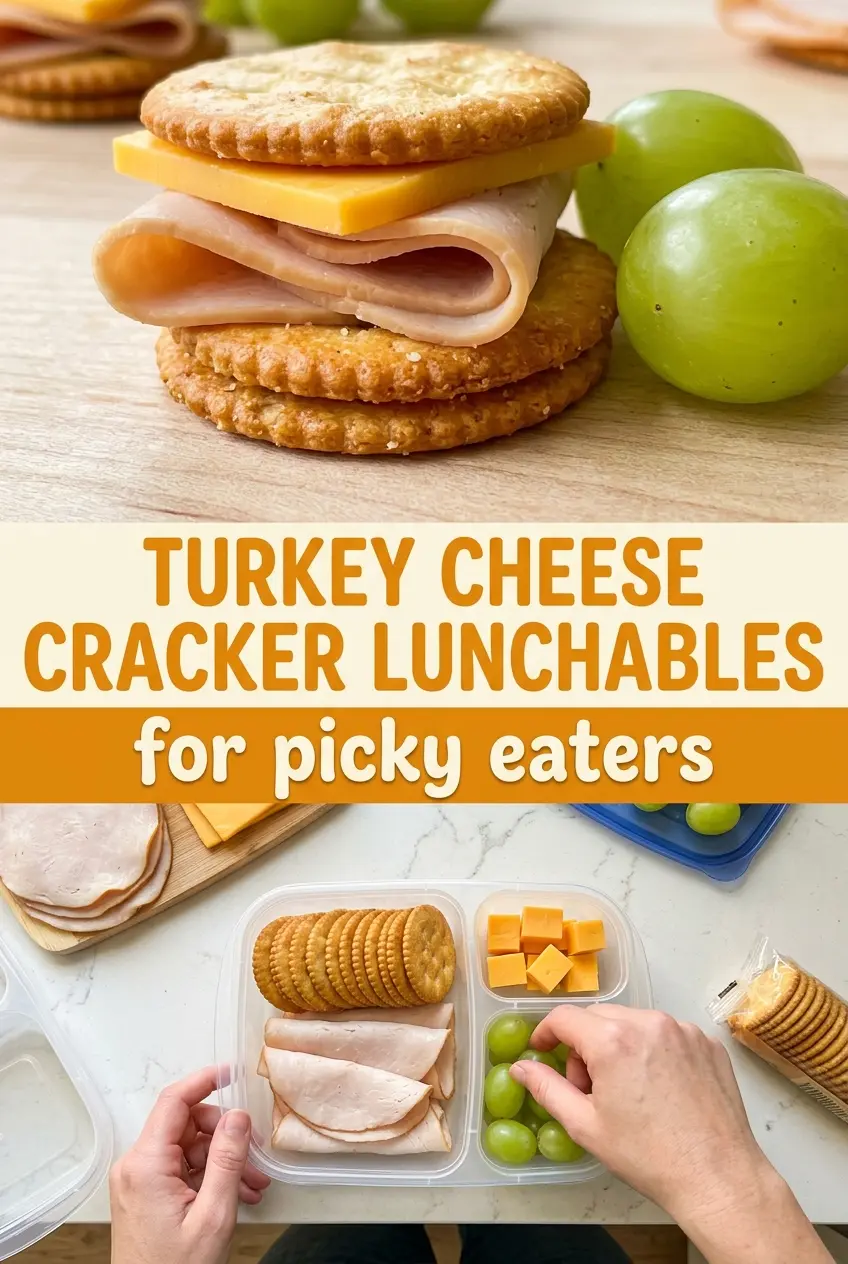
Turkey and Cheese Cracker Lunchables
Ingredients
Equipment
Method
- Cut the turkey and cheese slices into cracker-sized squares, so each piece matches the footprint of the crackers.
- Cut the turkey and cheese pieces evenly for consistent stacking and quick assembly at lunchtime.
- Arrange the crackers in one section of a lunchbox container.
- Layer the turkey and cheese squares in a separate section so kids can stack their own.
- Add grapes or veggie sticks to a third section for balance.
- Seal the container and refrigerate until ready to pack for lunch.
- Serve chilled, letting kids build their own cracker stacks.