
Burrito bowl meal prep works because every part pulls its weight. The rice stays fluffy, the seasoned meat brings enough richness to keep lunch satisfying, and the beans, corn, and fresh toppings keep the containers from tasting flat by day three. It’s the kind of prep I actually want to reach for on a busy afternoon, not the kind that gets shoved behind the yogurt and forgotten.
The trick is building layers that hold up in the fridge. The meat needs to be simmered until the seasoning clings instead of sitting watery at the bottom of the pan, and the rice should be fully cooked and cooled before you pack it so it doesn’t turn gummy. I also like keeping the salsa and cheese separate until serving; that tiny step keeps the vegetables brighter and the whole bowl from getting soggy.
Below, I’ve included the small details that make these bowls worth repeating, plus the swaps I use when I want to stretch the batch, lighten it up, or change the flavor without starting from scratch.
I packed these for four lunches and they held up perfectly. The seasoned turkey thickened up instead of getting soupy, and the salsa on top kept everything tasting fresh even on day four.
Burrito Bowl Meal Prep is the kind of lunch that actually holds up all week — grab it when you need something filling, budget-friendly, and ready fast.
The Trick to Meal Prep Bowls That Don’t Turn Watery by Day Three
The enemy here is trapped moisture. Warm rice, juicy tomatoes, and freshly cooked meat can all sweat once they’re packed into a container, and that liquid has nowhere to go. The fix is simple: let the meat and rice cool before assembling, and keep the wet toppings in their own little zone until the last minute.
The seasoning also matters more than people think. If the taco seasoning is just sprinkled over browned meat without enough simmering time, it tastes dusty instead of integrated. A small splash of water gives the seasoning something to dissolve into, then the heat reduces it into a coating that clings to every bite.
What Each Ingredient Is Actually Doing in This Bowl
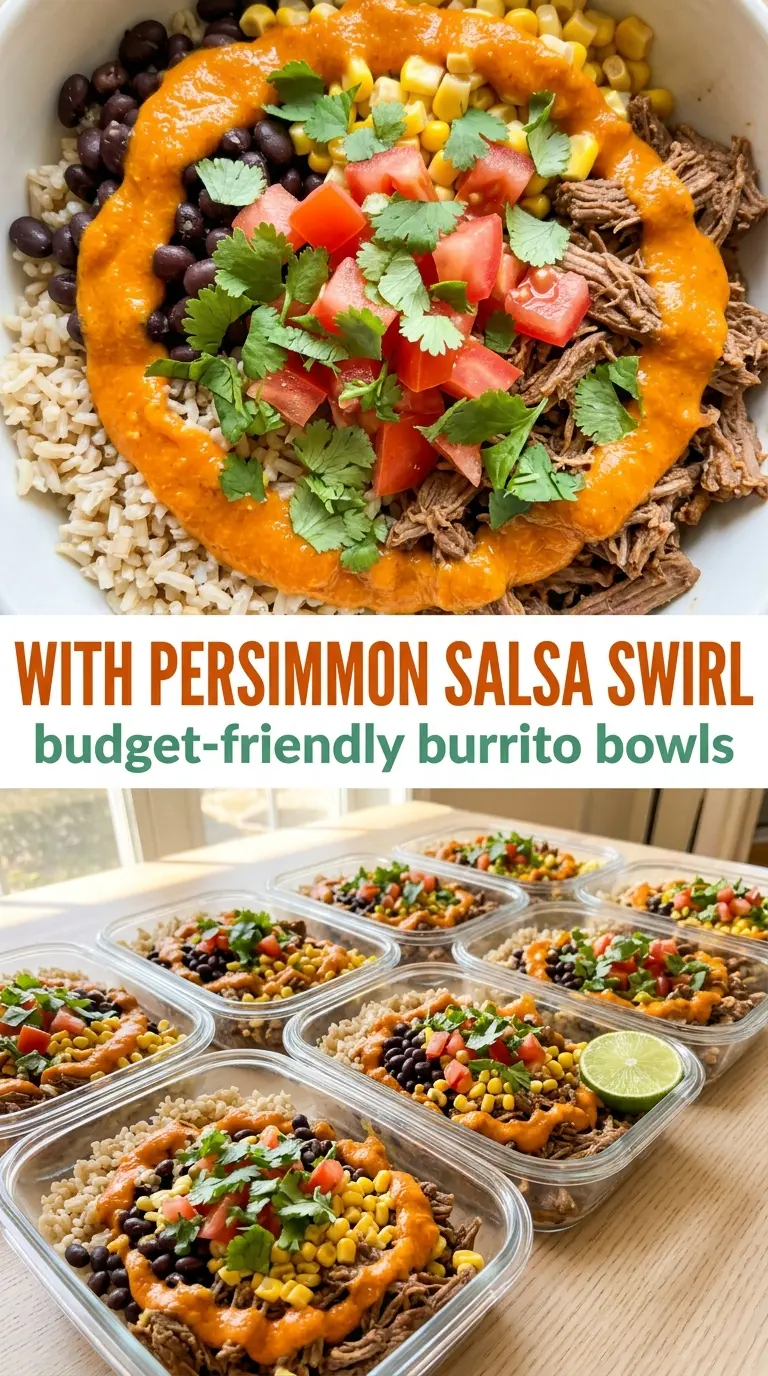
- Ground turkey or beef — Turkey keeps the bowls lighter, while beef gives you a deeper, richer flavor. Either one works as long as you brown it well before adding the seasoning; gray, steamed meat makes the whole bowl taste dull. If you want to stretch the batch, use half meat and half finely chopped mushrooms.
- Taco seasoning — This is where the whole bowl gets its personality. Store-bought seasoning is fine here because it’s designed to cling to meat and hold up over several days. If yours is salty, add a little less and let the beans and salsa bring the rest.
- Rice — Rice is the base that keeps the bowl filling without getting too heavy. Long-grain rice stays fluffier than short-grain varieties, which matters once the bowls sit in the fridge. Cool it slightly before packing so the steam doesn’t soften everything underneath.
- Black beans and corn — These add body, fiber, and a little sweetness that balances the seasoning. Canned beans are perfectly fine; just drain and rinse them so the brine doesn’t muddy the flavor. Frozen corn works too, and I like it better than canned because it keeps a firmer bite.
- Tomatoes, red onion, and cilantro — These fresh toppings wake the bowl up right before serving. Dice the tomatoes small so they distribute evenly instead of sliding to one side of the container, and soak the onion in cold water for a few minutes if you want a sharper edge softened a bit.
- Cheese and salsa — Keep both for the end. Cheese stays better when it’s not buried under warm ingredients, and salsa is the quickest way to add moisture back without making the whole bowl soggy.
Building the Bowls in the Right Order
Brown the Meat First
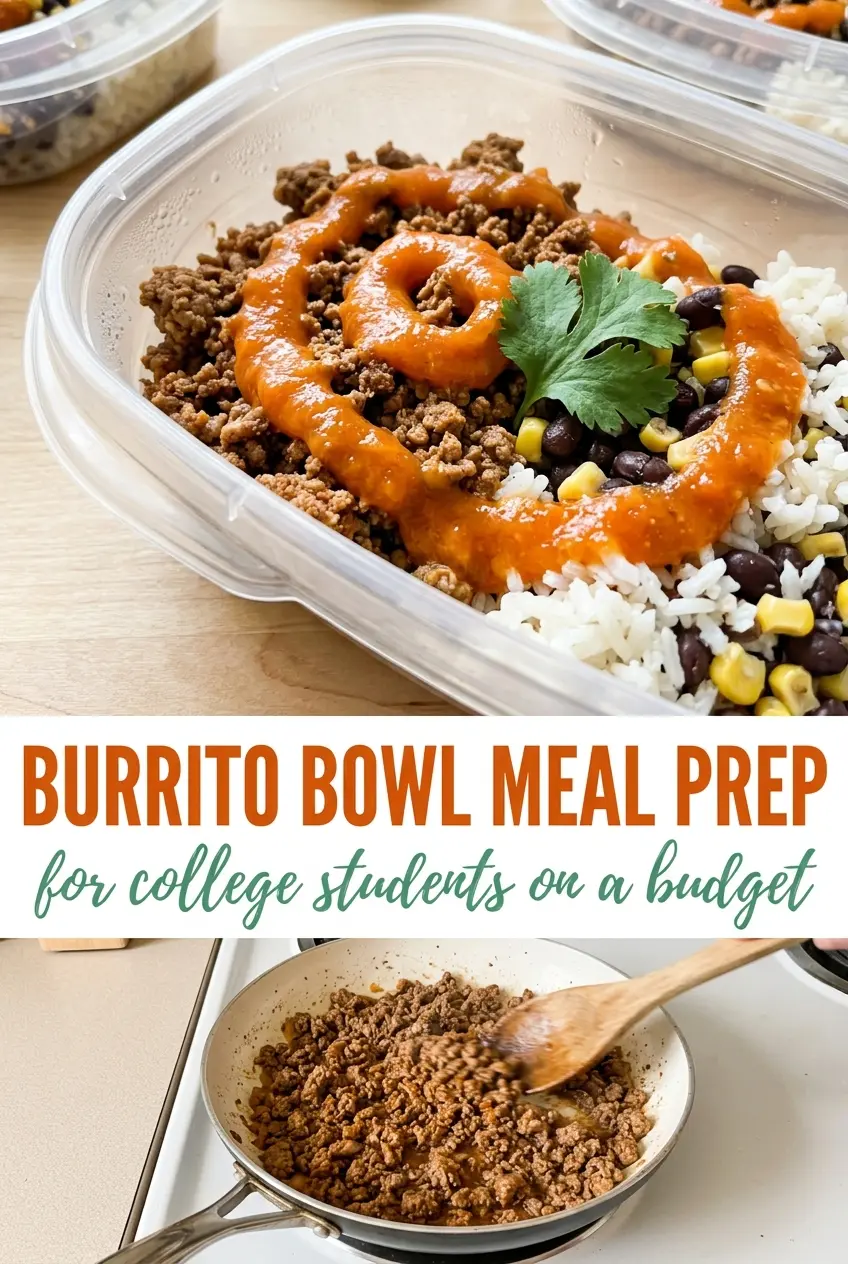
Cook the ground turkey or beef in a large skillet over medium heat until it’s no longer pink and the browned bits start forming on the bottom of the pan. That browning matters because it gives the meat a savory base before the seasoning goes in. If there’s a lot of liquid in the pan, keep cooking until it evaporates; seasoning wet meat is how you end up with a soupy filling.
Turn Seasoning Into a Coating
Add the taco seasoning and water, then stir and simmer until the liquid reduces and the meat looks glossy, not wet. The mixture should settle into the pan in thick clumps, not pool around the edges. If it still looks loose after a few minutes, keep it on the heat a little longer; that extra reduction is what keeps the meat from leaking into the rice.
Pack the Containers Like a Lunch You’ll Want to Eat
Spoon the rice into the bottom of each container, then top with the seasoned meat, black beans, corn, tomatoes, onion, and cilantro. Use the rice as a barrier between the meat and the softer toppings so the juices don’t run everywhere. Add cheese and salsa just before eating, because both taste better when they’re fresh and cold instead of buried under a full day of fridge humidity.
What to Change When You Need a Different Kind of Bowl
Make It Dairy-Free Without Losing the Finish
Skip the cheese and lean on salsa, avocado, or a spoonful of dairy-free crema at serving time. You’ll lose the salty richness of shredded cheese, but the bowls stay bright and satisfying, especially if the meat is well seasoned.
Use Chicken or Plant-Based Crumbles
Ground chicken works the same way as turkey, while plant-based crumbles can stand in for the meat with almost no change to the process. Just brown them enough to pick up a little color before adding the seasoning, or they’ll taste flat against the rice and beans.
Turn It Into a Higher-Protein Bowl
Use extra meat, reduce the rice a little, or add more black beans if you want the bowls to keep you full longer. The beans add protein and fiber without changing the texture much, which makes them the easiest way to bulk up the prep.
Storage and Reheating
- Refrigerator: Up to 4 days. The rice stays in good shape, but the fresh toppings soften as the days go on.
- Freezer: The meat, rice, beans, and corn freeze well for up to 2 months. Leave off the fresh vegetables, cheese, and salsa until after reheating.
- Reheating: Microwave the bowl until hot, then add cold toppings after warming. If the rice seems dry, a teaspoon of water before reheating helps bring the steam back without making the bowl gummy.
Answers to the Questions Worth Asking
Burrito Bowl Meal Prep
Ingredients
Equipment
Method
- Heat a large skillet over medium heat and cook the ground turkey or beef until browned, stirring occasionally, for 10-12 minutes, until no pink remains. Visual cue: the meat should look evenly browned across the pan.
- Stir in the taco seasoning and water, then simmer until the mixture thickens slightly, for 5-7 minutes over medium heat. Visual cue: the liquid should reduce enough to lightly coat the meat.
- Cook the rice according to package directions so it’s fluffy, then set aside until warm or room temperature, for about 10-15 minutes. Visual cue: the grains should separate instead of clumping.
- Divide the cooked rice evenly among meal prep containers. Visual cue: each container should have a similar rice layer thickness.
- Top each container with the seasoned meat, black beans, corn, diced tomatoes, red onion, and chopped cilantro. Visual cue: ingredients should be layered and visible at the top without compressing.
- Add shredded cheese and salsa just before serving, then refrigerate containers for up to 4 days. Visual cue: topping stays bright and distinct instead of soaking into the rice.