
Silver dollar pancakes earn their keep because they stay tender, stack neatly, and taste just as good warm as they do at room temperature. The small size gives you more golden edges per bite, which is exactly why these disappear fast once they hit a lunchbox. A light drizzle of honey ties everything together without making them soggy, so you get that soft, fluffy center and a little sweetness in every piece.
The batter is straightforward, but the details matter. A quick mix keeps the pancakes light instead of dense, and the melted butter goes in last so it coats the batter without weighing it down. Cooking them one tablespoon at a time means they set quickly and flip cleanly, which is what keeps the batch moving in just 10 minutes.
Below, I’ve included the small tricks that make these hold up for packing, plus a few easy ways to change the flavor if you want to switch up the lunchbox rotation.
I loved how these stayed fluffy even after cooling. I packed them with a little honey on the side, and the pancakes didn’t get gummy like some lunchbox recipes do.
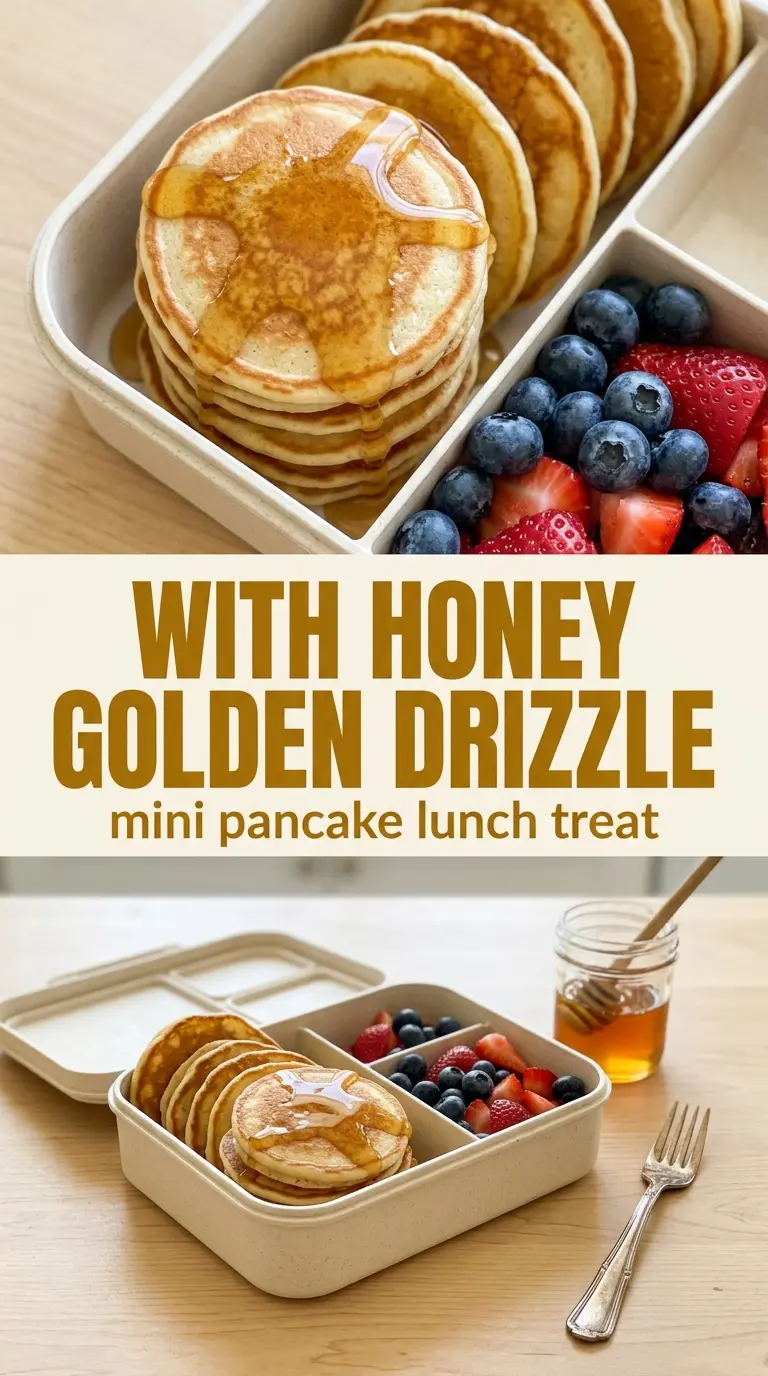
Silver Dollar Pancake Lunchbox packs up soft, fluffy mini pancakes with that honey finish that keeps every bite sweet and portable.
The Tiny Pancake Trick That Keeps Lunchbox Stacks Soft
Mini pancakes sound simple, but size changes everything. A full-size pancake traps steam longer, which is great on a plate but not great in a lunchbox. Silver dollars cool faster, hold their shape better, and give you enough surface area for light browning without turning dry. That balance is what keeps them tender after they’ve sat for a bit.
The other place people go wrong is overmixing. Once the flour disappears, stop stirring. A few small lumps are fine and usually mean the pancakes will stay lighter. If you beat the batter smooth, the pancakes can turn rubbery instead of fluffy, and that problem shows up even more once they cool.
What Each Ingredient Is Actually Doing in This Dish
- All-purpose flour — This gives the pancakes their structure. You need enough to hold the little rounds together, but not so much that they turn bready. If you swap in a 1:1 gluten-free flour blend, the texture stays close, though the pancakes may be a touch more delicate when flipping.
- Granulated sugar — Just enough to lightly sweeten the batter and encourage browning. It’s not there to make these taste like dessert, but it does help the edges color nicely in a skillet.
- Baking powder — This is what gives you the lift. Fresh baking powder matters here because old powder can leave you with flat pancakes that look cooked but feel heavy in the center.
- Milk — Milk loosens the batter and keeps the crumb tender. Whole milk gives the richest result, but 2% works well too. Non-dairy milk can work in a pinch, though the pancakes may brown a little differently.
- Egg — The egg binds everything together and helps the pancakes puff. A flax egg won’t give the same height, so it’s not the best swap if you want that classic soft, springy texture.
- Vanilla extract — This rounds out the flavor and makes the pancakes taste finished, even with just a honey drizzle. Use real vanilla if you have it; the flavor shows through in such a simple batter.
- Melted butter — Butter adds richness and helps keep the pancakes from tasting dry after they cool. Stir it in last so it coats the batter without making it greasy.
- Honey — This is the finishing touch, not an afterthought. A light drizzle adds sweetness without soaking the pancakes, which is what makes them pack well.
Getting the Batter and Skillet to Work Together
Mix Just Until the Flour Disappears
Whisk the dry ingredients first so the baking powder is evenly distributed, then add the milk, egg, and vanilla. Stop as soon as the batter comes together. If you keep whisking past that point, you develop too much gluten and the pancakes turn chewy instead of soft. The batter should look thick but still pour off a spoon in ribbons.
Use a Light Hand With the Heat
Set the skillet over medium heat and let it warm fully before you add the batter. If the pan is too hot, the outsides brown before the centers set, which is a common reason mini pancakes go gummy inside. A lightly greased surface is enough; too much fat can make the pancakes spread and fry instead of cook evenly.
Flip When the Tops Start to Set
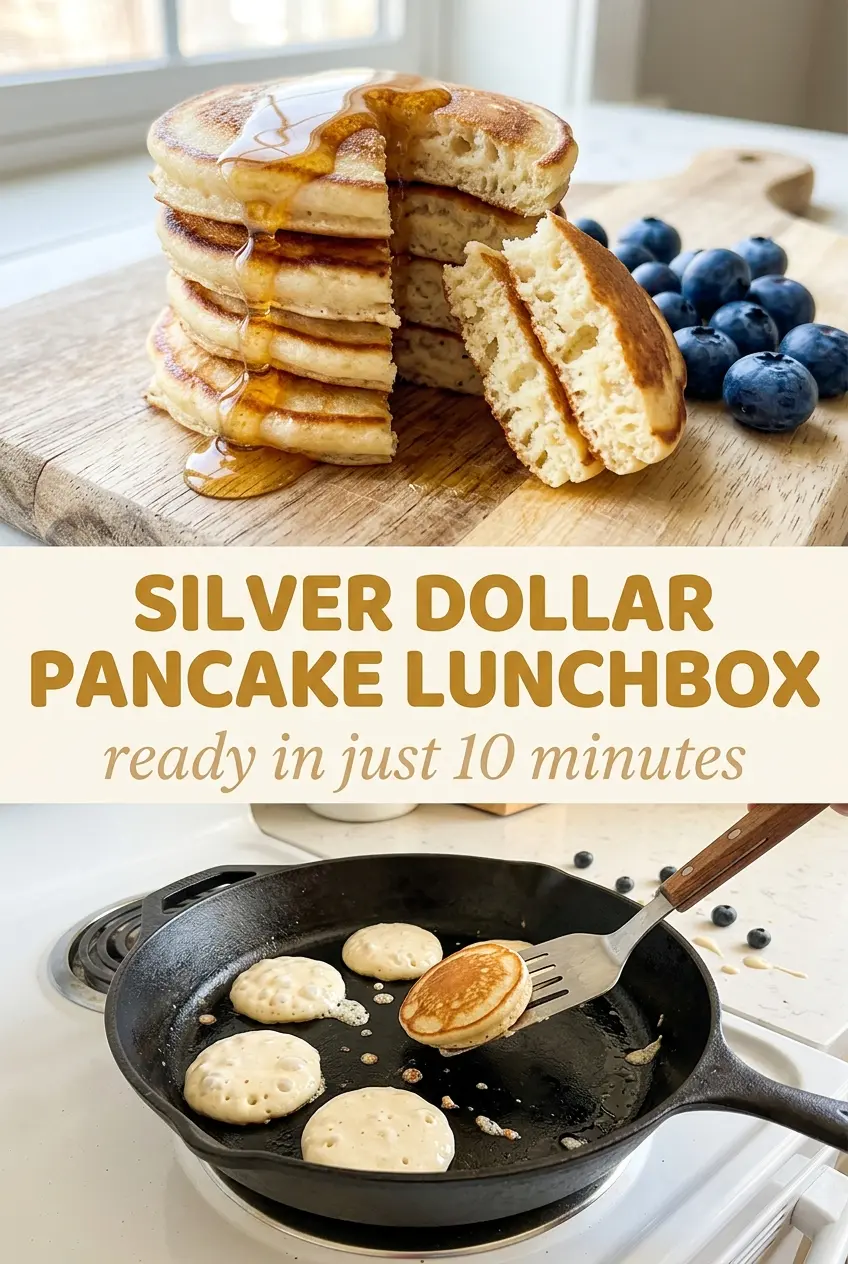
Each pancake is ready to turn when you see bubbles on top and the edges lose their wet shine. Don’t wait for the tops to dry out completely or they’ll overcook on the first side. Mini pancakes cook fast, often in less than a minute per side, so stay close to the pan. The goal is a pale golden base with a soft, springy center.
How to Adapt These Little Pancakes for Different Lunchboxes
Dairy-Free Version
Use an unsweetened non-dairy milk and replace the butter with melted coconut oil or a neutral oil. The pancakes will still be soft, but the flavor will be a little less rich, so the vanilla matters more here.
Gluten-Free Swap
A 1:1 gluten-free baking blend works well in place of the all-purpose flour. The pancakes may need an extra 30 seconds on the first side to set, and they’re best flipped once the edges look firm, not early.
Make Them a Little More Filling
Add a handful of mini chocolate chips or blueberries after the batter hits the pan. That keeps the mix-ins evenly distributed and stops the batter from getting streaky or heavy before it cooks.
Storage and Reheating
- Refrigerator: Store cooled pancakes in an airtight container for up to 4 days. They stay soft, though the edges lose a little of their fresh skillet texture.
- Freezer: These freeze well. Lay them in a single layer until firm, then pack them in a freezer bag with parchment between layers so they don’t stick.
- Reheating: Warm them in a toaster oven or skillet over low heat. The microwave works, but too much time there makes them rubbery, which is the fastest way to ruin the fluffy texture.
Questions I Get Asked About This Recipe
Silver Dollar Pancake Lunchbox
Ingredients
Equipment
Method
- Whisk together the flour, sugar, and baking powder in a large bowl until evenly combined.
- Whisk in the milk, egg, and vanilla extract until just combined, stopping as soon as no dry streaks remain.
- Stir in the melted butter until the batter looks smooth and slightly thick.
- Heat a lightly greased skillet over medium heat.
- Pour 1 tablespoon of batter per pancake onto the skillet, spacing them so they don’t touch.
- Cook until bubbles form on top, then flip and cook for another minute until golden.
- Let the pancakes cool, then drizzle with honey.
- Pack the pancakes into a lunchbox container for easy grab-and-go servings.