
Sweet peach and pear salsa lands in that sweet spot between fresh fruit brightness and the kind of savory heat that keeps you going back for another chipful. The peaches bring a soft, fragrant sweetness, the pears add body without turning mushy, and the tomatoes keep it grounded enough to work as a real salsa instead of a fruit chutney pretending otherwise. When it’s done right, the jar looks almost jewel-toned, with little pieces of pepper and onion suspended in a glossy, spoonable base.
The trick is keeping the fruit intact long enough to hold texture after canning. That starts with peeling the peaches and pears so the skins don’t curl up in the jar, then draining the tomatoes so the salsa doesn’t turn watery after it simmers. Honey smooths the edges, balsamic gives it depth, and a little mint lifts the whole thing at the end without making it taste like dessert.
Below, I’m walking through the parts that matter most: how to keep the salsa from thinning out, which ingredients really shape the final flavor, and what to do if you want to dial the heat up or down before it goes into the jars.
The salsa thickened up beautifully and didn’t turn watery after processing. I loved that the peaches stayed soft but not mushy, and the little bit of balsamic gave it a deeper flavor than regular fruit salsa.
Save this sweet peach and pear salsa for canning season, when you want a bright, spoonable jar with real fruit texture and a gentle kick.
The Reason This Salsa Stays Thick Instead of Turning Soupy
Most fruit salsas go watery because the tomatoes, peaches, and pears all give up liquid at the same time. If you skip the draining step, the pot has to boil off too much moisture, and by then the fruit is already broken down past the point where it still tastes fresh. This version avoids that by starting with drained tomatoes and fruit that’s been prepped so it holds shape through the simmer.
The other thing that keeps it balanced is restraint. Honey softens the acidity, but it doesn’t take over. Balsamic vinegar sounds unusual in salsa, yet a small amount gives the fruit a darker, rounder finish that keeps the jar from tasting flat after processing.
- Roma tomatoes — Their lower moisture content makes them the best choice here. If you use a juicier tomato, drain it longer than you think you need to, or the salsa will thin out while it cooks.
- Peaches and pears — These are the heart of the recipe, so use fruit that’s ripe but not collapsing. Under-ripe fruit stays too firm and doesn’t absorb the seasonings; overripe fruit melts and clouds the final texture.
- Jalapeños — Seeded peppers give clean heat without taking over the sweetness. If you want more bite, leave some seeds in one pepper instead of adding more peppers, which can make the salsa taste sharp.
- Honey — This rounds out the tomatoes and fruit without making the salsa taste syrupy. Maple syrup can work in a pinch, but it changes the flavor and makes the finished salsa taste heavier.
Building the Flavor Before the Jars Go In
Place the chopped peaches and pears in lemon juice first so they don’t brown while you finish the rest of the prep. That step does more than protect color; it also gives the fruit a cleaner, brighter edge once it’s cooked. Drain the tomatoes in a colander before they go in the pot, since all that extra liquid is the main reason homemade salsa turns thin after canning.
When the salsa goes into the pot, it should look loose at first. That’s normal. The fruit softens fast, and the mixture tightens a little as it simmers and the liquid evaporates. Taste near the end, not at the beginning, because the balance shifts once the onions mellow and the vinegar settles in.
Peeling the peaches and pears — The quick blanch-and-shock method keeps the flesh intact and the skins from floating around in the finished jars. If the fruit is firm, give it the full 30 seconds in boiling water before moving it to cold water; if it’s already soft, shorter is better so you don’t start cooking the edges.
Cilantro and mint — Cilantro gives the salsa its fresh, herbal backbone, while mint should stay in the background. Chop both finely so they disappear into the texture instead of reading like leafy bits in the jar.
Balsamic vinegar — Use a plain, good-quality balsamic, not a heavily sweetened glaze. You want the gentle depth and acidity, not extra syrupiness.
How to Cook the Salsa So the Texture Stays Chunky
Start with a loose mix, not a heavy stir
Combine everything in a large pot and stir just until the honey and vinegar are evenly distributed. At this stage the bowl will look wetter than the finished salsa, and that’s fine. The mistake is smashing the fruit while it’s still raw; that turns the final jars into puree instead of a chunky salsa with pieces you can actually see.
Simmer until the fruit softens at the edges
Bring the pot to a gentle simmer, then drop the heat enough that it bubbles lazily instead of boiling hard. You’re looking for softened peaches and pears with edges that still hold a little shape. A hard boil breaks the fruit apart and can make the tomatoes taste cooked-out instead of bright.
Ladle while it’s hot, then process right away
Use sterilized jars and fill them according to safe canning guidelines for your altitude. Work while the salsa is still hot so the texture stays even and the jars seal properly. If the salsa cools too much before filling, it thickens in the pot and the jars can trap uneven headspace.
Make It Spicier Without Losing the Fruit
Leave the seeds in one or two jalapeños, or swap one pepper for a serrano if you want sharper heat. The key is changing the pepper choice, not just adding more of everything, because too much heat starts to cover the peach and pear flavor you worked to keep.
Dairy-Free and Naturally Gluten-Free
This recipe already fits both of those needs as written, which is one reason it’s such a useful pantry project. Keep an eye on your vinegar and any canned ingredients you add elsewhere in the meal, since the salsa itself doesn’t need any swaps to stay accessible.
Swap the Herbs When You Want a Different Finish
If cilantro isn’t your thing, use flat-leaf parsley and keep the mint very light. The salsa will taste cleaner and less herbal, with the fruit moving to the front instead of the greens. Don’t replace both herbs with dried versions; dried herbs make the canned salsa taste dusty instead of fresh.
Storage and Reheating
- Refrigerator: Store opened jars in the fridge for up to 2 weeks. The salsa softens a little more after opening, but the flavor stays bright.
- Freezer: This is a canning recipe first, so I wouldn’t freeze the finished salsa if you’ve already processed it. For unprocessed leftovers, freezing works in airtight containers, though the fruit will turn softer when thawed.
- Reheating: Serve it cold or at room temperature. If you warm it, do it gently on the stove over low heat, because a hard reheat pushes the fruit into jam territory and dulls the fresh tomato flavor.
Questions I Get Asked About This Recipe
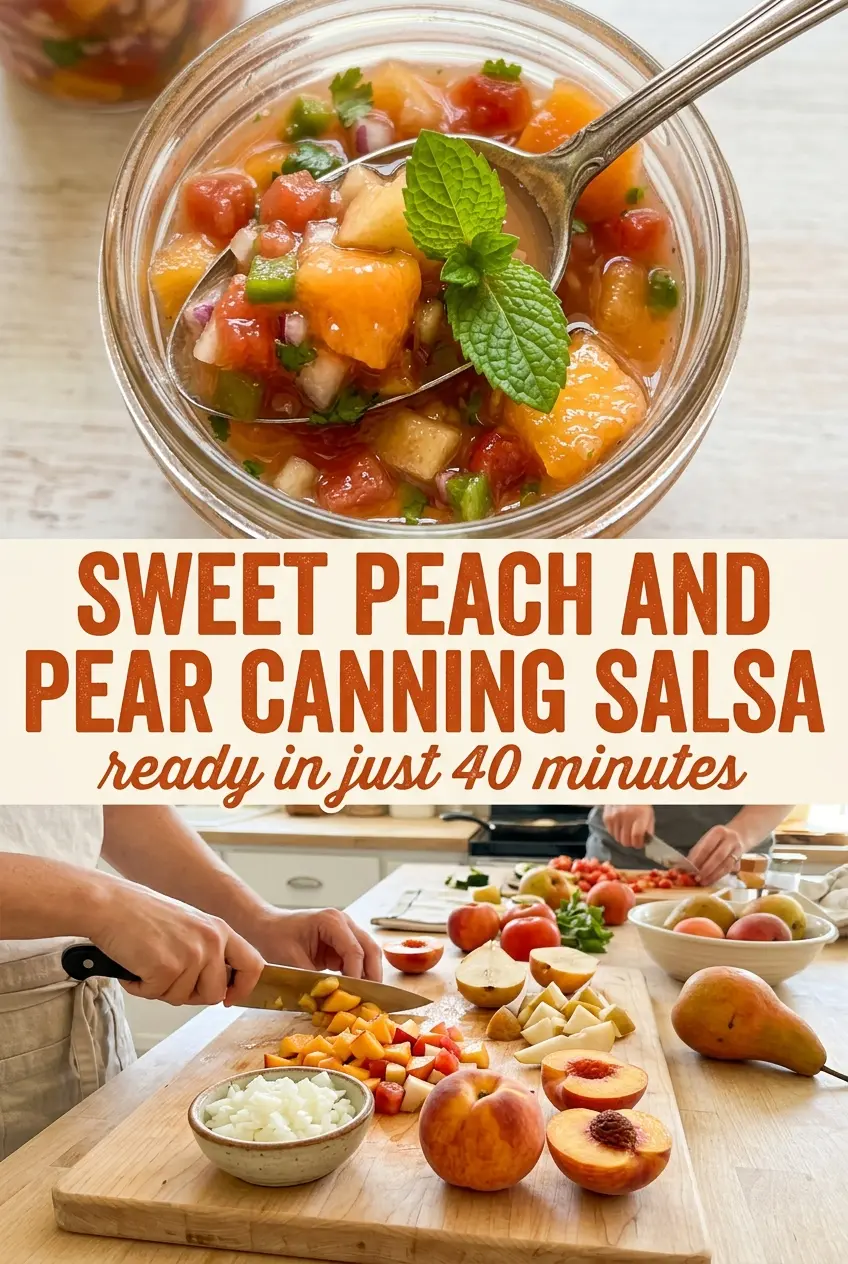
Sweet Peach and Pear Canning Salsa
Ingredients
Equipment
Method
- Peel the peaches and pears by dipping them in boiling water for 30 seconds, then transferring to cold water and slipping off the skins. Use this cue to loosen skins quickly and reduce waste.
- Place the chopped peaches and pears in a bowl of lemon juice to prevent browning. Let them sit briefly so the color stays vivid.
- Chop the tomatoes and drain in a colander to remove excess liquid. Keep draining until the flow slows for a thicker salsa.
- Chop the red bell pepper, red onion, jalapeño peppers, and cilantro. Aim for small, even pieces so everything distributes smoothly.
- Combine the tomatoes, peaches, pears, red bell pepper, onion, jalapeños, cilantro, honey, lemon juice and zest, balsamic vinegar, and mint in a large pot. Stir until honey and vinegar are evenly incorporated.
- Bring to a simmer and cook until the fruit softens and the flavors combine. Look for a glossy, cohesive texture as the fruit breaks down, usually within the remaining time.
- Ladle the hot salsa into sterilized jars and process according to safe canning guidelines for your altitude. Confirm the lids seal properly after processing and cooling.