
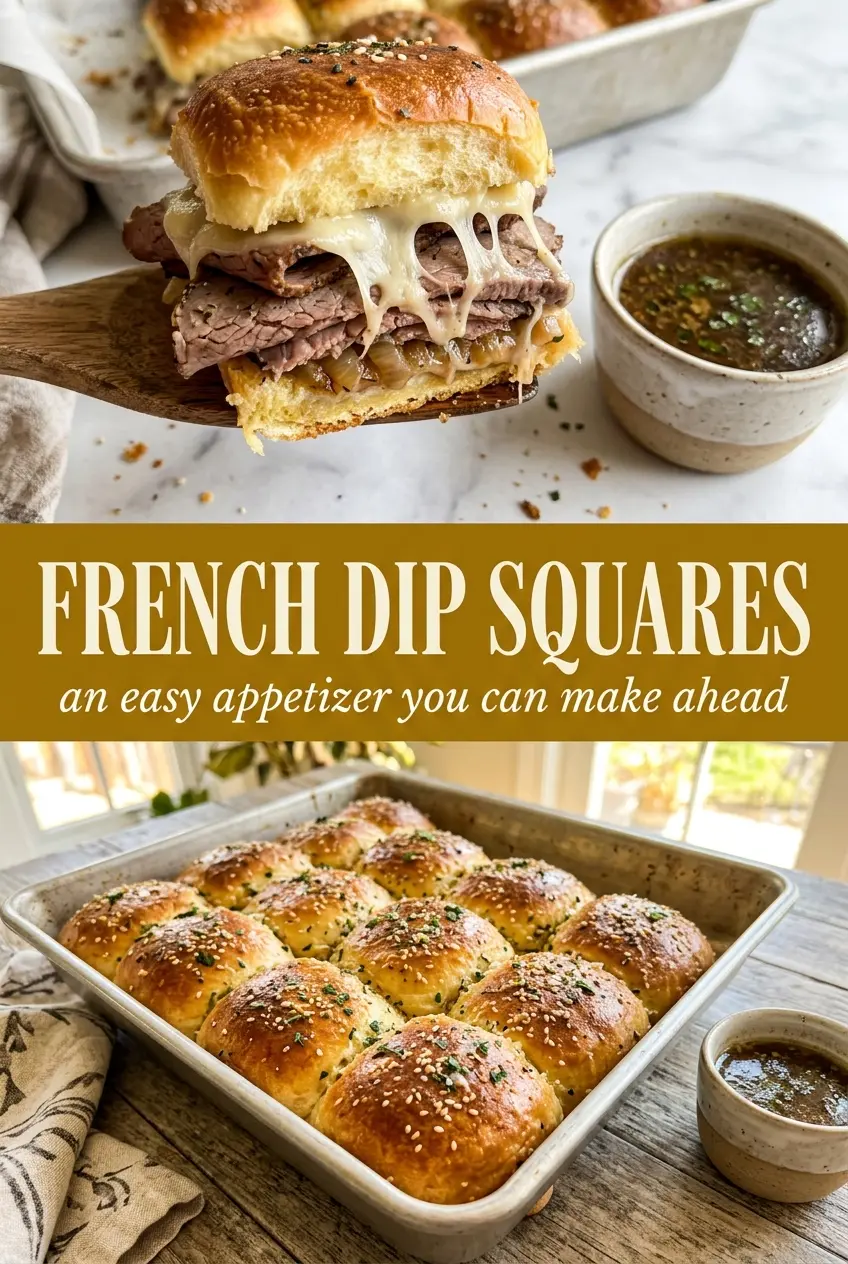
Soft rolls, savory roast beef, and melted provolone come together in these French dip squares with the kind of pull-apart texture that disappears fast from a party table. The tops bake up glossy and golden from the butter mixture, while the inside stays tender and packed with beefy, cheesy layers. Served with warm au jus, every square feels like a little deli sandwich you can eat in two bites.
What makes this version work is the balance: Hawaiian rolls bring enough sweetness to play against the salty beef, and the butter topping seasons the top without making the bottoms soggy. Baking covered first melts the cheese and warms the filling evenly, then the final uncovered minutes give the rolls that just-browned finish. Warming the beef broth right before serving matters more than people think, because lukewarm dip kills the whole French dip effect.
The rolls got perfectly toasted on top but stayed soft underneath, and the au jus kept the roast beef from tasting dry. I brought these to game night and there wasn’t a square left after ten minutes.
Love the gooey layers and garlic butter tops? Save these French Dip Squares to Pinterest for the next game day spread or easy make-ahead appetizer.
The Sandwich Trick That Keeps the Bottoms From Getting Soggy
The biggest mistake with sliders like this is overloading the dish with moisture before the rolls have a chance to toast. Roast beef carries enough juices on its own, and the au jus belongs on the side, not poured into the pan. Keeping the broth separate gives you that classic French dip experience without turning the bottom layer into bread pudding.
The other thing that matters is the order of the bake. Covered time melts the provolone and heats the filling through, while the uncovered finish gives the tops a little color and helps the butter soak in without leaving the rolls greasy. If you skip the foil, the cheese can brown too quickly before the middle gets hot.
What Each Ingredient Is Actually Doing in This Dish

- Hawaiian dinner rolls — These give you a soft, slightly sweet base that stands up well to the beef and cheese. Dinner rolls from the grocery store are fine here; the real job is being sturdy enough to slice as one sheet and bake without falling apart.
- Thin sliced roast beef — Thin slices warm through quickly and stay tender. If you buy deli roast beef, ask for it shaved or sliced as thin as they can manage, because thick pieces can turn chewy before the cheese melts.
- Provolone cheese — Provolone melts cleanly and brings that mild, stretchy finish French dip sandwiches need. Mozzarella works in a pinch, but it tastes softer and less savory; provolone gives the sandwich more backbone.
- Butter, Worcestershire, garlic, and dried onion flakes — This is the flavor layer on top, and it needs all four parts. Worcestershire adds depth, garlic brings sharpness, and onion flakes soften and toast in the oven so the tops taste seasoned all the way through.
- Beef broth — Warm broth is your dipping sauce, and heating it right before serving keeps the whole tray from feeling flat. A good boxed broth works, but if you have homemade broth, this is the place to use it.
How to Build the Layers So the Cheese Melts and the Rolls Hold Together
Start With a Clean, Greased Pan
Lightly grease the baking dish before you add the bottom layer of rolls. That small step keeps the butter from sticking at the edges and makes the squares lift out cleanly after baking. Slice the rolls as one connected sheet if you can, because separated buns are harder to stack evenly and tend to shift when you brush on the butter.
Layer the Beef and Cheese Evenly
Spread the roast beef in an even layer so every square gets some in the middle. Torn or folded beef is fine as long as the thickness stays consistent, because uneven mounds create cold spots and dry corners. Lay the provolone over the beef in overlapping slices so the cheese melts into a single blanket instead of shrinking away from the edges.
Brush the Top, Then Bake in Two Phases
Whisk the melted butter with Worcestershire, garlic, and onion flakes, then brush it generously over the top rolls. The tops should look glossy, not drenched; too much butter can puddle in the pan and soften the bottom. Bake covered first, then uncover for the last few minutes until the tops are golden and the edges feel slightly crisp when you tap them.
Slice Hot and Serve With Warm Broth
Let the pan sit for a minute or two, then cut along the roll seams with a sharp knife. If you cut too soon, the cheese can drag and smear instead of forming neat squares. Serve the beef broth steaming hot on the side so each bite gets that French dip finish instead of a lukewarm dunk.
How to Adapt These French Dip Squares for Different Needs
Make Them Ahead for a Party
Assemble the sandwich layers and refrigerate the pan covered for up to 12 hours, then add the butter mixture right before baking. If you brush the tops too early, the rolls can soak up the butter and lose that baked finish.
Gluten-Free Version
Use sturdy gluten-free slider rolls and check that your Worcestershire sauce is certified gluten-free. The texture will be a little more delicate, so let the baked pan rest before slicing to keep the squares intact.
Dairy-Free Swap
Use a good melting dairy-free cheese and brush the tops with olive oil or a dairy-free butter substitute. You won’t get the same stretchy cheese pull, but the savory roast beef and garlic topping still carry the dish.
Make It a Little Richer
Add a thin layer of caramelized onions under the cheese if you want a sweeter, deeper flavor. Keep the layer light, though, or the extra moisture can make the rolls slide when you cut the squares.
Storage and Reheating
- Refrigerator: Store leftovers in an airtight container for up to 3 days. The rolls soften a little, but the flavor stays solid.
- Freezer: These freeze better after baking than before. Wrap squares tightly and freeze for up to 2 months, then thaw in the fridge before reheating.
- Reheating: Warm in a 325°F oven covered with foil until heated through, then uncover for the last few minutes. The oven keeps the rolls from turning rubbery the way a microwave can.
Answers to the Questions Worth Asking
French Dip Squares
Ingredients
Equipment
Method
- Place the bottom half of the rolls in a greased baking dish as a single layer.
- Layer the thin sliced roast beef evenly over the rolls, covering the surface.
- Add the provolone cheese slices over the roast beef in an even layer.
- Top with the other half of the rolls to finish the sandwich stack.
- Whisk the melted butter with Worcestershire sauce, minced garlic, and dried onion flakes until combined.
- Brush the glaze generously over the tops of the rolls so the crust will toast evenly.
- Cover with foil and bake at 350°F for 15 minutes, until the rolls begin to soften.
- Uncover and bake at 350°F for 5 more minutes until the top is golden and the cheese is melted and bubbling.
- Slice the baked stack into squares.
- Serve with warm beef broth for dipping, reheating right before serving to keep it hot.