
Classic banana bread earns its place because it stays tender for days, slices cleanly, and tastes even better after the first day when the banana flavor settles in. The top bakes into a deep golden dome with a faint crack right down the center, while the crumb stays soft and moist instead of turning dense or gummy.
The trick is using bananas that are heavily speckled or nearly black. That extra ripeness gives you more sweetness and a stronger banana flavor without needing extra fuss. Melted butter keeps the batter simple and gives the loaf a richer, more velvety crumb than oil alone, and folding the flour in just until it disappears keeps the bread from turning tough.
Below, you’ll find the small details that matter most: how ripe the bananas should be, why the batter should stay a little lumpy, and how to keep the loaf from drying out before the center is set.
The loaf came out incredibly moist and the banana flavor was there without being too sweet. I baked mine right at 58 minutes and the center set perfectly with no gummy line.
Save this classic moist banana bread for the days when those speckled bananas are begging to be turned into a soft, golden loaf.
The Part That Keeps Banana Bread Tender Instead of Dense
Most banana bread turns heavy because the batter gets overmixed after the flour goes in. Once flour hits the bowl, every extra stir develops gluten, and that gives you a tighter, more bread-like crumb instead of the soft slice people want from banana bread. Stop the moment the flour disappears and you still see a few streaks.
Banana bread also dries out when it gets pulled too early or baked too hot. A loaf pan traps enough heat to finish the center, but you still want a steady 350°F so the edges don’t set too quickly before the middle catches up. If the top is browning fast and the center still feels loose, lay a piece of foil over it for the last 10 to 15 minutes.
What Each Ingredient Is Actually Doing in This Loaf
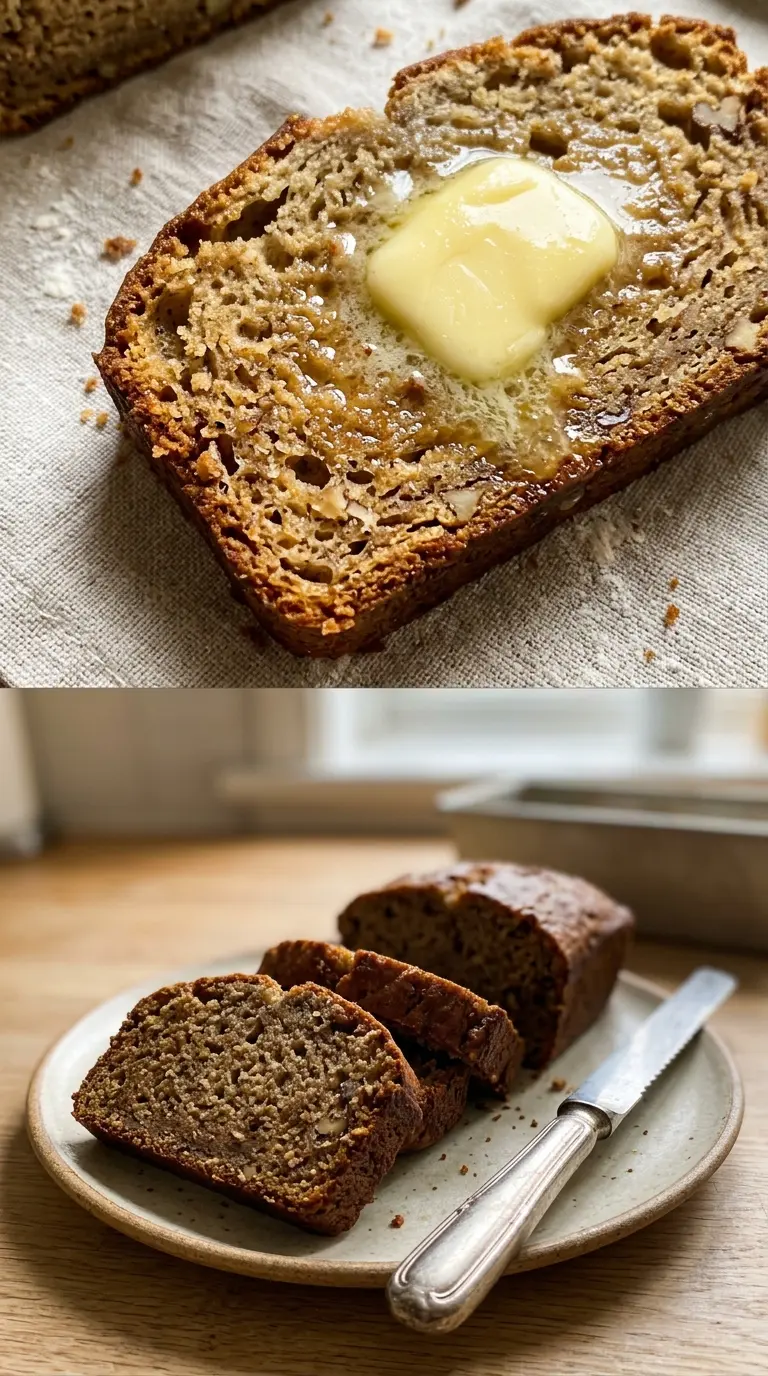
The bananas do more than flavor the loaf; they bring moisture, sweetness, and structure all at once. The riper they are, the softer the bread bakes and the less sugar you need to lean on. If your bananas are only lightly speckled, the bread will still work, but the flavor will be flatter and the crumb less plush.
- Melted butter — This gives the loaf a rich, soft crumb and keeps the batter easy to mix by hand. Oil can work in a pinch, but butter adds a rounder flavor and a slightly more cake-like texture that fits classic banana bread.
- Sugar — Regular granulated sugar sweetens the loaf and helps the crust brown. You can reduce it a little if your bananas are extremely ripe, but cutting too much will leave the bread less tender.
- Egg — The egg binds the batter and helps the loaf hold together cleanly when sliced. A flax egg won’t give the same lift or structure here, though it can work if you need an egg-free version.
- All-purpose flour — This is the structure of the bread, and it needs only the lightest mixing. Bread flour makes the loaf chewier than you want, while a 1:1 gluten-free blend can work if it includes xanthan gum.
- Baking soda — Baking soda reacts with the bananas and helps the loaf rise into that familiar domed top. If it’s old, the bread will bake up flatter and heavier, so check the date on the box.
Building the Batter Without Overworking It
Starting With the Bananas and Butter
Stir the melted butter into the mashed bananas first until the mixture looks glossy and loose. That fat coats the banana pulp and helps the batter stay soft later. If the butter is piping hot, let it cool for a minute before adding it so it doesn’t start cooking the egg in the next step.
Bringing in the Sweeteners and Egg
Add the sugar, egg, and vanilla and stir until the batter looks evenly combined and a little thickened. You don’t need to beat in air here. Banana bread is supposed to be dense enough to slice cleanly, and too much mixing at this stage can make the loaf more bready than tender.
Finishing the Dry Ingredients Gently
Sprinkle the baking soda and salt over the surface, then add the flour and fold just until no dry patches remain. The batter can look lumpy. That is fine. Overmixing here is the fastest way to get a tough loaf, so stop as soon as the flour disappears and scrape the bottom of the bowl once or twice to catch hidden pockets.
Baking to the Right Center Set
Pour the batter into a greased loaf pan and bake until the top is deep golden and a toothpick inserted in the center comes out clean or with a few moist crumbs. If the toothpick comes out coated in wet batter, the center still needs time. Let the loaf cool in the pan for a short stretch before lifting it out so it doesn’t tear while it’s still fragile.
Three Ways to Adjust This Banana Bread Without Ruining the Texture
Make it dairy-free
Swap the butter for melted coconut oil or a neutral plant-based butter. Coconut oil keeps the loaf moist and bakes up a little firmer when cool, while vegan butter stays closer to the original flavor. Either one works as a straight 1:1 swap.
Add nuts without sinking them
Fold in chopped walnuts or pecans at the very end, and toss them with a spoonful of flour first if you want them distributed more evenly. That light coating helps keep the pieces from dropping to the bottom of the pan while the loaf bakes.
Make it gluten-free
Use a cup-for-cup gluten-free flour blend that includes xanthan gum. The crumb will be a little softer and more delicate than the original, but the loaf still slices well if you let it cool completely before cutting.
Make it a little less sweet
Reduce the sugar by 2 to 3 tablespoons if your bananas are extra ripe. The loaf will still be moist, but the crust will brown a touch less and the flavor will lean more banana-forward than dessert-like.
Storage and Reheating
- Refrigerator: Store sliced or whole in an airtight container for up to 5 days. The crumb gets a little firmer in the fridge, but the flavor holds up well.
- Freezer: Banana bread freezes well. Wrap the cooled loaf or individual slices tightly in plastic wrap, then place in a freezer bag for up to 3 months.
- Reheating: Warm slices in the microwave for 10 to 15 seconds or toast them gently. The common mistake is heating them too long, which drives off the moisture that makes banana bread worth keeping around.
Answers to the Questions Worth Asking
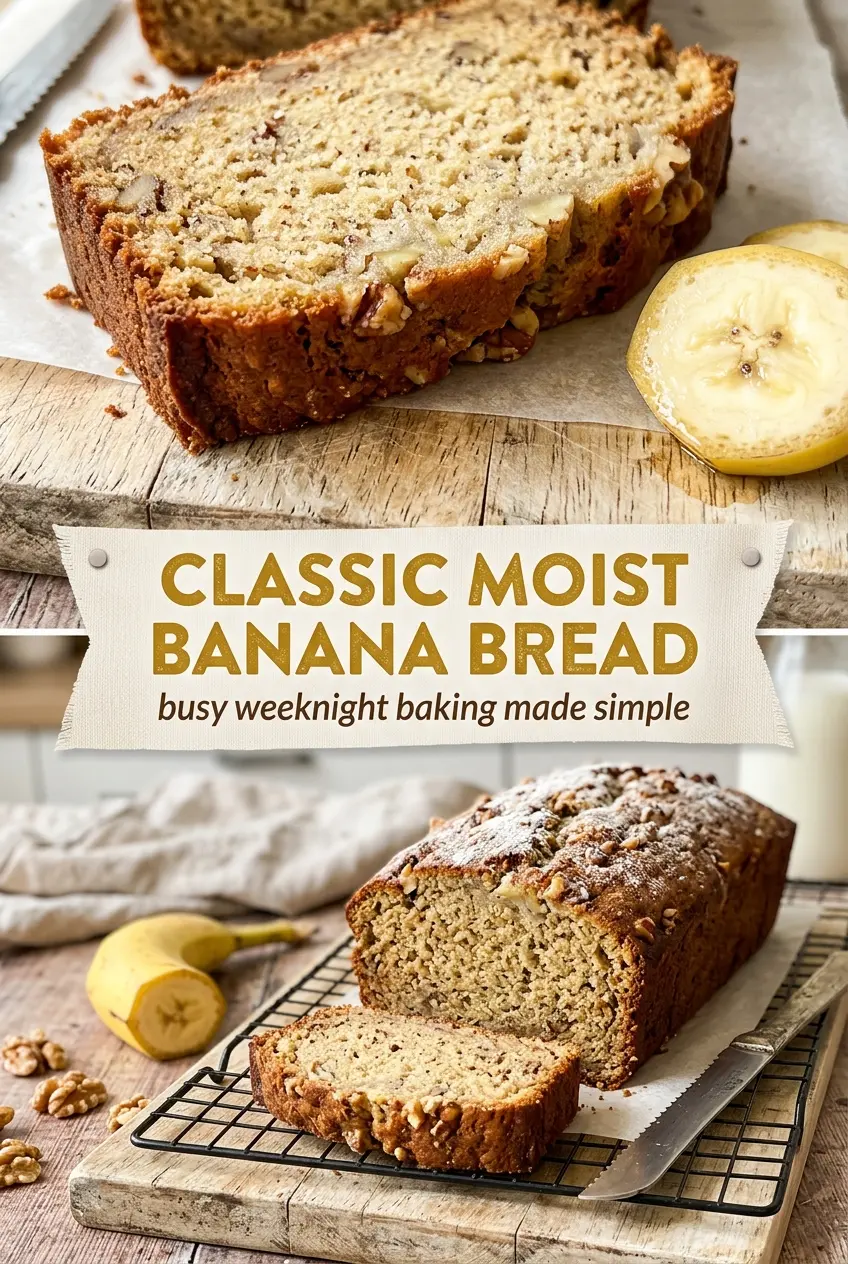
Classic Moist Banana Bread
Ingredients
Equipment
Method
- Preheat the oven to 350°F and grease a loaf pan.
- Line a sheet pan with the greased loaf pan (place the loaf on the sheet pan for easier handling while baking) and keep it ready.
- Mix the melted butter into the mashed bananas in a large bowl until evenly combined.
- Stir in the sugar, egg, and vanilla extract until the batter looks smooth and cohesive.
- Sprinkle the baking soda and salt over the mixture, then stir until fully distributed.
- Fold in the flour just until no dry streaks remain, stopping as soon as the last flour disappears.
- Pour the batter into the loaf pan, smoothing the top.
- Bake for 55 to 60 minutes at 350°F, until a toothpick comes out clean and the loaf is golden.