
Banana Bread Brownies bake up with the best parts of two classics: the dense, tender crumb you want from banana bread and the soft, fudgy bite that keeps a brownie from feeling plain. The bananas keep the bars moist for days, while the sour cream gives the batter a little tang and a plush texture that doesn’t turn gummy. Once the brown butter glaze goes on top, the whole pan tastes richer than the ingredient list suggests.
What makes this version work is balance. The butter and sour cream are creamed first so the bars bake up light enough to cut cleanly, but the mashed banana brings enough moisture to keep them soft in the center. The batter doesn’t need long mixing once the flour goes in; overworking it is the fastest way to end up with tight, bready squares instead of that melt-in-your-mouth middle.
Below, I’ve broken down the one part that matters most, which ingredients you can swap without ruining the texture, and how to tell when these are baked just right. If you’ve ever had banana bars turn heavy or dry, this method fixes both problems.
The brownies came out super moist and the brown butter glaze set up with just the right amount of shine. I used walnuts and it tasted like banana bread and blondies had the best possible baby.
Banana Bread Brownies with brown butter glaze and a tender, moist crumb are worth pinning for the days when you want something nostalgic with a little extra richness.
The Real Trick Is Treating These Like Bars, Not Cake
The biggest mistake with banana brownies is overbaking them because you’re waiting for a dry toothpick. That works against this recipe. The center should be set, but the bars should still feel a little soft when you press the pan lightly. If you wait until they seem fully firm in the oven, they’ll go past tender and land in dry, crumbly territory as they cool.
The other thing that matters is the batter texture before it goes into the pan. Once the flour is added, stop mixing as soon as the streaks disappear. Banana batter can get heavy fast, and that extra stirring pushes these from plush to tough. The goal here is a dense, moist square with enough structure to slice cleanly after cooling, not a fluffy quick bread.
What Each Ingredient Is Actually Doing in This Dish
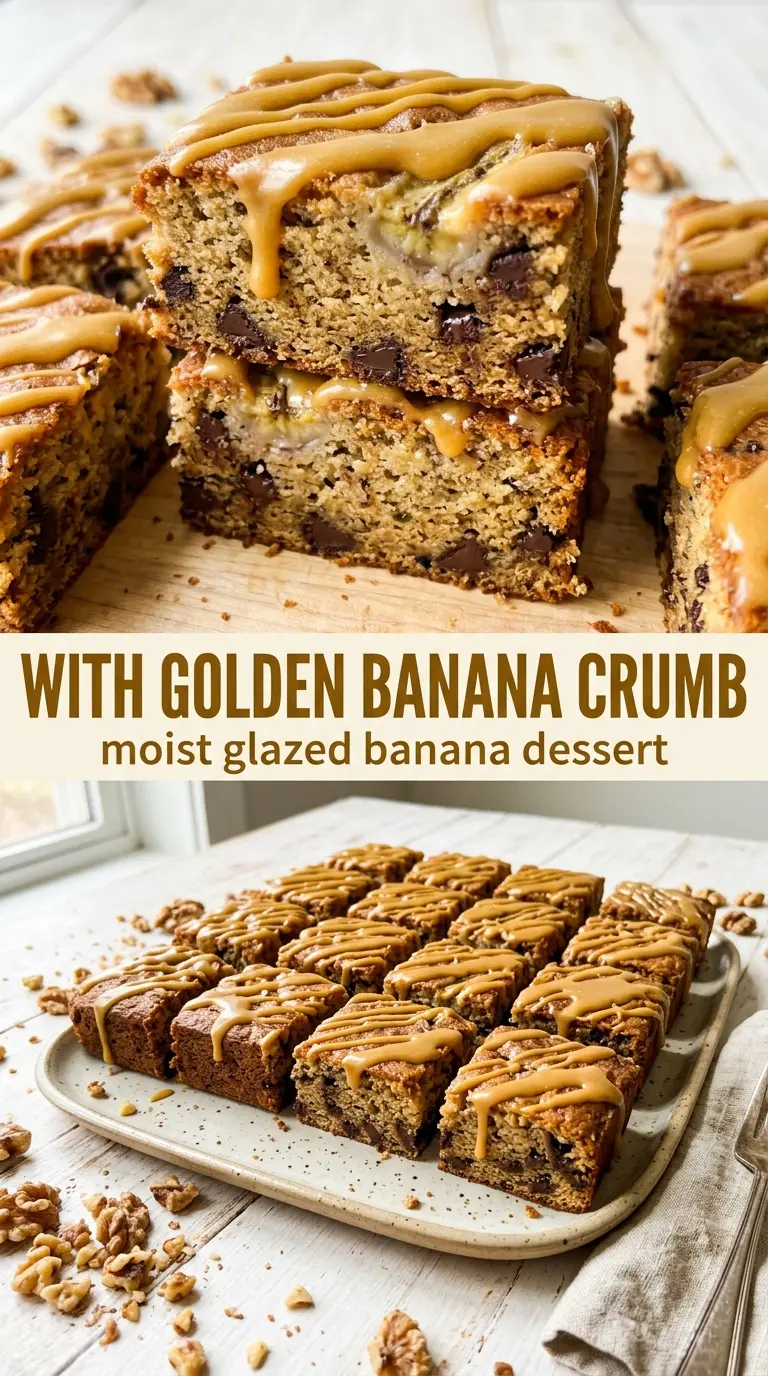
- Mashed ripe bananas — These bring the signature flavor and most of the moisture. Use bananas with plenty of brown spots; pale yellow bananas won’t give you the same sweetness or soft crumb. If your bananas are very large and extra juicy, measure the mash instead of guessing so the batter doesn’t get too loose.
- Sour cream — This is what keeps the bars tender without making them wet. It also adds a subtle tang that balances the sweetness of the glaze. Plain full-fat Greek yogurt can step in here, but the texture will be a touch tighter.
- Butter — Softened butter helps the base bake up rich and even. Don’t swap in melted butter here if you want the same structure; softened butter traps air when beaten with the sugar and gives the bars a better lift.
- All-purpose flour — This gives the brownies enough body to hold the glaze and slice cleanly. Spoon and level it instead of packing the cup, or the bars can turn dry and heavy.
- Walnuts — Optional, but they add a good crunch against the soft crumb. Toasted walnuts are even better if you want more depth, though plain chopped walnuts work fine.
- Brown butter glaze — The browned butter gives the topping a nutty edge that plain melted butter can’t match. Let the brownies cool before glazing or the icing will slide right off and disappear into the surface.
Building the Batter and Knowing When It’s Done
Beat the Base Until It Looks Smooth, Not Whipped
Start by beating the sugar, sour cream, softened butter, and eggs until the mixture looks creamy and evenly blended. You’re not trying to whip in a lot of air here; you just want the sugar dissolved into the fat and dairy so the batter bakes evenly. If the butter is still in visible little chunks, it was too cold and won’t incorporate cleanly.
Fold in the Banana Without Overmixing
Once the banana and vanilla go in, stir until the batter looks uniform and slightly loose. That’s normal. The banana should be fully dispersed so you don’t end up with wet pockets in the finished bars, but don’t keep stirring after that or the texture can turn stubborn and dense in the wrong way.
Stop the Moment the Flour Disappears
Add the flour, baking soda, and salt, then stir just until you no longer see dry streaks. A few small lumps are fine. If you keep going, the bars lose that soft, almost fudgy bite and start leaning toward a quick bread texture. Fold in the walnuts at the very end if you’re using them, then spread the batter evenly in the pan so it bakes at the same rate across the whole surface.
Bake for Texture, Not Color Alone
Pull the pan when the top looks set and a toothpick comes out clean or with a few moist crumbs, usually somewhere between 20 and 30 minutes. The edges will be slightly deeper golden than the center. If the top is getting dark before the middle is done, your oven runs hot and the pan should come out sooner rather than later; the bars keep cooking from residual heat.
Glaze After Cooling So It Stays on Top
Brown the butter until it smells nutty and the milk solids at the bottom turn amber, then whisk in the powdered sugar and milk. The glaze should be pourable but thick enough to cling. Spread it over cooled brownies, not warm ones. Warm bars melt the glaze into the crumb, and you lose that glossy finish on top.
Three Ways to Adjust These Without Ruining the Texture
Make Them Gluten-Free
Use a good 1:1 gluten-free baking flour in place of the all-purpose flour. The bars will still be tender, though the crumb may be a little more delicate. Let them cool completely before slicing so they hold together cleanly.
Skip the Nuts Without Losing Interest
Leave out the walnuts if you want a smoother, softer bite. The bars are still plenty rich, and the brown butter glaze carries enough flavor on its own. If you want crunch without nuts, a handful of mini chocolate chips can work, but they push the flavor closer to dessert bars than banana bread.
Use Greek Yogurt Instead of Sour Cream
Plain full-fat Greek yogurt works in the same amount if that’s what you have. The bars will be a touch less plush and a little tangier, but the moisture level stays close. Thin yogurt is the one to avoid, since it can loosen the batter too much.
Storage and Reheating
- Refrigerator: Store covered for up to 4 days. The texture stays moist, and the glaze may firm up a little more in the fridge.
- Freezer: These freeze well. Wrap individual squares tightly and freeze for up to 2 months, then thaw at room temperature.
- Reheating: Warm a square in the microwave for 10 to 15 seconds if you want the glaze slightly soft again. Don’t overheat it or the bars can dry out at the edges.
Answers to the Questions Worth Asking
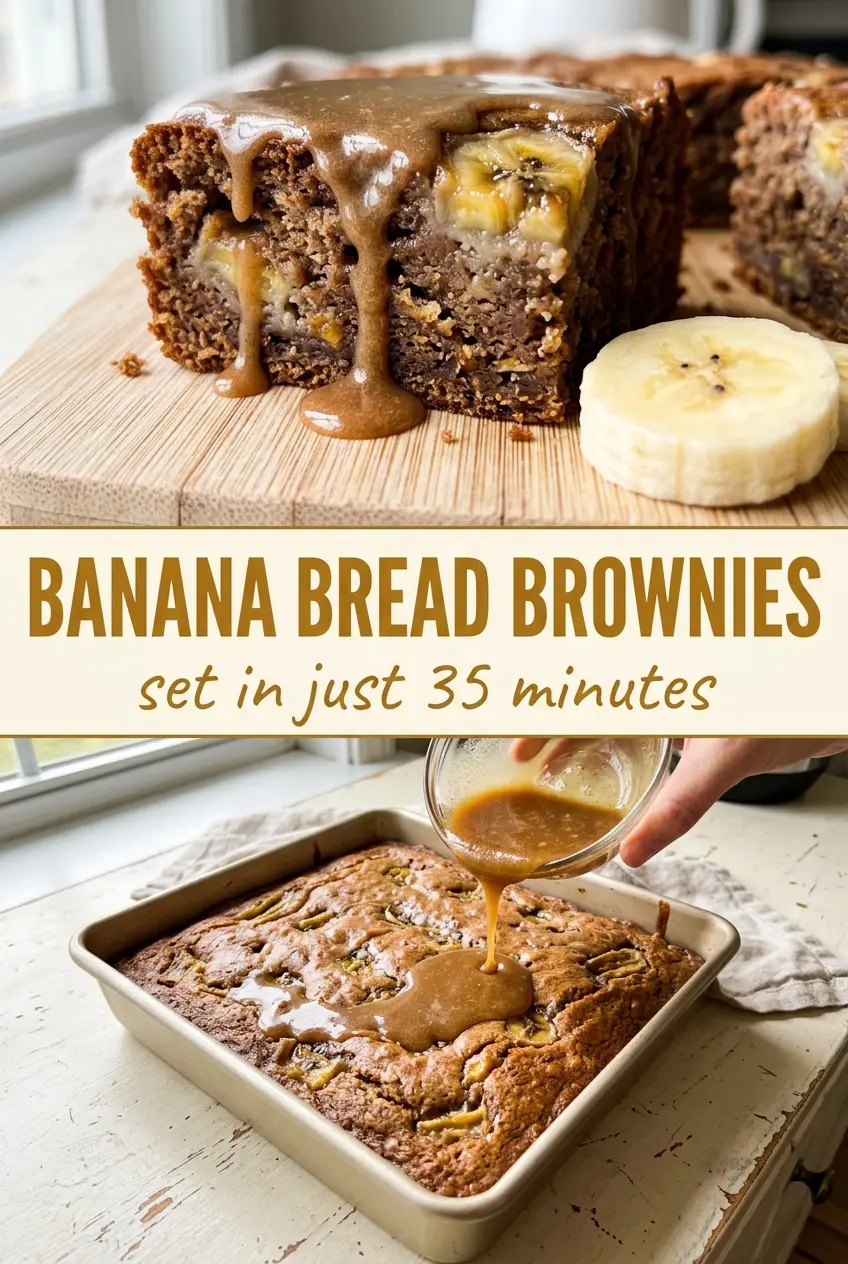
Banana Bread Brownies
Ingredients
Equipment
Method
- Preheat the oven to 375°F and grease a 9x13-inch baking pan, leaving a thin film so the brownies release cleanly.
- Beat the sugar, sour cream, softened butter, and eggs together until well combined and glossy, with no visible streaks of butter.
- Add the mashed banana and vanilla extract, mixing until combined so the batter looks thick and evenly speckled.
- Stir in the all-purpose flour, baking soda, and salt until just combined, then fold in chopped walnuts if using to keep the crumb tender.
- Pour the batter into the prepared pan and bake for 20 to 30 minutes, until a toothpick comes out clean and the edges look set with light golden color.
- Melt butter until browned for the glaze, watching for amber-brown flecks and a nutty aroma.
- Whisk in powdered sugar and milk until smooth, thick, and pourable.
- Pour the glaze over the cooled brownies so it settles on top without running off.