
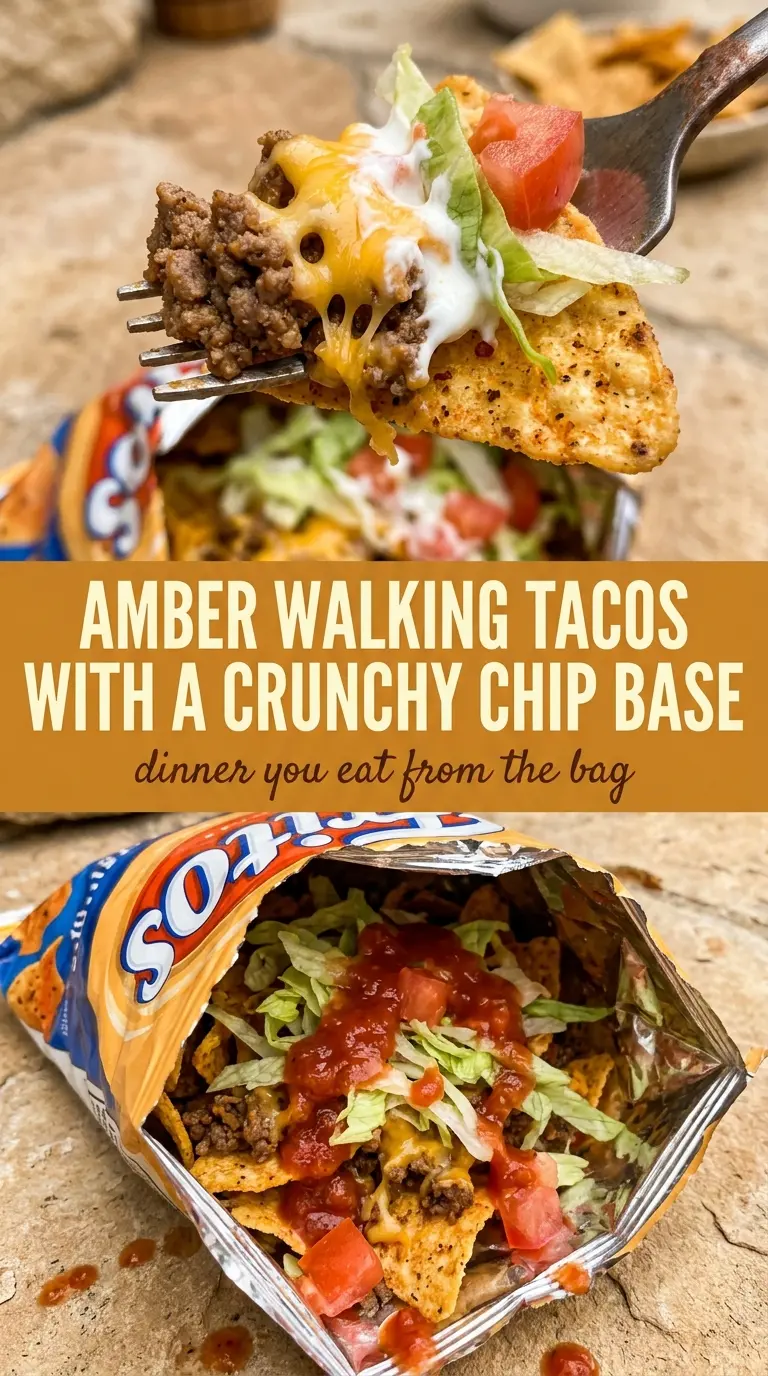
Walking tacos are all about the crunch. The corn chips stay crisp under a warm layer of seasoned beef, then the cold toppings on top keep every bite balanced instead of soggy. It’s the kind of dinner that disappears fast because it feels fun without asking for extra work at the stove.
The key is keeping the beef thick, not soupy. A packet of taco seasoning plus just enough water to bloom the spices gives you that classic taco filling texture that clings to the chips instead of pooling at the bottom of the bag. Letting the meat cool for a minute or two before assembling helps the chips hold their crunch longer, which is the difference between a smart shortcut and a mushy one.
Below, I’ll walk through the little details that matter most: how to keep the chip bags easy to fill, which toppings hold up best, and how to turn this into a low-stress dinner for a crowd.
The beef stayed nice and thick, and the chips were still crunchy even after I added cheese and salsa. I set out all the toppings and everyone built their own bag, which made cleanup almost nothing.
Save these crunchy walking tacos for an easy handheld dinner that keeps the chips crisp and the cleanup minimal.
The Trick to Keeping Walking Tacos Crunchy Instead of Soggy
The chips and the meat need to meet at the last possible second. Once the beef goes into the bag, the clock starts ticking, and the toppings are what decide whether you get a crisp handheld dinner or a softened snack bag. That’s why the beef should be thick and slightly cooled, not loose with extra liquid.
The other mistake is overloading the bag. A single-serve chip bag looks small, but it fills up fast once you add meat, cheese, and toppings. Crushing the chips just enough to create space helps without turning them into dust. You want pieces, not crumbs, so the fork has something to grab.
What Each Ingredient Is Actually Doing in This Dish
- Ground beef — An 80/20 blend gives enough flavor to carry the seasoning, and you can drain off excess fat after browning so the filling doesn’t turn greasy. Ground turkey works too, but it needs a little extra salt and a splash of oil in the pan.
- Taco seasoning — This does the heavy lifting for the classic taco flavor. A packet is fine here, especially when you want speed, but if yours is salt-heavy, cut back on extra salt elsewhere.
- Corn chips — Single-serve bags are the whole point. They act like both bowl and serving dish, and they hold up better than tortilla chips with a thinner, flakier structure.
- Cheddar cheese — Sharp cheddar gives enough bite to stand up to the beef. Pre-shredded cheese works, though freshly shredded melts and clings a little better if you want a warmer finish.
- Salsa and sour cream — These are the moisture and richness balance. Add them at the top so they don’t soak down into the chips before the bag hits the table.
Building the Filling So the Chips Stay Crisp
Brown the Beef First
Cook the ground beef over medium heat until it loses its pink color and starts picking up browned bits on the bottom of the pan. Those browned bits add flavor, but if the meat is swimming in grease, drain it before you season it. A greasy filling is one of the fastest ways to soften the chips too soon.
Thicken the Taco Meat
Stir in the taco seasoning with just a small splash of water, then let it simmer until the liquid turns glossy and clings to the meat. You’re looking for a saucy filling that sits on a spoon, not a loose mixture that runs. If it still looks wet after a few minutes, keep cooking; extra moisture is what makes the bag collapse into soggy chip fragments.
Build the Bags at the End
Split each chip bag open along the side and crush the chips lightly with your hands before filling. Spoon in the beef, then layer on the cheese and cold toppings right before serving. If you’re feeding a crowd, set everything out buffet-style and let people build their own bags so the first one doesn’t sit around waiting while the rest are assembled.
Three Smart Ways to Adapt Walking Tacos
Make It with Ground Turkey
Ground turkey gives you a lighter filling, but it needs help because it doesn’t bring the same built-in richness as beef. Add a teaspoon of oil to the skillet and taste the meat before serving; turkey usually needs a little extra seasoning to taste complete.
Use a Vegetarian Taco Filling
Seasoned black beans or a plant-based crumble work well if you want a meatless version. Keep the filling thick and not watery, since beans that are too loose will drop to the bottom of the bag and soften the chips faster than beef does.
Go Dairy-Free
Skip the cheese and sour cream, then add extra salsa, avocado, or a dairy-free crema if you like a creamy finish. The flavor still lands because the taco meat carries the dish; you just lose the cool, rich topping layer that balances the heat.
Build a Bigger Crowd Version
For a party, keep the meat warm in a slow cooker and set the toppings in bowls beside a pile of chip bags. This keeps the serving line moving and protects the crunch, which is the one thing that disappears if the bags sit open too long.
Storage and Reheating
- Refrigerator: Store the taco meat separately for up to 4 days. Once the chips are assembled, they soften fast and don’t keep well.
- Freezer: The seasoned beef freezes well for up to 2 months in an airtight container. Thaw overnight in the fridge before reheating.
- Reheating: Warm the meat in a skillet over medium-low heat or in the microwave with a splash of water. Don’t reheat the whole bag; the chips lose their crunch immediately.
Questions I Get Asked About This Recipe
Walking Tacos
Ingredients
Equipment
Method
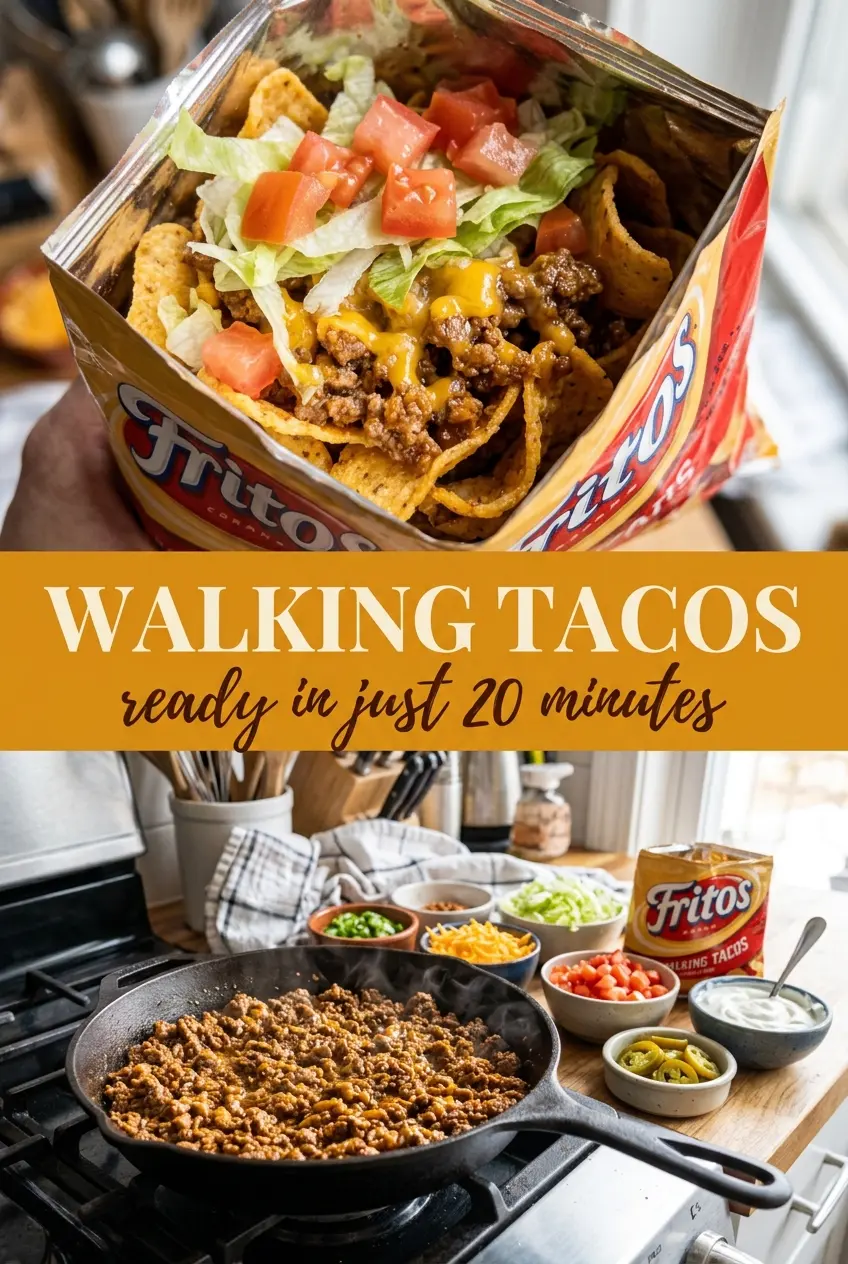
- Brown the ground beef in a cast iron skillet over medium heat, then drain excess fat.
- Stir in the taco seasoning and a splash of water, then simmer for 5 minutes until thickened.
- Crush the corn chips slightly inside each individual bag to create lots of crunchy surface area.
- Split each bag open along the side to create a wide opening for easy filling.
- Spoon the seasoned beef directly into each bag over the chips.
- Top each bag with shredded cheddar cheese, shredded lettuce, diced tomatoes, sour cream, and salsa.
- Serve immediately with a fork, eating right out of the bag.