
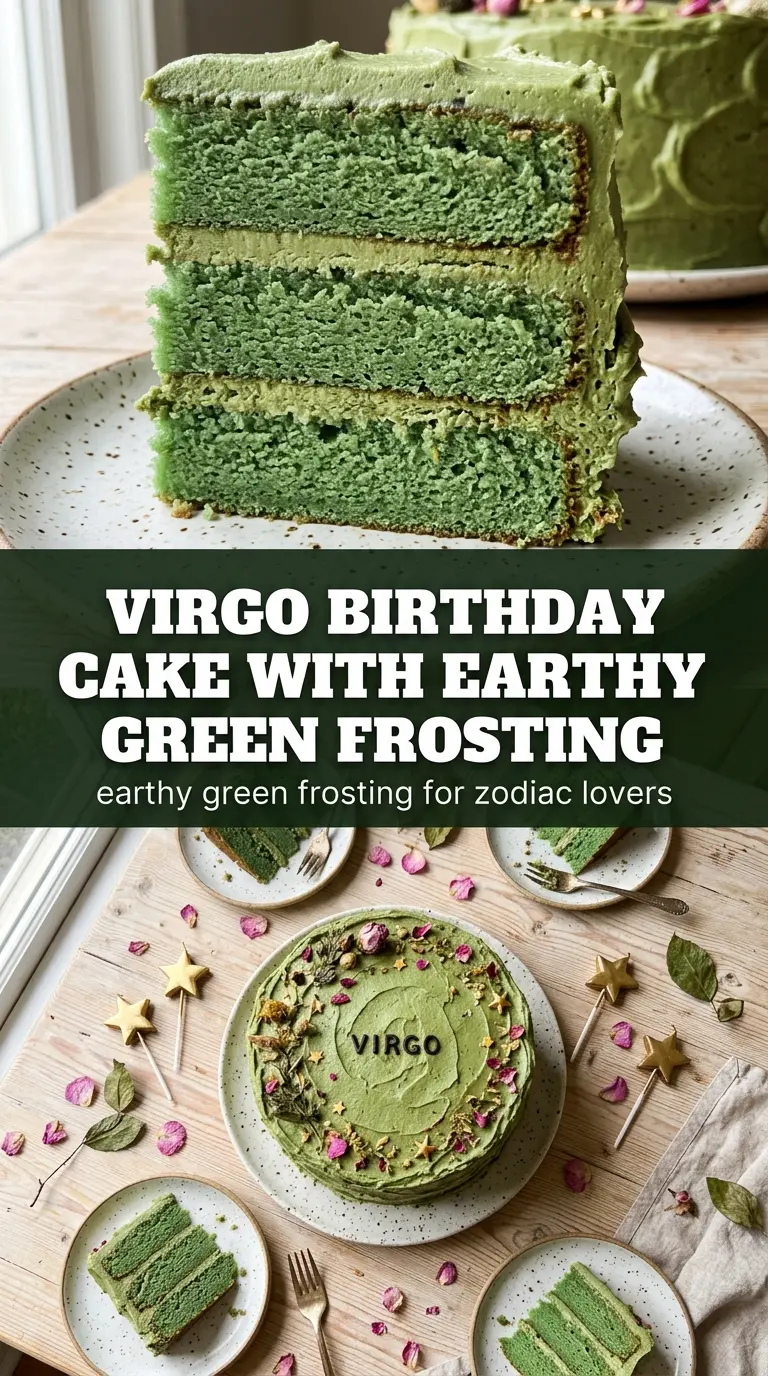
Earthy green buttercream, clean edges, and a soft vanilla crumb make this Virgo birthday cake feel polished without turning fussy. It’s the kind of layered cake that looks like it took a pastry chef’s hand, but the structure is straightforward enough to pull off in a regular kitchen. The final look is calm, intentional, and a little bit magical, which fits a zodiac birthday centerpiece better than anything overly busy or brightly frosted.
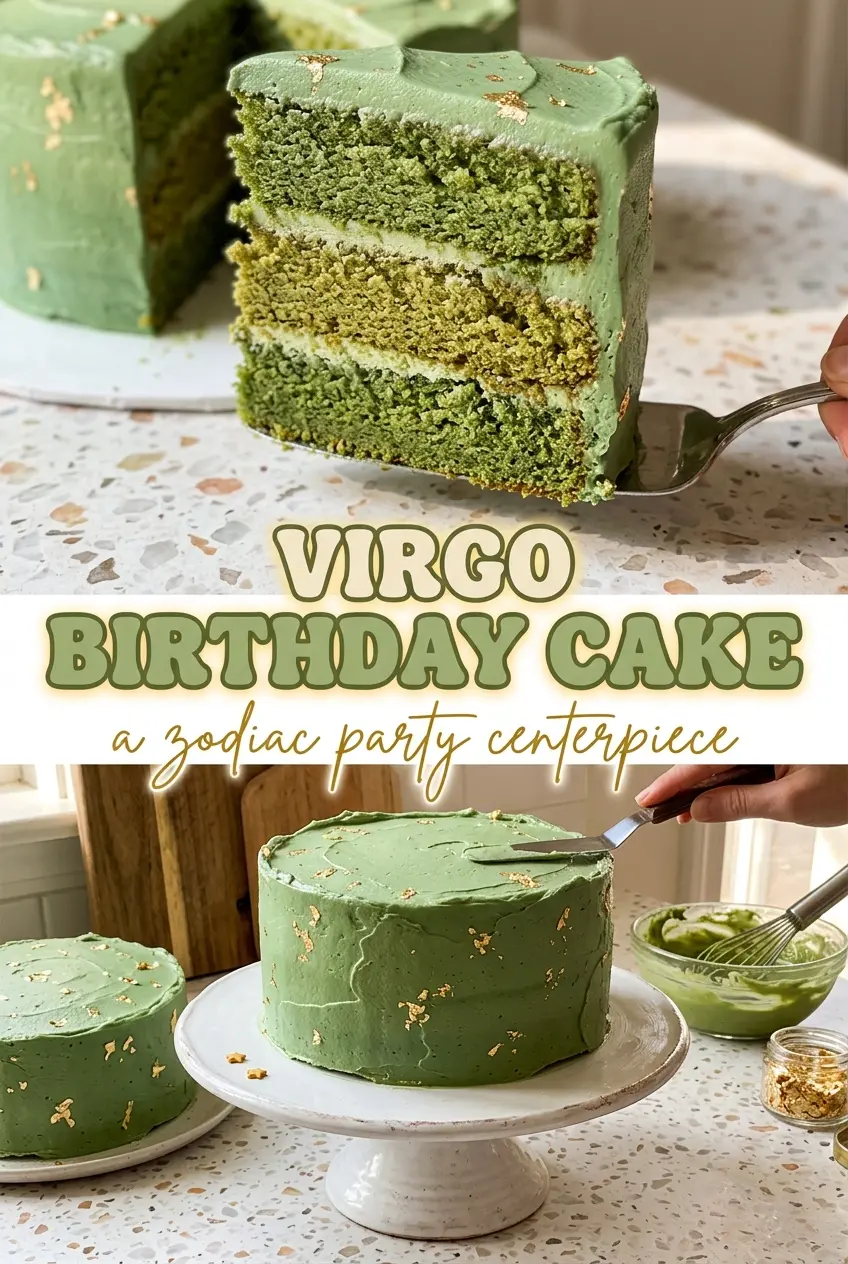
What makes this cake work is balance. The layers bake up tender because the butter and sugar are creamed properly before the milk goes in, and the frosting stays smooth because the butter is fully softened before the powdered sugar is added. The green and moss gel colors give you that muted, earthy tone without thinning the frosting the way liquid coloring can. Gold leaf and star sprinkles finish it with a quiet bit of drama instead of a heavy-handed theme.
Below, I’ll walk through the parts that matter most: how to get a level layer cake, how to tint buttercream without turning it a weird shade, and how to keep the finished cake looking sharp until serving time.
The layers baked up evenly and the buttercream got that smooth, earthy green finish without tasting like food coloring. I brought it to my sister’s birthday and everyone kept asking how I got the edges so clean.
Save this Virgo birthday cake for a zodiac celebration that calls for smooth buttercream, clean layers, and a refined green finish.
The part that keeps this cake from looking messy
The difference between a cake that looks homemade in the best way and one that looks sloppy usually comes down to two things: level layers and steady frosting. This cake uses three 8-inch pans, which gives you enough height to create a proper birthday cake without forcing the layers into extra thick domes that are hard to stack. If the pans are underfilled or overfilled, the cake bakes unevenly and the whole structure starts to lean.
The other mistake shows up in the frosting. Softened butter means pliable, not greasy or melting. If it’s too warm, the buttercream turns loose and won’t hold those clean sides. If the powdered sugar goes in before the butter is smooth, you’ll fight lumps the whole way through. The goal here is a frosting that spreads cleanly and sets up enough to stay sharp after decorating.
What each ingredient is actually doing in this cake
- All-purpose flour — This gives the cake its structure without making it heavy. Cake flour will make the crumb a little softer, but all-purpose flour keeps the layers sturdy enough for stacking.
- Baking powder — This is what lifts the cake into a light, even crumb. If yours is old, the layers can bake up flat and dense, so check the date if the cakes tend to sit low in the pans.
- Unsalted butter — Butter carries the flavor in both the cake and the frosting. For the frosting especially, use butter that yields easily when pressed but still holds its shape; melted spots lead to a greasy finish.
- Whole milk — The fat in whole milk keeps the batter tender. Lower-fat milk works in a pinch, but the crumb won’t taste as rich or bake as evenly.
- Vanilla extract — Vanilla gives the cake its clean bakery-style flavor. Since the decoration is so visual, you want the cake itself to taste classic and balanced rather than competing with the colors on top.
- Gel food coloring — Gel coloring is the right choice because it gives you strong green tones without watering down the buttercream. Start with a tiny amount, then build the color slowly so you can keep that muted mossy look instead of landing on something neon.
Building the cake so the layers stay even and the frosting stays smooth
Creaming the butter and sugar
Beat the butter and sugar until the mixture looks pale and fluffy, not just blended. That step traps air, which helps the cake rise and keeps the crumb from turning tight. If the butter is too cold, the mixture will look sandy and stay dense; if it’s too soft, it won’t hold any structure at all. Add the eggs one at a time so the batter stays emulsified instead of looking curdled.
Alternating the dry ingredients and milk
Add the flour mixture and milk in turns, ending with the flour. This keeps the batter smooth and prevents overmixing, which is how you end up with a tough layer cake. Stop as soon as the last streaks disappear. A few tiny flour flecks are better than beating the batter into elasticity.
Baking and cooling the layers
The cakes are done when a toothpick comes out clean and the tops spring back lightly when touched. Pull them out as soon as that happens; overbaking dries out the edges and makes leveling harder later. Let the layers cool completely before frosting. Warm cake will melt the buttercream and ruin the clean finish before you even get to decorate.
Tinting and stacking the buttercream
Beat the frosting until smooth before adding color, then add the green and moss gel a little at a time. It’s easier to deepen the color than to fix one that’s gone too dark. For the cleanest sides, spread a thin crumb coat first, chill the cake, then add the final layer of frosting. That chill step is what lets the outside set and keeps crumbs from showing through.
How to adapt this Virgo birthday cake for different needs
Spiced chai Virgo birthday cake
Swap the vanilla cake base for a chai-spiced version if you want a warmer, more aromatic birthday cake. The texture stays the same, but cinnamon, cardamom, and ginger give the cake a cozier finish that still works with the earthy green frosting.
Dairy-free version
Use a plant-based butter with a high fat content and an unsweetened non-dairy milk in the cake. The frosting will be a little softer than a butter-only version, so chill the cake before serving and keep the decoration simple if you need sharper edges.
Cupcake version
Bake the batter in lined muffin tins instead of layer pans for a smaller celebration dessert. Fill each cup about two-thirds full and start checking early, since cupcakes bake faster and dry out if they go too long.
Storage and Reheating
- Refrigerator: Store covered for up to 4 days. The crumb stays moist, though the buttercream will firm up in the fridge.
- Freezer: The unfrosted layers freeze well for up to 2 months. Wrap each layer tightly in plastic and then foil; thaw wrapped at room temperature before frosting.
- Reheating: Let slices sit at room temperature for 20 to 30 minutes before serving. Cold cake tastes tighter and the frosting won’t have the same creamy texture.
The things that trip people up with this cake
Virgo Birthday Cake
Ingredients
Equipment
Method
- Preheat the oven to 350F and grease and flour three 8-inch round cake pans.
- Whisk the all-purpose flour, baking powder, and salt together in a bowl and set aside.
- Cream the unsalted butter, softened, and granulated sugar together until light and fluffy, then beat in the large eggs one at a time.
- Alternate adding the all-purpose flour mixture and whole milk into the batter, mixing until just combined, then stir in the vanilla extract.
- Divide the batter among the prepared pans and bake for 24 to 28 minutes, until a toothpick comes out clean.
- Cool the layers completely before frosting so the buttercream stays smooth.
- Beat the unsalted butter, softened, until creamy, then beat in the powdered sugar and heavy cream until smooth.
- Tint the frosting with Green and moss gel food coloring until you reach an earthy moss-green color.
- Stack the cake layers and frost them with the green buttercream, smoothing the outside for clean lines.
- Finish the top and edges with Gold leaf and edible star sprinkles for decorating.