
Charred tomatillos turn into a bright, smoky salsa that tastes far bigger than the short ingredient list suggests. The broiler does the heavy lifting here, blistering the skins just enough to deepen the flavor without losing that clean, tangy tomatillo bite. The result is a salsa that lands somewhere between fresh and roasted, with enough acidity to wake up tacos, eggs, grilled chicken, or a bowl of chips.
The trick is letting the vegetables take on real color before they ever hit the blender. Under-roasted tomatillos taste flat and watery; a good amount of char gives the salsa body and that deep green, almost savory edge. The onion softens and sweetens at the same time, garlic mellows, and the chilies bring just enough heat to keep the salsa lively without overpowering it.
Below, you’ll find the broiling cue that matters most, the best way to control the texture, and a few simple ways to adjust the heat if your chilies run hotter or milder than expected.
I broiled the tomatillos until the edges blackened a little more than I expected, and that smoky taste came through in the finished salsa. It blended up smooth but still had enough body to cling to chips, and it tasted even better after chilling for an hour.
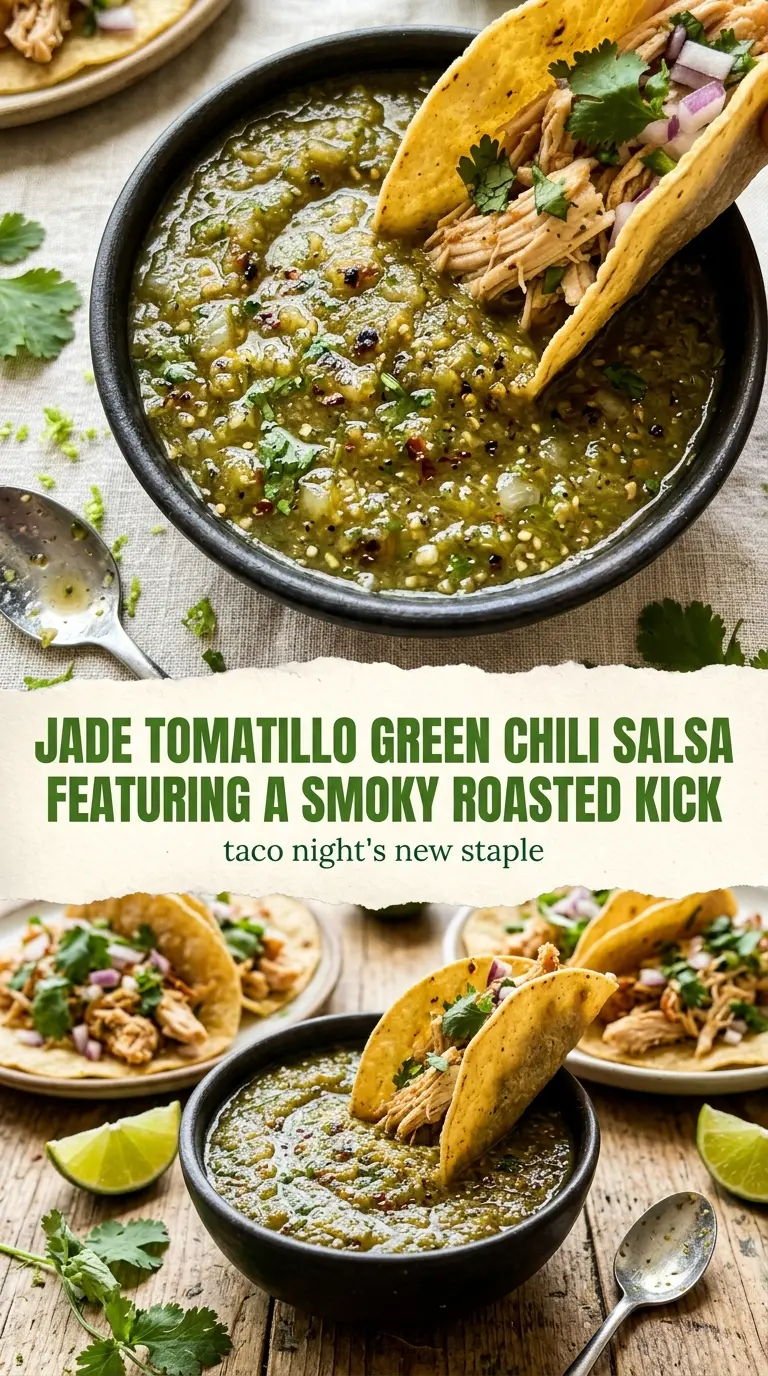
Save this smoky tomatillo green chili salsa for taco night — the roasted flavor gets deeper after chilling and the blender does the rest.
The Broiler Has to Do More Than Just Warm Everything Up
Tomatillo salsa gets muddy fast when the vegetables only soften instead of char. That high-heat edge is what keeps the finished salsa bright instead of dull. The skins should blister, the onion should pick up dark spots, and the garlic should turn golden at the edges. If everything comes off the pan looking pale, the salsa will taste raw even after blending.
The other mistake is crowding the pan. Give the vegetables a little space so the broiler can dry and char them instead of trapping steam underneath. If your tomatillos are sitting in a puddle, they’ll go soft before they pick up any color. A single layer on the sheet pan is enough for the heat to work the way you want.
What Each Ingredient Is Actually Doing in This Dish
- Tomatillos — These bring the sharp, tangy base that makes the salsa taste alive. Husk them right before cooking and cut them in half so the cut side can blister.
- Green chilies — They set the heat level and add that unmistakable green chile flavor. If yours run mild, use two for flavor; if they’re hot, start with one and add more after tasting.
- Garlic — Broiled garlic loses the harsh bite of raw garlic and blends into the salsa without standing out. Leave the cloves in their skins if you want a gentler result, then squeeze them out after roasting.
- Onion — Quartered onion softens and sweetens under the broiler, which rounds out the sharpness of the tomatillos. White or yellow onion both work.
- Cilantro and lime juice — These brighten the salsa at the end. Add them after the vegetables cool slightly so the herbs stay fresh and the lime keeps its clean edge.
Getting the Char Right Before the Blender Takes Over
Broiling the Vegetables
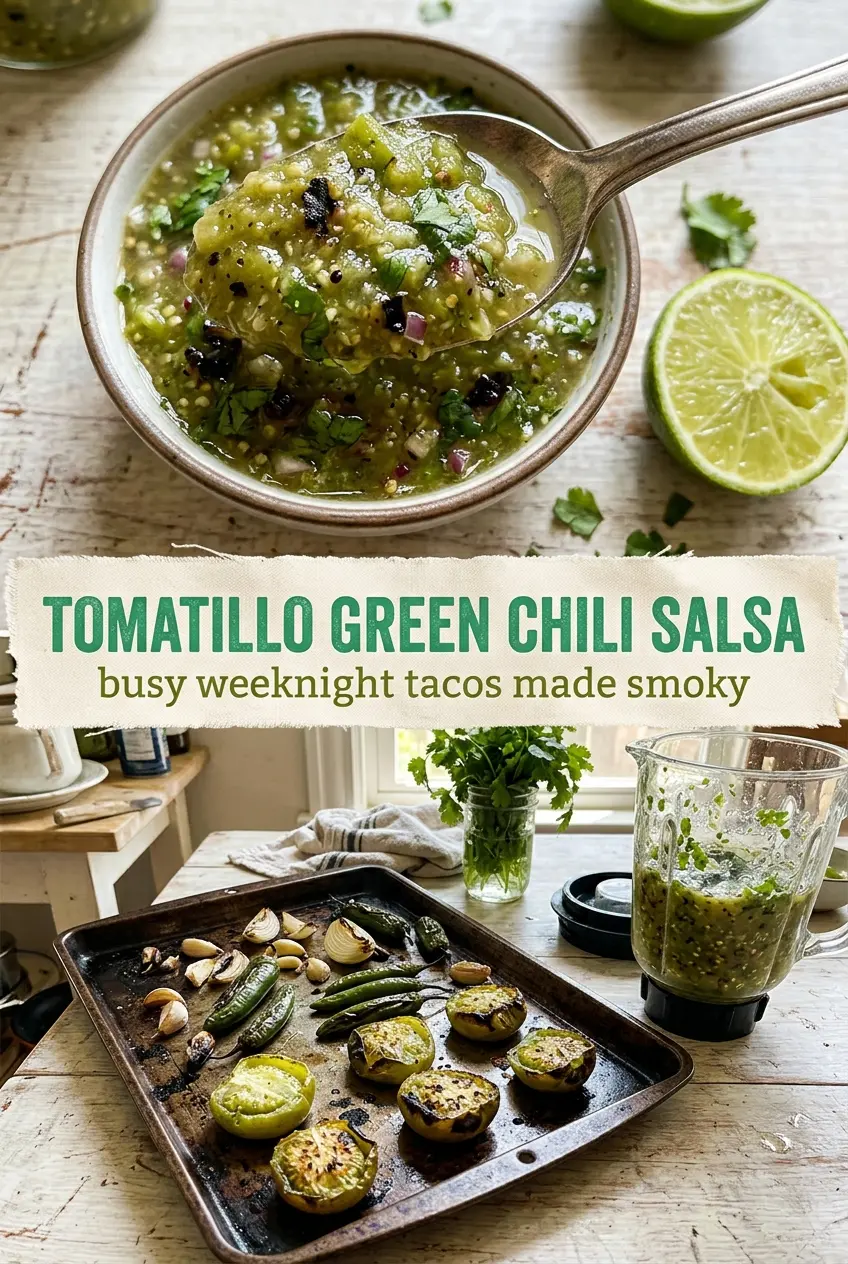
Arrange the tomatillos, chilies, garlic, and onion on a baking sheet in one layer and broil until the surfaces are blistered and darkened in spots, about 8 to 10 minutes. You want softness underneath and char on top, not complete collapse. If the broiler is running hot, rotate the pan once so one side doesn’t scorch before the rest has a chance to color. The garlic should be tender, not blackened into bitterness.
Cooling and Handling the Chilies
Let the vegetables cool long enough to handle, then pull the stems from the chilies. If the charred skins are loose, some will slip off naturally; that’s fine, but don’t obsess over peeling every bit. A little char in the blender adds the smoky note that makes this salsa taste roasted instead of just cooked. Hold onto the chile seeds only if you want extra heat.
Blending and Seasoning
Blend the roasted vegetables with cilantro and lime juice until smooth or just slightly chunky. For a looser salsa, add a spoonful of the roasted juices from the pan; for a thicker salsa, blend only until the pieces break down and stop there. Salt is what ties the whole thing together, so taste after blending and season in small pinches. The flavor should be bright first, smoky second, and then warm from the chilies.
What to Change When You Want It Milder, Thicker, or Dairy-Free
Make It Milder Without Losing the Roasted Flavor
Use fewer chilies, then taste before adding more. The tomatillos and lime carry enough brightness on their own, so you don’t need a lot of heat for the salsa to work.
Make It Thicker for Chips or Tacos
Blend less and keep some texture, or drain a little of the roasting liquid before blending. The salsa stays spoonable but clings better to chips, tacos, and grilled meats.
Make It Dairy-Free and Naturally Gluten-Free
This recipe already lands in both camps without any changes. That’s part of why it’s such a useful pantry salsa — the flavor comes from the roasted vegetables, not from add-ins.
Storage and Reheating
- Refrigerator: Store in a sealed container for up to 5 days. The flavor deepens after a day, and the salsa may loosen a little as it sits.
- Freezer: It freezes well for up to 2 months. Freeze in a small container with a little headspace, then thaw in the fridge and stir before serving.
- Reheating: This salsa is best served cold or at room temperature, not reheated. If it tastes flat after chilling, stir in a squeeze of lime and a pinch of salt instead of heating it up.
Questions I Get Asked About This Salsa
Tomatillo Green Chili Salsa
Ingredients
Equipment
Method
- Preheat the broiler and arrange the tomatillos, green chilies, garlic, and onion on a sheet pan in a single layer.
- Broil for 8 to 10 minutes, until the vegetables are charred and softened at the edges.
- Let the vegetables cool slightly, then remove the stems from the green chilies.
- Combine the charred tomatillos, green chilies, garlic, and onion with cilantro and lime juice in a blender.
- Blend until smooth or leave slightly chunky, depending on preference.
- Season with salt to taste, then chill before serving.