
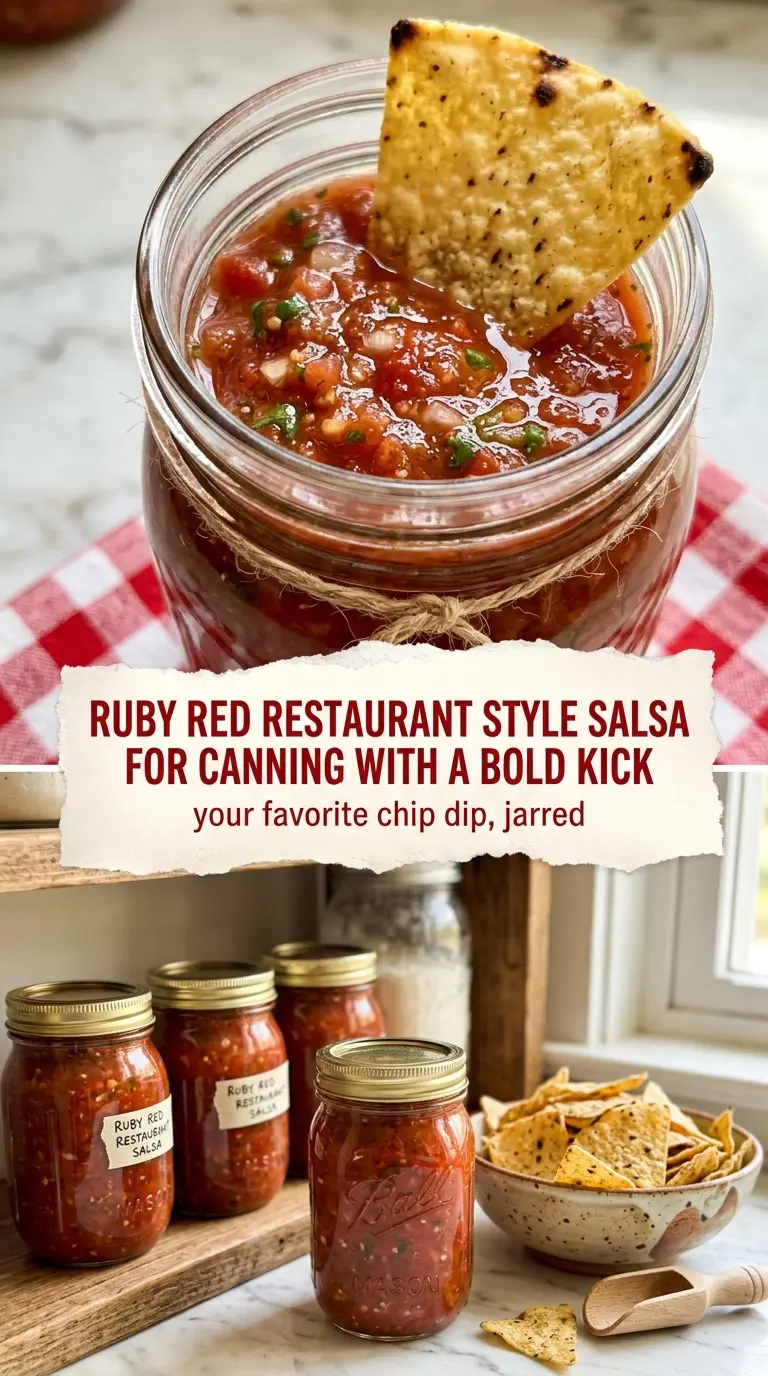
Thick, tangy, and packed with that familiar chip-dip flavor, this restaurant style salsa earns its place in the pantry because it tastes bright even after canning. The tomatoes cook down into something smoother than pico but still full of body, while the jalapeños, cumin, and vinegar give it the bold edge that keeps you going back for another spoonful.
What makes this version work is the balance between acidity, concentration, and texture. Tomato paste gives the salsa a deeper, more restaurant-like body without needing hours on the stove, and vinegar keeps the flavor sharp enough for safe water-bath canning. If you want that smooth, scoopable consistency from your favorite Mexican restaurant, you can blend part of the salsa before it goes into jars instead of leaving every piece chunky.
Below you’ll find the one technique that matters most for keeping the texture right, plus a few practical swaps and storage notes so you can can it with confidence and open a jar later that still tastes lively.
I blended half of it before canning like you suggested, and it came out exactly like restaurant salsa — smooth but still with some texture. The vinegar and cumin were spot on, and it thickened up nicely without turning into tomato sauce.
Save this canned restaurant style salsa for the batch when you want that smooth, tangy chip-dip flavor ready in jars.
Why This Salsa Stays Bright Instead of Going Flat in the Jar
The biggest mistake with canned salsa is letting it cook down until it tastes dull before it ever reaches the jar. Tomatoes lose a lot of their fresh edge as they simmer, so this recipe leans on vinegar and tomato paste to keep the flavor concentrated and the texture thick enough to spoon without turning watery. That balance matters even more after processing, because heat always softens the final flavor a little.
Another thing that helps is not overloading the pot with peppers or onions. You want enough jalapeño for a little bite and enough onion for backbone, but not so much that the salsa turns chunky and loose. If you prefer the smoother restaurant texture, blending part of the finished salsa gives you body without losing the fresh bits of tomato and cilantro.
What Each Ingredient Is Actually Doing in This Salsa
- Tomatoes — Use ripe, meaty tomatoes if you can. They cook down with less excess water, which means a thicker salsa and less simmer time. Very juicy tomatoes still work, but they’ll need a longer reduction before canning.
- Vinegar — This isn’t just for tang. It helps keep the salsa safely acidic for water-bath canning and gives the finished jars that sharp restaurant-style finish. Stick with the amount in the recipe unless you’re following a tested canning formula.
- Tomato paste — This is the shortcut to a more concentrated, glossy salsa. It adds body fast, which is especially useful if your tomatoes are on the watery side. If you skip it, the salsa will taste thinner and need more simmering.
- Jalapeños — These bring the heat, but their real job is keeping the salsa from tasting sweet and flat. For less heat, remove the seeds and membranes. For a stronger kick, leave them in or swap one pepper for a hotter variety.
- Cumin — A small amount changes the whole personality of the salsa. It adds that warm, familiar background note you taste in restaurant salsa. Too much and it takes over, so measure carefully.
- Cilantro — Add it at the end so it stays fresh and green. If you cook it too long, it turns murky and loses the clean herbal finish that brightens the whole jar.
How to Cook It Down Without Losing the Fresh Salsa Taste
Start with the Vegetables, Not the Seasoning
Combine the tomatoes, onions, jalapeños, and garlic in a large pot first. This lets the vegetables release their juices and start softening before the acid and paste go in. If you add everything at once and boil hard, the salsa can catch on the bottom before the tomatoes have had time to break down.
Build the Body with Paste and Vinegar
Stir in the tomato paste, vinegar, and cumin once the vegetables are in the pot. The paste should dissolve into the mixture and turn it deeper red, not sit in streaks. Bring it to a boil, then drop it to a steady simmer so the salsa thickens without scorching. If it bubbles too hard, the edges reduce faster than the center and the flavor gets uneven.
Simmer Until It Looks Spoonable, Not Soupy
Thirty minutes is enough for most batches, but the real cue is visual: the salsa should coat a spoon and leave a clear path when you drag a spatula through the pot. If it still pours like tomato juice, keep simmering. If you want a smoother finish, blend part of the salsa at this point before adding the cilantro.
Jar While It’s Hot and Work Cleanly
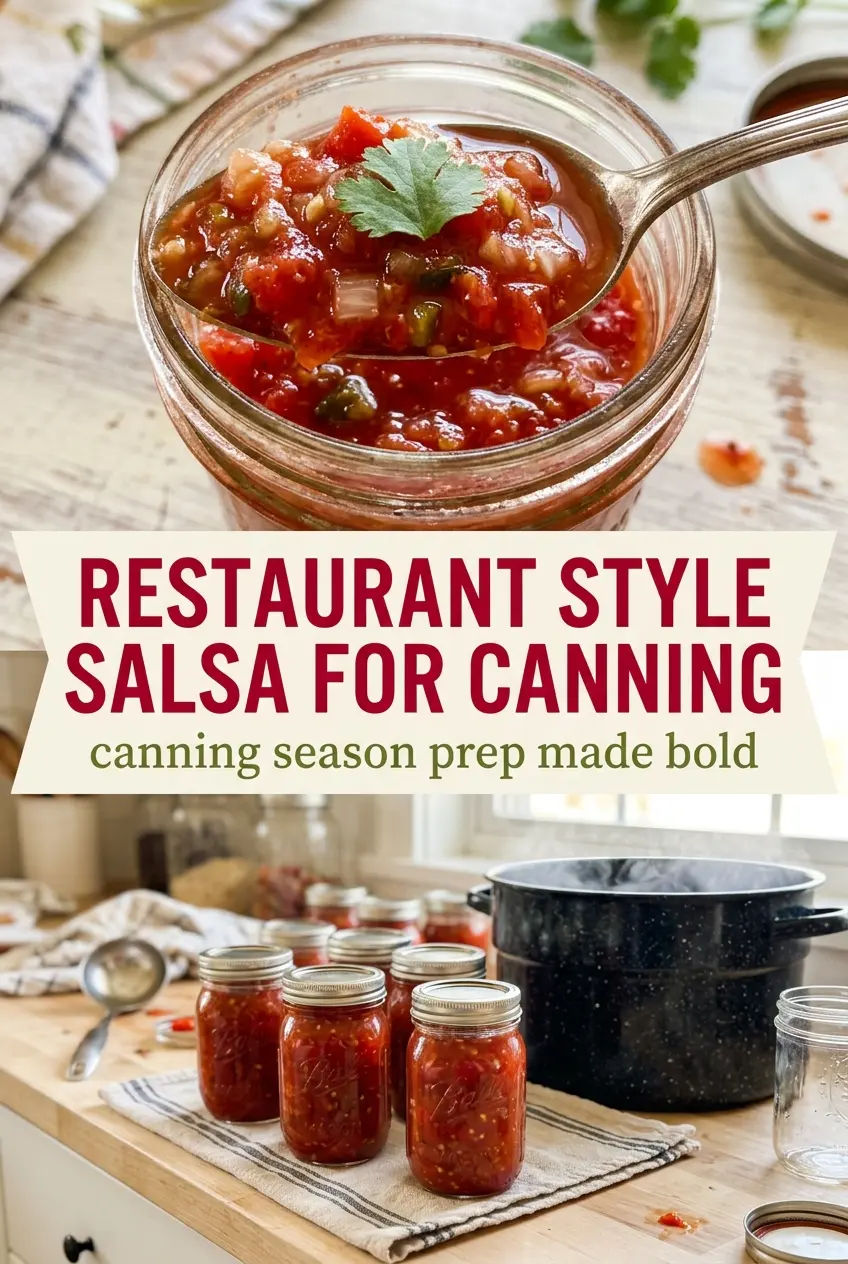
Stir in the cilantro and salt right before ladling. Then fill sterilized jars with 1/2 inch headspace and wipe the rims before sealing. Any salsa on the rim can keep the lid from sealing properly. Process the jars in a water bath for 15 minutes, then let them cool undisturbed on a towel-lined counter until you hear the seals pop.
How to Adjust the Heat, Texture, or Batch Size
Make It Milder for Milder Heat Lovers
Seed the jalapeños and scrape out the membranes before mincing them. That keeps the pepper flavor without the sharp burn that lingers in canned salsa. You’ll still get a little warmth, but the finished jars will taste closer to classic restaurant table salsa than a hot salsa verde.
Blend Part of It for a Smoother Restaurant Texture
Pulse one-third to one-half of the cooled salsa in a blender, then stir it back into the pot before jarring. That gives you the thicker, silkier texture most people expect from restaurant salsa without making the whole batch uniform. A full puree will taste more like sauce than salsa, so stop short of that.
Use It as a Freezer Salsa When You Don’t Want to Can
If you’re not ready to process jars, cool the salsa completely and freeze it in airtight containers. The texture softens a bit after thawing, but the flavor stays bold. This is the better route if you want the taste but don’t have a canner set up that day.
Storage and Reheating
- Refrigerator: Store opened jars in the fridge for up to 7 days. The salsa may thicken a little more as it chills.
- Freezer: The canned version itself isn’t meant for freezing, but an uncanned batch freezes well for up to 3 months in airtight containers. Leave headspace for expansion.
- Reheating: Salsa is usually served cold or room temperature, so reheating isn’t necessary. If you want it warm for a cooked dish, heat it gently over low heat and stir often so the tomato paste doesn’t stick or dull the fresh flavor.
Questions I Get Asked About This Recipe
Restaurant Style Salsa For Canning
Ingredients
Equipment
Method
- Combine the diced tomatoes, onions, jalapeños, and garlic in a large Dutch oven.
- Stir in the tomato paste, vinegar, and cumin, mixing until evenly combined.
- Bring the mixture to a boil over medium-high heat, then reduce to a steady simmer for 30 minutes to thicken.
- Stir in the chopped cilantro and season with salt.
- Ladle the hot salsa into sterilized jars, leaving 1/2 inch headspace.
- Process the jars in a water bath canner for 15 minutes, then cool completely on a towel-lined counter.