
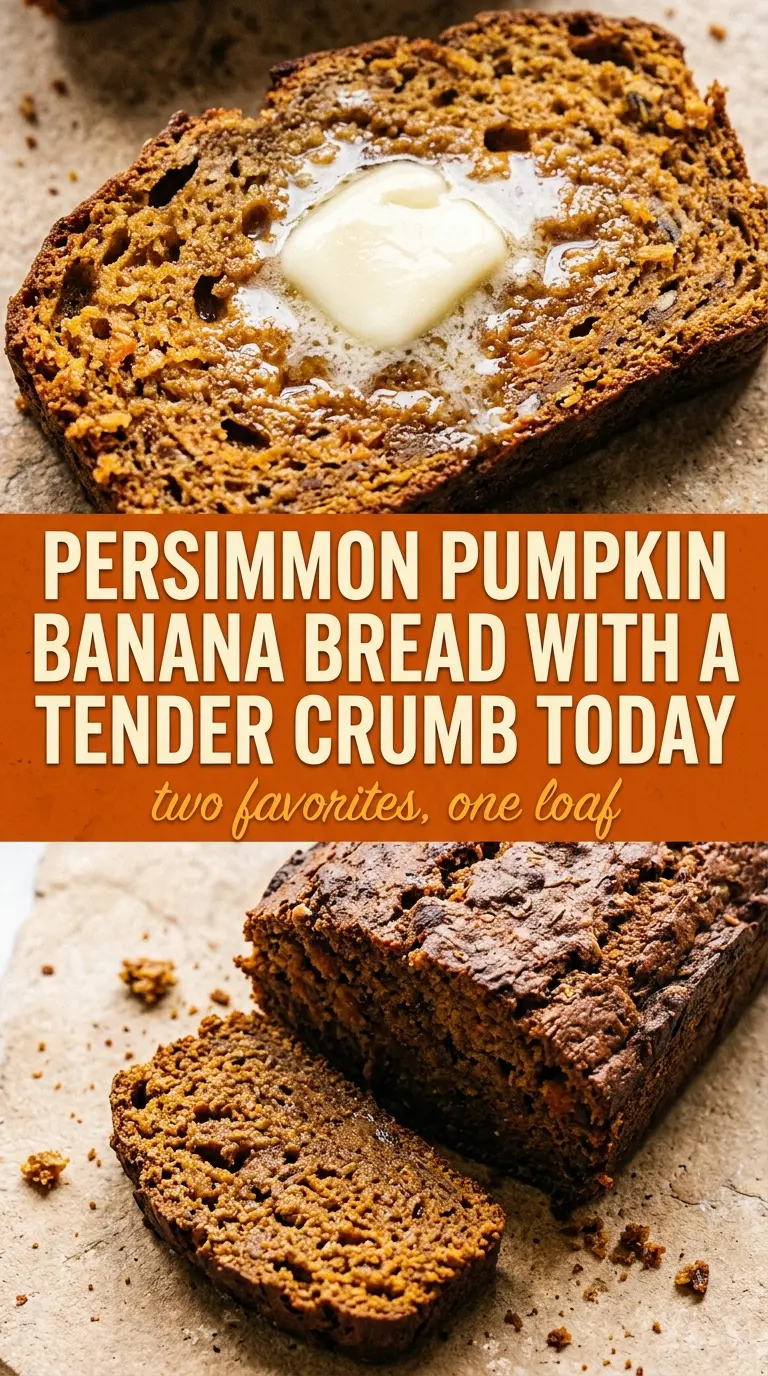
Pumpkin banana bread bakes into one of those loaves that disappears slice by slice: soft, deeply moist, and just sturdy enough to hold together under a swipe of butter. The banana brings sweetness and that familiar bakery-style aroma, while the pumpkin keeps the crumb tender without turning it heavy. The result is rich without being dense, and the spice lands in the background instead of taking over.
What makes this version work is the balance. Pumpkin puree adds moisture, but it doesn’t bring much sweetness, so the ripe bananas do the heavy lifting there. Oil keeps the crumb softer for longer than butter would, which matters in a loaf that needs to stay good for several days. The batter also comes together with a light hand; once the flour goes in, overmixing is the fastest way to get a tight, gummy center instead of that soft, even crumb you want.
Below you’ll find the small details that matter most: how ripe the bananas should be, why the loaf pan size matters, and how to tell when the center is baked through without drying out the edges.
The loaf came out unbelievably moist and the banana flavor stayed front and center without being too sweet. I baked mine for 58 minutes and the center set up perfectly after cooling on the rack.
Pin this pumpkin banana bread for the days when you want one loaf that stays moist, slices cleanly, and uses up ripe bananas at the same time.
The Part That Keeps This Loaf Soft Instead of Heavy
Most quick breads go wrong in the same place: the batter gets stirred until it looks perfectly smooth, and the finished loaf turns tight instead of tender. Pumpkin banana bread needs the opposite approach. Once the flour goes in, stop as soon as the dry streaks disappear. A few small lumps are fine. They relax in the oven, and they keep the crumb from turning bready or chewy.
The other common mistake is underestimating how much moisture is already in the fruit. Banana and pumpkin both bring a lot of water to the batter, which is exactly why this loaf stays soft for days. That also means the center can look set before it is actually baked through. Pulling it too early leaves a gummy line under the top crust, while overbaking dries out the edges first. The sweet spot is a loaf that springs back lightly in the center and releases a clean toothpick with just a few moist crumbs attached.
What Each Ingredient Is Actually Doing in This Loaf
- Flour — All-purpose flour gives the loaf enough structure to hold the pumpkin and banana without collapsing. A 1:1 gluten-free blend can work, but the texture will be a little more delicate and the crumb may need a few extra minutes in the oven.
- Baking soda — This reacts with the natural acidity in the bananas and helps the loaf rise. If it’s old, the bread will bake up flat and dense, so use fresh soda if you want a proper lift.
- Cinnamon — It rounds out the pumpkin and banana without making the loaf taste like pumpkin pie filling. You can add a pinch of nutmeg or cloves, but keep them light or they’ll bury the fruit.
- Vegetable oil — Oil keeps the crumb soft even after the loaf cools. Melted butter works, but the bread will set a little firmer and won’t stay quite as plush on day two and three.
- Eggs — They bind the batter and help it bake into a sliceable loaf instead of a wet cake. Room-temperature eggs whisk in more smoothly, but cold eggs still work if that’s what you have.
- Pumpkin puree — Use pure pumpkin puree, not pumpkin pie filling. Pie filling is already sweetened and spiced, which throws off both the texture and the balance of the loaf.
- Ripe bananas — The bananas should be heavily speckled or nearly black on the outside. Underripe bananas won’t mash smoothly or contribute the sweetness and aroma this loaf needs.
- Sugar — Sugar sweetens the bread, but it also helps with tenderness and browning. You can reduce it slightly if your bananas are very ripe, though the loaf will taste less bakery-style and a bit more restrained.
Building the Batter Without Ruining the Crumb
Whisking the Dry Ingredients First
Start with the flour, baking soda, cinnamon, and salt in one bowl so the leavening and spice distribute evenly. If the baking soda isn’t mixed through now, you’ll get bitter pockets or uneven rise later. This step takes seconds, but it matters more than it looks like it should.
Combining the Wet Base
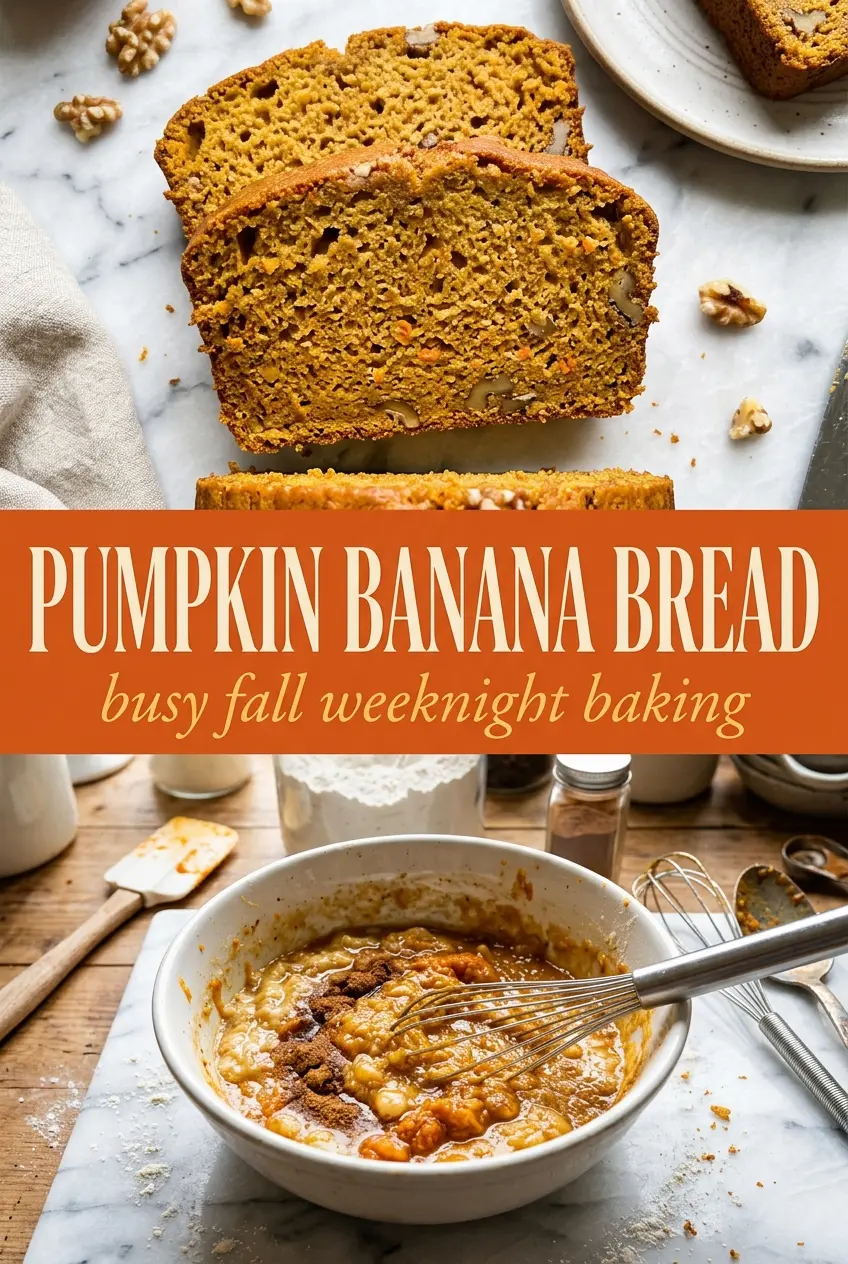
Whisk the sugar, oil, and eggs until the mixture looks smooth and slightly thickened, then stir in the pumpkin puree and mashed bananas. The batter should look loose and glossy, not fluffy. If your bananas are cold from the fridge, warm them slightly first so they blend instead of staying in stubborn little chunks.
Stopping at Just-Combined
Add the dry mixture to the wet ingredients and fold only until no dry flour remains. This is the point where people overwork quick bread most often, because a smooth batter feels satisfying and wrong for this recipe. A few streaks of flour at the bottom are better than a tough loaf, so stop early and let the oven finish the job.
Baking Until the Center Sets
Scrape the batter into a greased 9×5-inch loaf pan and bake at 350°F for 55 to 65 minutes. The top should dome lightly and crack in the center, and a toothpick should come out with only a few moist crumbs, not wet batter. If the top browns before the middle is done, tent it loosely with foil for the last 10 to 15 minutes.
Three Ways to Adjust It Without Losing the Good Texture
Make It Dairy-Free Without Changing the Method
This loaf is already dairy-free as written, which is one reason it stays so simple. Keep the oil instead of swapping in butter if you want the softest crumb and the best shelf life.
Add Mix-Ins Without Making the Center Wet
Chocolate chips, chopped walnuts, or pecans work well here, but keep the total add-ins to about 3/4 cup. Anything more starts to crowd the batter and can keep the middle from baking evenly.
Cut the Sugar Slightly for a Less Sweet Slice
You can reduce the sugar by up to 1/4 cup if your bananas are very ripe and you want a more breakfast-style loaf. The bread will still bake well, but the crust will color a little less and the finished flavor will lean more earthy than dessert-like.
Storage and Reheating
- Refrigerator: Store tightly wrapped for up to 5 days, though the crumb will firm up a little in the fridge.
- Freezer: This loaf freezes well. Wrap slices or the whole cooled loaf in plastic, then foil, and freeze for up to 3 months.
- Reheating: Warm slices in the microwave for 10 to 15 seconds or toast them lightly. If you reheat too long, the bananas dry out and the loaf loses that soft, just-baked feel.
Answers to the Questions Worth Asking
Pumpkin Banana Bread
Ingredients
Equipment
Method
- Preheat the oven to 350°F and grease a 9x5-inch loaf pan; the pan should be ready before mixing so the batter bakes right away.
- Whisk together the flour, baking soda, cinnamon, and salt until the dry ingredients are evenly colored.
- In a separate bowl, whisk the sugar, vegetable oil, and eggs until smooth and fully combined.
- Stir in the pumpkin puree and mashed ripe bananas until the mixture looks uniform with no banana streaks.
- Fold the dry ingredients into the wet ingredients until just combined, then stop as soon as no dry pockets remain.
- Pour the batter into the prepared loaf pan and smooth the top so it bakes evenly.
- Bake for 55-65 minutes at 350°F until a toothpick inserted in the center comes out clean; look for a golden-brown top.
- Cool in the pan for 10 minutes, then transfer to a wire rack to cool completely before slicing.