
No-bake cheesecake gets a lot of praise for being easy, but the versions worth making are the ones that still slice cleanly and taste like someone paid attention. This apple butter version does both. The filling sets up plush and creamy, with warm spice running through the tangy cream cheese, and the graham crust stays buttery instead of soggy. It feels finished, not improvised.
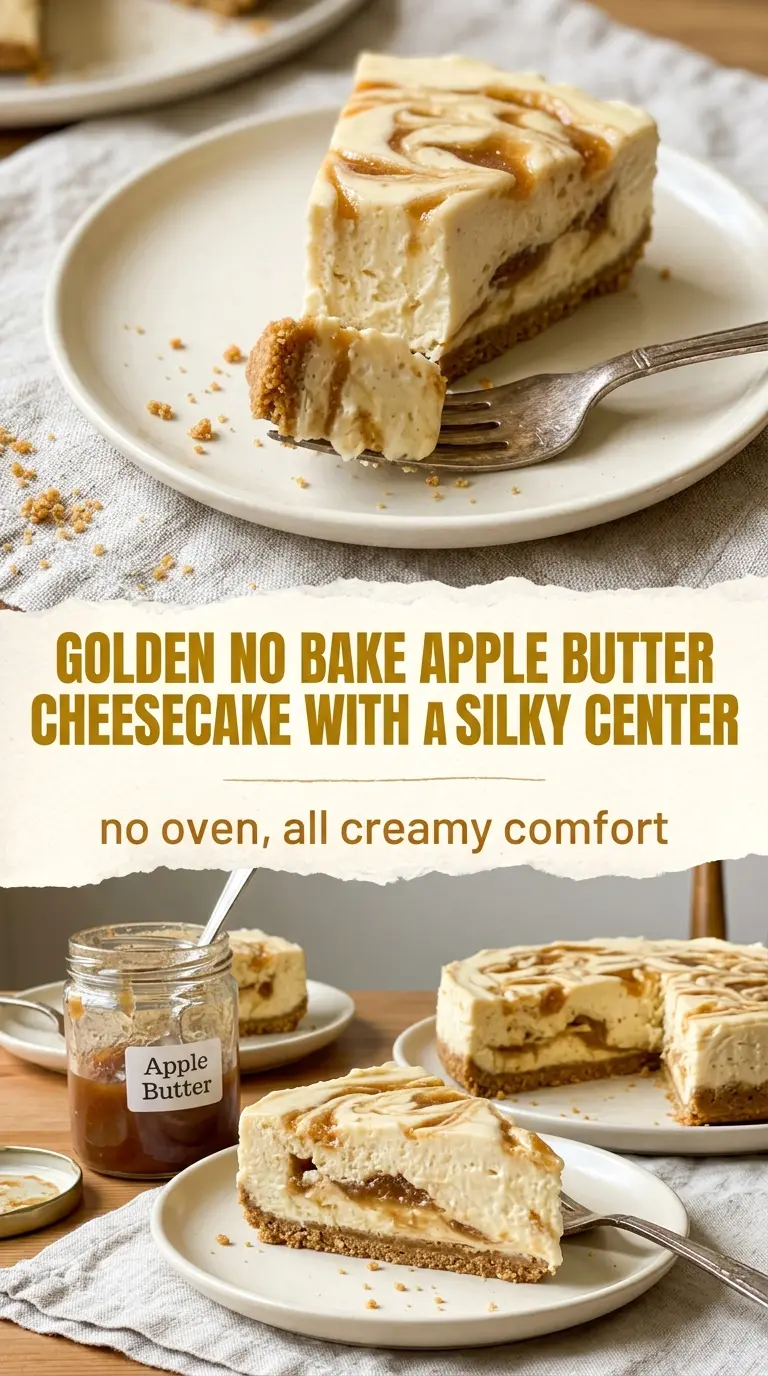
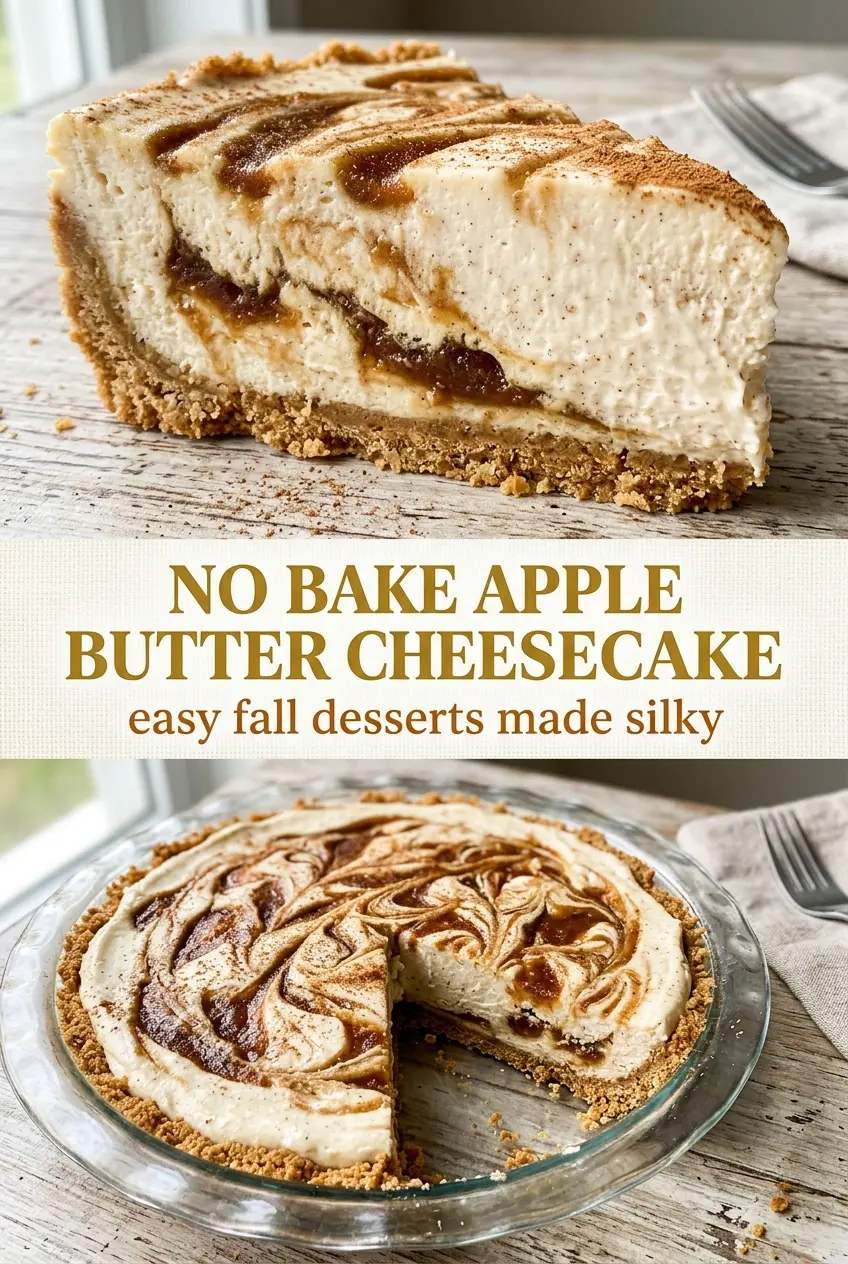
The trick is in the texture. Cream cheese and powdered sugar get beaten smooth first so you don’t end up with little lumps hiding in the filling, then the apple butter is swirled in instead of fully mixed. That keeps the flavor layered and gives you those ribbons of deep apple color in every slice. Folding in the whipped cream at the end keeps the filling light enough to cut neatly after chilling.
Below you’ll find the small details that matter: how to keep the crust firm, why the apple butter should stay marbled, and how long the cheesecake needs in the fridge before it turns from soft filling into a proper sliceable dessert.
The filling set up beautifully after 4 hours, and the apple butter stayed in pretty ribbons instead of turning the whole thing one note. My husband kept going back for a sliver after dinner.
Save this no-bake apple butter cheesecake for the nights when you want a creamy dessert with swirls of spiced apple and zero oven time.
The Part Most No-Bake Cheesecakes Get Wrong: A Soft Filling That Never Really Sets
The filling needs enough structure to hold a slice, but not so much that it turns dense. That balance comes from beating the cream cheese until completely smooth before anything else touches the bowl. If the cream cheese starts out lumpy, those little bits never fully disappear, even after chilling.
The other place people get into trouble is overmixing the apple butter. It looks tempting to blend it in until the filling is one uniform color, but that flattens the whole dessert. A gentle swirl gives you pockets of spiced apple in each bite and keeps the cheesecake from tasting one-dimensional. The whipped cream goes in last and gets folded, not beaten, so the filling stays airy enough to cut cleanly after it firms up in the fridge.
What Each Ingredient Is Actually Doing in This Dessert
- Graham cracker crumbs — These give the crust its classic toasted sweetness and sandy, sliceable base. Fine crumbs pack tighter than chunky ones, so pulse or crush them well for the cleanest cut.
- Melted butter — Butter is what turns crumbs into a crust that holds together. If you use too little, the base will crumble when sliced; too much and it goes greasy, so stick close to the measurement.
- Cream cheese — This is the backbone of the filling, so full-fat cream cheese gives the best texture. Soften it fully at room temperature; cold cream cheese is the fastest way to end up with a grainy filling.
- Powdered sugar — It sweetens the cheesecake without grittiness and helps the filling stay smooth. Granulated sugar won’t dissolve the same way here.
- Apple butter — This brings concentrated apple flavor, gentle spice, and that deep golden color. Regular applesauce won’t give the same body or intensity, so keep apple butter as-is if you want the filling to taste like apple instead of just cream cheese with fruit.
- Cinnamon — A small amount sharpens the apple butter without taking over. If your apple butter is already heavily spiced, cut back slightly so the filling doesn’t taste muddy.
- Whipped cream — This lightens the filling and helps it set into a mousse-like cheesecake rather than a brick. Use it softly whipped and fold it in gently; overbeating it will knock out the air you need for that plush texture.
How to Keep the Layers Separate Until You Slice It
Press the crust hard enough to hold its shape
Mix the graham crumbs with melted butter until every crumb looks evenly damp, then press the mixture firmly into the pie dish. A flat-bottomed measuring cup works better than fingertips because it compacts the crust without leaving soft patches. Freeze it for 15 minutes so the butter firms up and the base stops shifting when the filling goes in.
Beat the filling smooth before the apple butter goes in
Start with softened cream cheese and powdered sugar and beat until the mixture looks satin-smooth, with no pale lumps stuck to the sides of the bowl. If the cream cheese is still cool in the center, stop and work it longer before adding the apple butter. This is the stage that determines whether the final filling feels creamy or slightly grainy.
Swirl, don’t stir, the apple butter
Add the apple butter and cinnamon, then fold just enough to create ribbons through the filling. A few visible streaks are what you want. If you mix until the color is uniform, the cheesecake loses the contrast between tangy filling and spiced apple, and the finished slices look flat instead of marbled.
Fold in the whipped cream and chill patiently
Use a spatula and a light hand to fold in the whipped cream until no big white streaks remain. Spread the filling into the chilled crust and smooth the top, then refrigerate for at least 4 hours before cutting. If you slice it early, the center will slump instead of holding a clean edge.
How to Adapt This for Different Diets and Dessert Cravings
Gluten-Free Crust Swap
Use gluten-free graham-style crumbs or crushed gluten-free cookies in the same amount. The filling doesn’t need any changes, and the dessert still slices the same way, though some gluten-free crumbs need a touch more butter to hold together.
Dairy-Free Version
Use dairy-free cream cheese and a whipped topping made for folding, then chill it a little longer because plant-based fillings often set softer. The flavor stays close, but the texture will be slightly lighter and less tangy than the original.
Extra-Spiced Apple Butter Filling
If your apple butter is mild, add a pinch of nutmeg or allspice along with the cinnamon. That deepens the warm spice notes without making the filling taste like pumpkin pie. Use a light hand; too much spice will cover the cream cheese instead of supporting it.
Storage and Reheating
- Refrigerator: Store covered for up to 4 days. The crust softens a little after day two, but the filling stays creamy.
- Freezer: It freezes well as whole pie or slices. Wrap tightly and freeze for up to 1 month, then thaw overnight in the fridge for the cleanest texture.
- Reheating: No reheating needed. Let frozen slices thaw in the refrigerator; if you bring it to room temperature too fast, the filling can weep and lose that neat slice.
Answers to the Questions Worth Asking
No Bake Apple Butter Cheesecake
Ingredients
Equipment
Method
- Mix graham cracker crumbs with melted butter until evenly coated, then press firmly into a pie dish to form an even crust layer.
- Chill the crust in the freezer for 15 minutes to set before filling.
- Beat cream cheese and powdered sugar together until smooth and lump-free, with no visible dry sugar pockets.
- Swirl in apple butter and cinnamon until just marbled, not fully combined, so golden ribbons stay distinct.
- Gently fold in whipped cream until light and airy, stopping as soon as the streaks disappear.
- Spread the filling into the chilled crust and smooth the top for an even layer.
- Refrigerate for at least 4 hours, until firm enough to slice.