
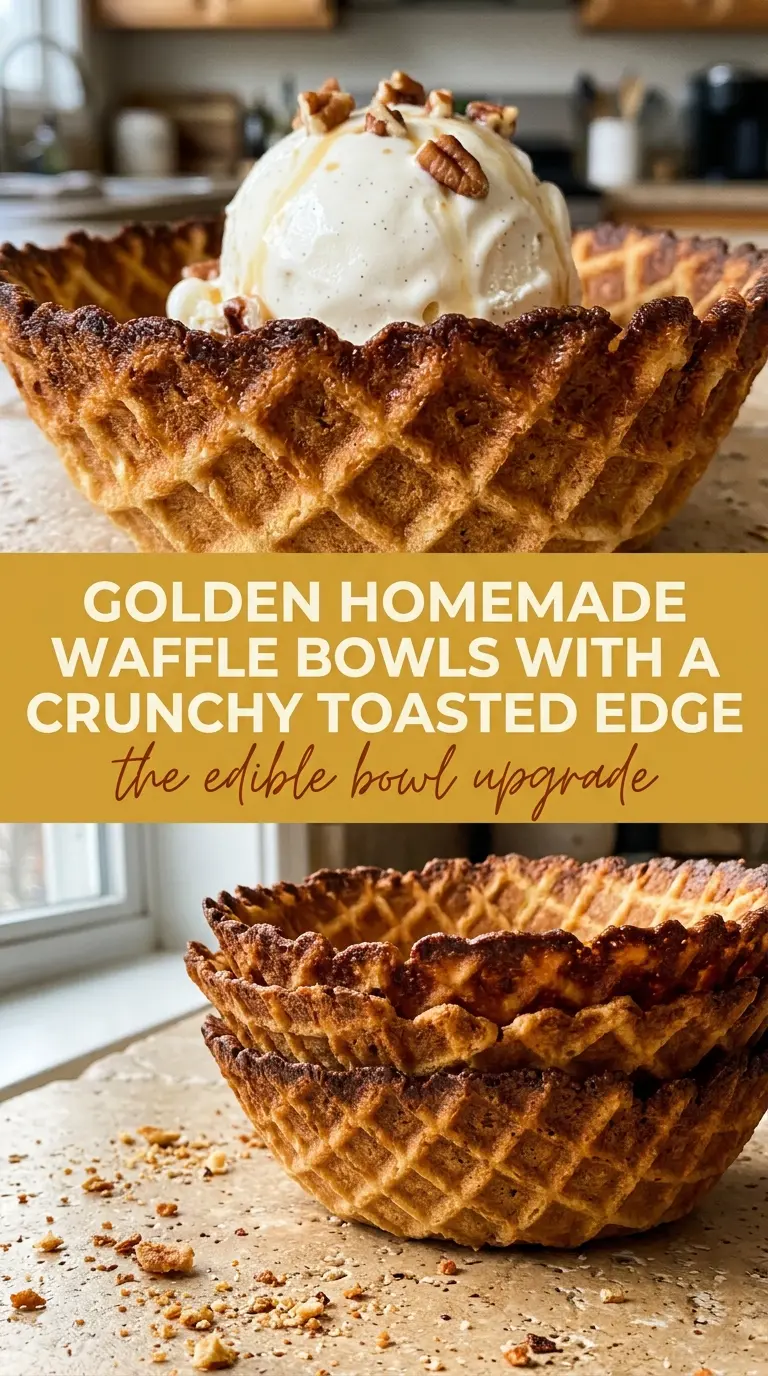
Warm waffle bowls turn a basic scoop of ice cream into a dessert with crunch, contrast, and a little bit of showmanship. The batter cooks into a thin, golden waffle with crisp edges, then gets shaped while it’s still hot so it holds that bowl form as it cools. What you end up with is sturdy enough for ice cream, but still light and toasty instead of dense or cookie-like.
The trick is working with a batter that leans more toward waffle cone than breakfast waffle. A little sugar helps the bowl caramelize and stay crisp, while melted butter gives the finished edges that rich, toasted taste. The timing matters too: if you wait even a minute too long, the waffle starts setting on the iron and cracks when you try to bend it.
Below, I’ve laid out the part that matters most — how to move fast without rushing, plus the small shaping habit that keeps the bowls from collapsing or splitting.
The bowls came out crisp on the outside and held their shape once they cooled. I used a small mixing bowl to form them, and even after sitting with ice cream for a few minutes, they never got soggy.
Keep these crisp homemade waffle bowls in mind for ice cream night when you want a crunchy, golden upgrade with almost no extra fuss.
The Reason Waffle Bowls Crack When You Try to Shape Them
The bowl has to be shaped the second it leaves the waffle iron. Not after a quick pause. Not once you’ve hunted for the right bowl. The sugar in the batter is already starting to set as soon as the steam drops, and that’s what gives you a clean curve instead of a split edge.
If your waffles are turning brittle before you can mold them, the iron is probably running too hot or the waffles are cooking too long. You want a deep golden color, not a dark brown shell. Once the edges look set and the center is no longer glossy, move fast and shape immediately.
The other common mistake is making them too thick. Thin batter spreads better, cooks faster, and bends without tearing. Thick batter makes a heavier waffle that cools into a stiff disk, which is the opposite of what you want here.
What the Batter Is Doing to Make These Bowls Work
Flour gives the bowl its structure. All-purpose flour works perfectly here, and there’s no need for anything special. If you swap in a gluten-free blend, use one that includes xanthan gum or another binder so the bowl doesn’t crumble at the curve.
Sugar does more than sweeten. It helps the waffle brown and turns the outside crisp, which is what keeps the bowl from going soft under ice cream. Cutting the sugar too far leaves you with a pale, less sturdy shell.
Eggs bind the batter and give the bowl enough strength to hold shape without becoming dry. Large eggs are the right size here. Smaller eggs can make the batter loose and the finished bowls more fragile.
Melted butter adds richness and that toasted, waffle-iron flavor you want in the finished edge. Neutral oil works in a pinch, but the bowls lose some of that buttery snap. Melt the butter first and let it cool slightly so it doesn’t scramble the eggs.
Vanilla rounds out the sweetness and makes the bowls taste intentional instead of just like plain batter in a new shape. Use real vanilla if you have it, because this recipe is short and every ingredient shows.
How to Shape the Bowls Before They Set
Mixing the Batter
Whisk the dry ingredients first so the sugar and salt distribute evenly, then add the wet ingredients and stir just until the batter looks smooth. A few tiny lumps are fine; overmixing develops too much structure and can make the bowls tougher than they need to be. The batter should pour easily but still look thick enough to coat a spoon.
Cooking to the Right Color
Spoon a small amount of batter onto the preheated waffle iron. Too much batter spills and makes awkward edges that are hard to fold; too little gives you a flimsy sheet that won’t hold the shape. Cook until the waffle is evenly golden and the steam falling off the iron has slowed down, which usually takes just a minute or two depending on the machine.
Shaping While the Waffle Is Flexible
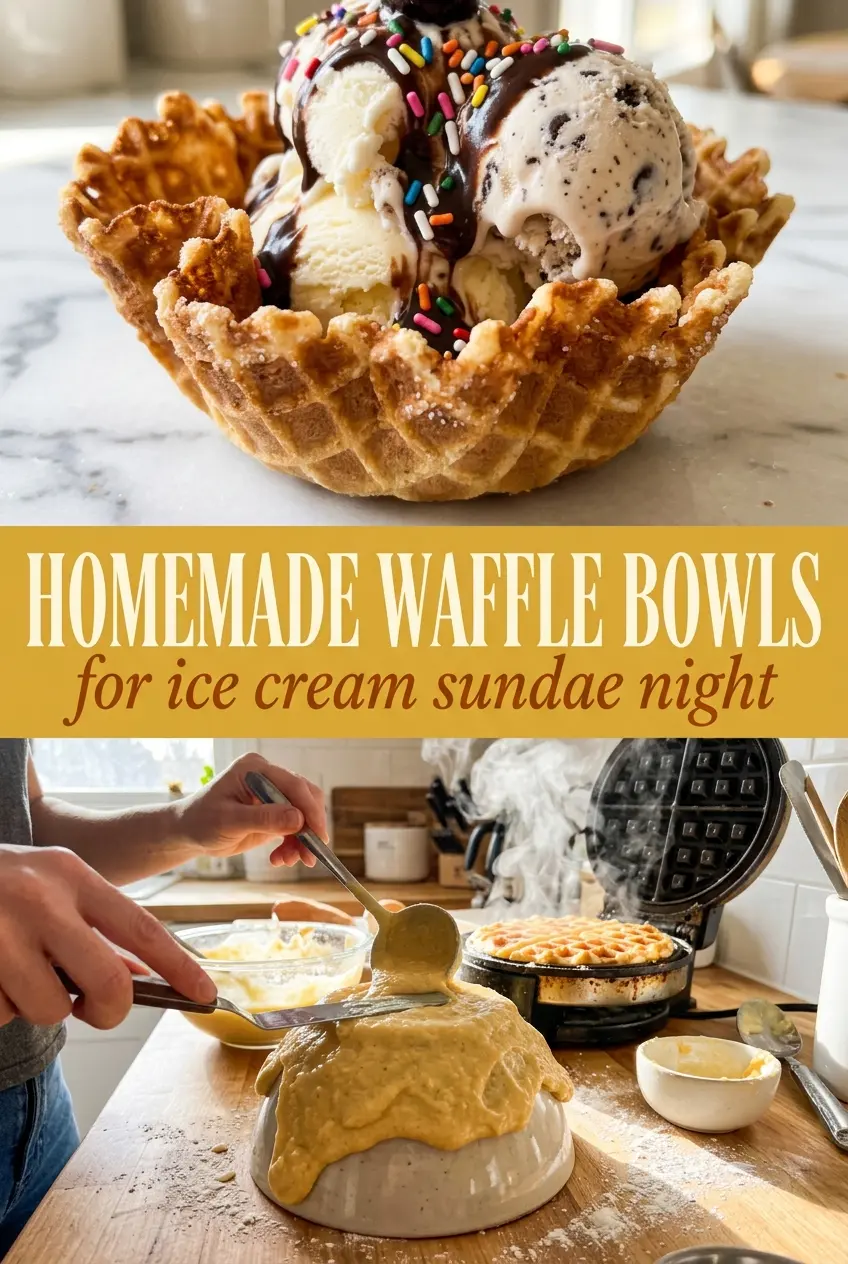
Lift the waffle off carefully and lay it over an upside-down bowl or ramekin right away. Press the center down gently with a clean towel or your hands protected by a cloth, then hold it in place for about 30 seconds. If it resists bending, it’s already cooling too much, and forcing it will crack the rim.
Cooling Until Crisp
Leave the shaped bowl on the mold until it feels set, then move it to a rack or plate to cool completely. It will continue to firm up as it cools, which is why it should feel only lightly crisp at first. Fill it too soon and trapped warmth can soften the interior before you even add the ice cream.
Ways to Change the Flavor or Fit the Occasion
Make them dairy-free
Swap the melted butter for a neutral oil or dairy-free butter alternative. Oil gives you a crisp bowl, but it won’t taste as rich, so add a tiny extra splash of vanilla if you want the flavor to feel fuller.
Use a gluten-free flour blend
A 1:1 gluten-free baking blend can work well here, especially one with xanthan gum. The bowl will usually be a little more delicate at the edges, so handle it with a thinner spatula and shape it as soon as it leaves the iron.
Add a cocoa or cinnamon note
Replace a small portion of the flour with unsweetened cocoa powder for a chocolate version, or add cinnamon for a warmer, bakery-style bowl. Keep the mix-in modest so the batter still spreads properly and the finished bowl doesn’t turn dry.
Storage and Reheating
- Refrigerator: Not recommended. The bowls soften quickly in the fridge from trapped moisture.
- Freezer: They’ll freeze, but the texture suffers. If you do freeze them, wrap each cooled bowl tightly and thaw uncovered at room temperature so condensation doesn’t ruin the crispness.
- Reheating: To bring back some crunch, warm the empty bowls in a 300°F oven for a few minutes. Don’t microwave them; steam is the fastest way to turn a crisp bowl limp.
Questions I Get Asked About This Recipe
Homemade Waffle Bowls
Ingredients
Equipment
Method
- Whisk the flour, sugar, and salt until evenly combined, then set aside.
- Whisk the eggs, melted butter, and vanilla extract until smooth and uniform.
- Pour the wet mixture into the dry ingredients and stir until smooth with no visible dry spots.
- Preheat the waffle iron according to the manufacturer instructions and lightly prepare it if your model requires it.
- Pour a small amount of batter onto the iron and cook at the iron’s setting until golden brown, about 1-2 minutes.
- Immediately mold the hot waffle over an upside-down bowl to shape it into a bowl form while it is pliable.
- Hold the waffle in place for 30 seconds until it sets, then let it cool completely before removing.
- Repeat with the remaining batter until you have enough bowls, then fill with ice cream to serve.