
Banana bread comes out at its best when the crumb stays tender, the top turns deeply caramelized, and the loaf slices cleanly without collapsing in the middle. The bread machine does the heavy lifting here, but the order of ingredients still matters. Layering the wet ingredients first and the dry ingredients on top helps the machine mix everything evenly without leaving flour streaks along the edges of the pan.
Ripe bananas bring the sweetness and moisture, while melted butter keeps the crumb rich instead of gummy. The quick bread setting is the part that makes this work, since it mixes without the long kneading cycle meant for yeast doughs. If your machine has a cake or quick bread program, that’s the one to use. If it doesn’t, check the manual before starting so you know the cycle length and whether the loaf needs a little extra bake time at the end.
Below, you’ll find the small details that keep the loaf from sinking in the center, plus the easiest swaps if you want to adapt it with what’s already in your kitchen.
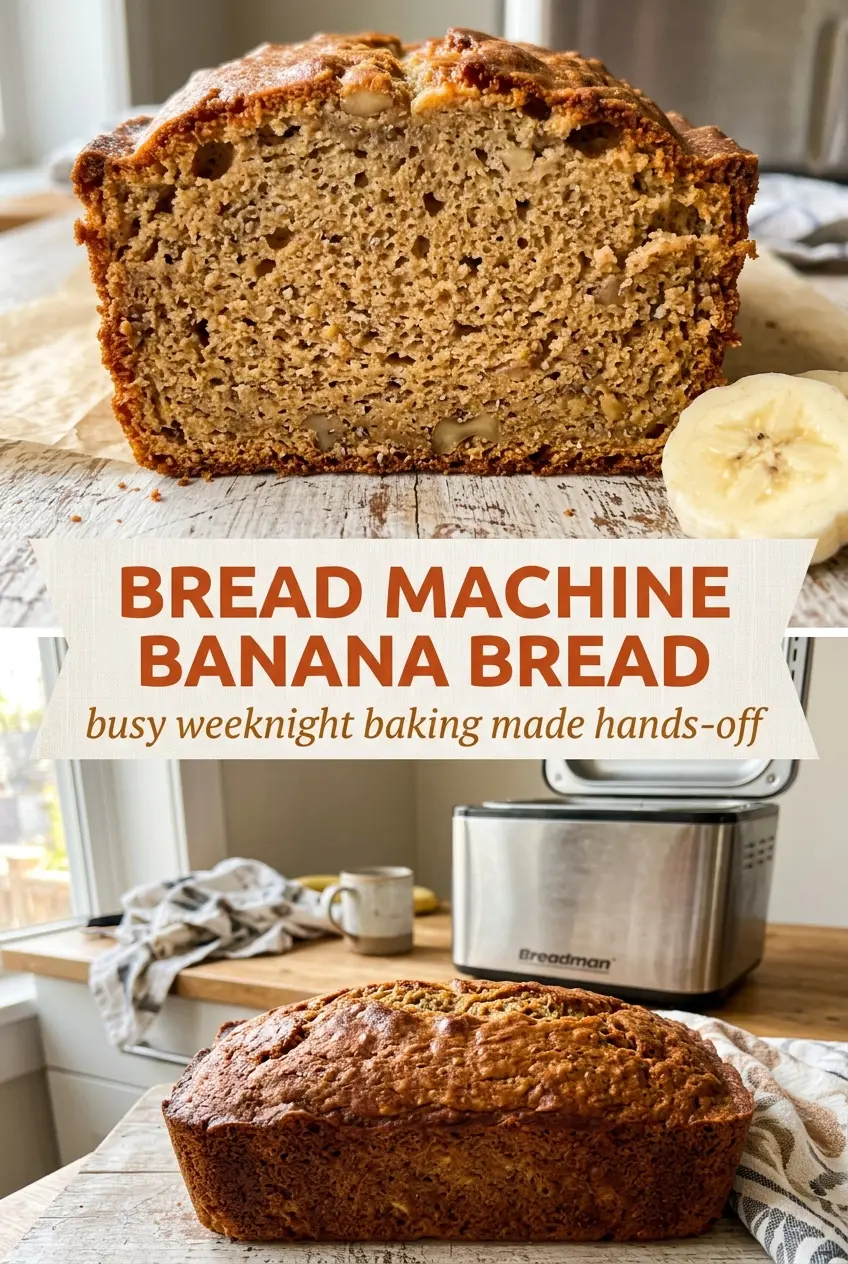
The loaf came out with a crackly top and stayed moist for days, and the banana flavor was stronger than my usual oven-baked version.
Save this bread machine banana bread for the days when you want a caramelized, tender loaf with almost no hands-on work.
The Part That Keeps Bread Machine Banana Bread From Turning Dense
The biggest mistake with bread machine banana bread is treating it like a regular loaf cake and overmixing it by hand before it even starts. The machine is doing the mixing for you, so the job is to give it the ingredients in the right order and then let the program work. Wet ingredients first, dry ingredients on top. That helps the paddles pull everything together evenly instead of packing flour into the corners of the pan.
The other thing that matters is the cycle you pick. A yeast bread setting can overwork the batter and leave you with a strange, tight crumb. A quick bread or cake cycle mixes and bakes more like a banana loaf should. If your machine runs hot or has a longer cycle, check the center with a toothpick at the end; a few moist crumbs are fine, but wet batter means it needs more time.
What Each Ingredient Is Actually Doing in This Loaf
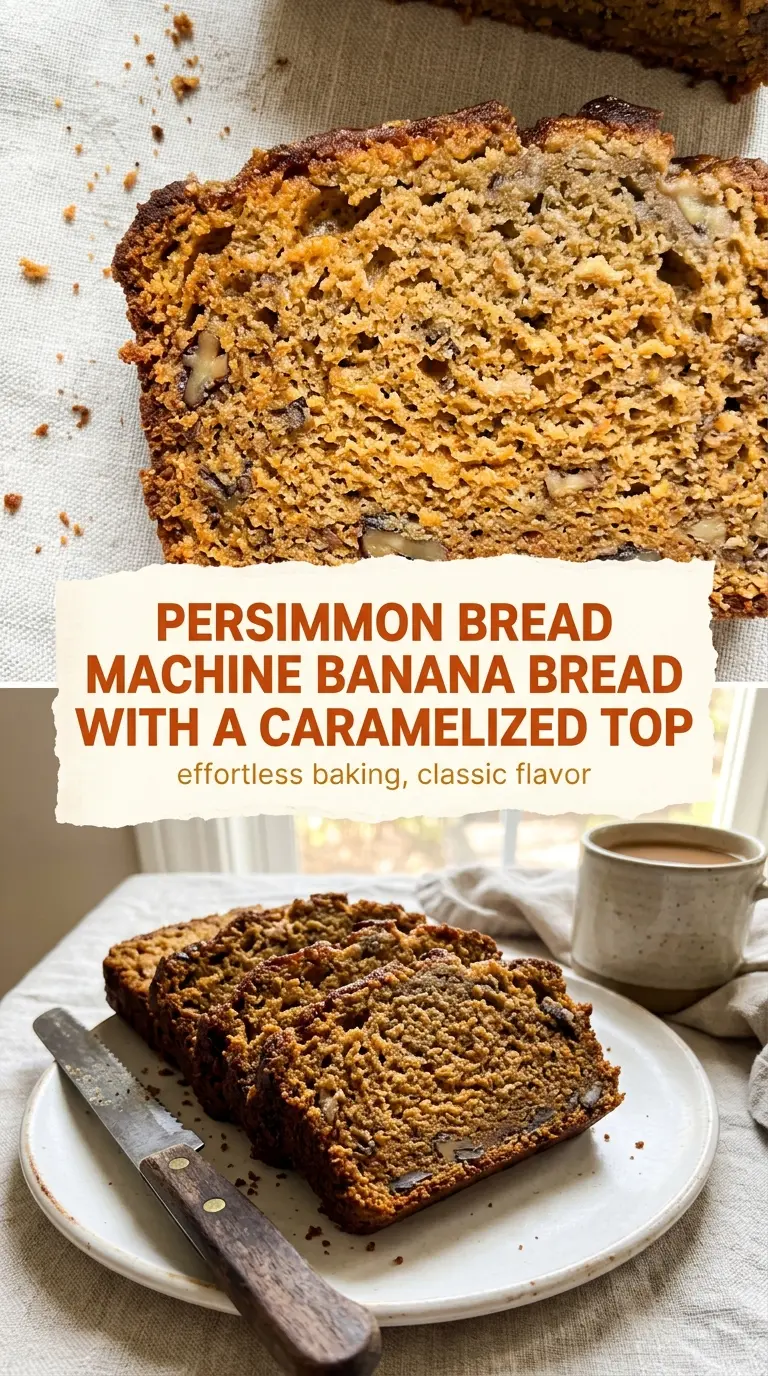
- Ripe bananas — These are the backbone of the loaf. The browner the peel, the sweeter and more fragrant the bread will be. If your bananas are still mostly yellow, the loaf will taste flatter and need a little more sweetness.
- Melted butter — Butter gives the crumb a richer, softer finish than oil and helps that top layer brown nicely. Use unsalted if that’s what you keep around; if you only have salted butter, reduce the added salt slightly.
- Sugar — This does more than sweeten. It helps the crust darken and gives the loaf a more cake-like tenderness. Cutting it too far makes the bread less moist and less banana-forward.
- Eggs — They hold the batter together and help the loaf rise with a lighter crumb. Large eggs are the right size here; smaller eggs can leave the batter a touch dry.
- All-purpose flour — Standard all-purpose flour keeps the texture soft without making the loaf heavy. Bread flour isn’t a good swap here because it pushes the crumb toward chewy instead of tender.
- Baking soda — This reacts with the bananas and gives the loaf lift. Don’t replace it with baking powder one-for-one; baking soda has the stronger job here and the loaf depends on it for its rise.
- Vanilla extract — It rounds out the banana flavor and keeps the loaf from tasting one-note. The real stuff gives the warmest flavor, but imitation vanilla will still work in a pinch.
How to Run the Machine So the Loaf Bakes Evenly
Layering the Pan
Add the mashed bananas, melted butter, sugar, eggs, and vanilla directly to the bread machine pan first. Pour the flour, baking soda, and salt on top and leave it alone. That layering matters because it keeps the dry ingredients from clumping against the wet ones before the cycle starts. If your machine manual recommends a different order for quick breads, follow that instead, since some paddles and pans mix more aggressively than others.
Choosing the Right Cycle
Select the quick bread or cake setting, not the standard yeast bread program. The batter should mix into a thick, spoonable batter and then bake without a long knead. If the machine starts doing a full knead-and-rise sequence, stop it and reset it to the correct program. A yeast cycle can tighten the crumb and dry out the edges before the center is done.
Checking for Doneness
When the cycle ends, test the center with a toothpick or skewer. It should come out with a few moist crumbs, not raw batter. If it’s still wet in the middle, add bake time in short bursts and keep an eye on the top so it doesn’t overbrown. Let the loaf rest in the pan briefly, then lift it out and cool it on a rack so steam doesn’t soften the crust.
How to Adapt This When You Need a Different Version
Dairy-Free Banana Bread
Swap the butter for melted coconut oil or a neutral oil like avocado oil. Coconut oil gives a faint sweetness and firmer crumb when cool, while neutral oil keeps the flavor closer to classic banana bread. Either one works well in the bread machine because the batter still has enough fat to stay tender.
Lower-Sugar Loaf
You can reduce the sugar slightly, but don’t cut it too far or the loaf gets pale and less moist. A smaller reduction still leaves you with good browning and banana flavor. If your bananas are extra ripe, they’ll carry more of the sweetness for you.
Gluten-Free Version
Use a cup-for-cup gluten-free flour blend that includes xanthan gum. The texture will be a little more delicate and slightly less springy than the original, but the banana flavor still comes through. Don’t use a single flour like almond or coconut flour on its own, since those behave too differently in the machine.
Storage and Reheating
- Refrigerator: Store sliced or unsliced in an airtight container for up to 4 days. The crumb gets a little firmer in the fridge, but the flavor stays good.
- Freezer: Banana bread freezes well. Wrap the cooled loaf or individual slices tightly, then freeze for up to 3 months.
- Reheating: Warm slices in the microwave for 10 to 15 seconds or in a low oven until just heated through. Don’t overheat it, or the crumb turns dry and the sugar in the loaf can get sticky at the edges.
Questions I Get Asked About This Recipe
Bread Machine Banana Bread
Ingredients
Equipment
Method
- Add the mashed bananas, melted butter, sugar, eggs, and vanilla extract to the bread machine pan in that order.
- Add the all-purpose flour, baking soda, and salt on top of the wet ingredients, keeping the dry ingredients grouped so they don’t fully mix at once.
- Select the quick bread or cake setting on the bread machine.
- Start the machine and let it run through its full mixing and baking cycle with no additional hands-on steps.
- When the cycle finishes, check doneness with a toothpick; it should come out with only a few moist crumbs.
- If the center needs more time, add extra bake time per your machine’s instructions until the toothpick tests clean.
- Carefully remove the pan and let the loaf cool on a wire rack before slicing, so the crumb sets and doesn’t tear.