
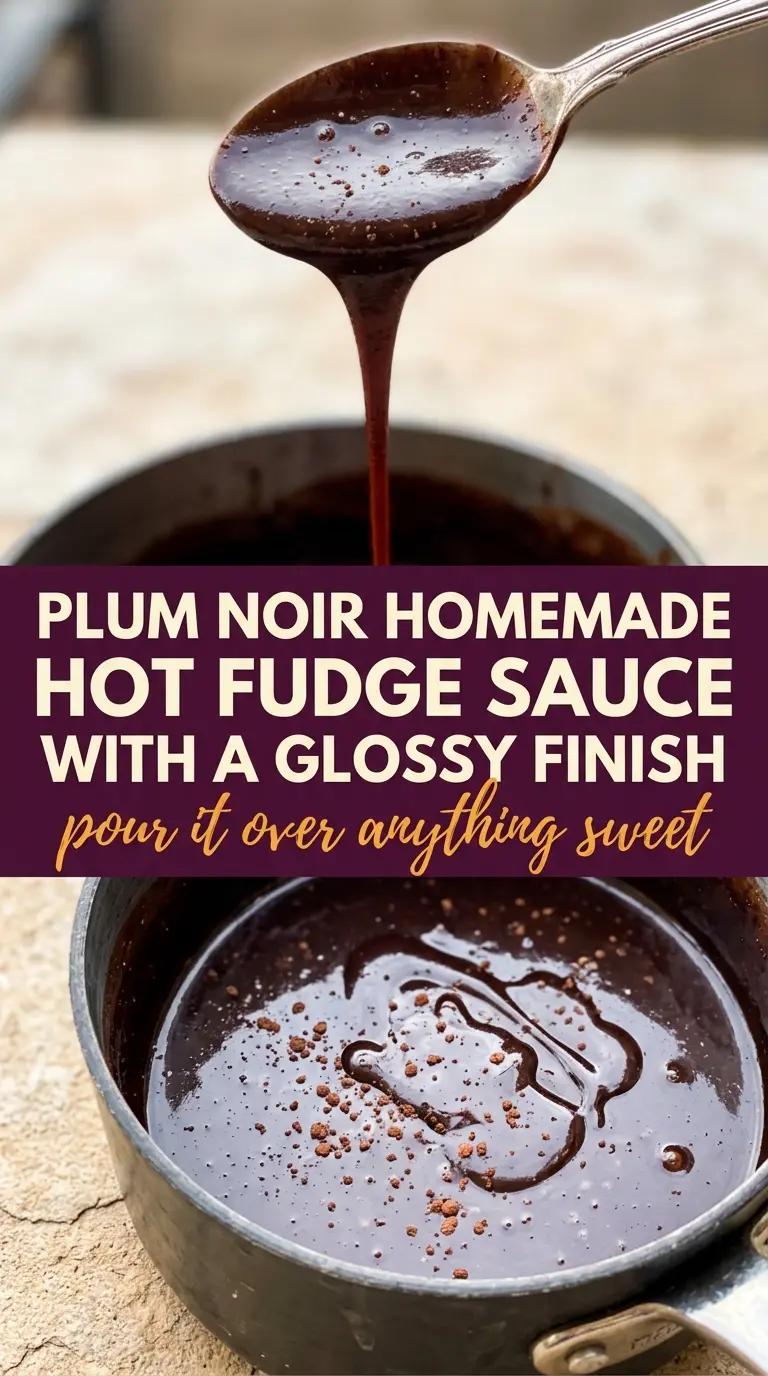
Glossy hot fudge sauce changes the whole dessert experience in a few spoonfuls. It pours in a thick ribbon, clings to cold ice cream, and settles into that sweet spot between ganache and syrup where it tastes rich without turning heavy. This homemade version gets there fast, with cocoa, butter, cream, and sugar cooked just long enough to turn smooth and shiny.
The trick is to start by dissolving the cocoa and sugar before the cream goes in. That keeps the sauce from tasting gritty and helps the cocoa bloom in the butter so the chocolate flavor comes through deeper, not flatter. A short simmer does the rest: it melts everything together, slightly thickens the sauce, and gives you that spoon-coating texture that sets up beautifully as it cools.
Below you’ll find the little details that matter most, including the heat level that keeps the sauce silky and the easiest way to bring it back to pouring consistency after it’s been chilled.
The sauce thickened up perfectly and stayed glossy after reheating. I spooned it over vanilla ice cream and my husband asked for hot fudge sundaes again the next night.
Save this glossy homemade hot fudge sauce for the nights when plain ice cream needs a warm chocolate blanket.
The Reason This Hot Fudge Stays Smooth Instead of Turning Grainy
Hot fudge usually fails in one of two places: the cocoa clumps, or the sugar never fully dissolves and the sauce ends up sandy once it cools. This version avoids both problems by whisking the cocoa and sugar into melted butter before the cream goes in. That step matters because fat coats the cocoa particles and helps them disperse evenly instead of floating around in dry pockets.
The other thing that keeps it silky is the heat. A gentle simmer is enough. A hard boil is how you end up with a sauce that tastes cooked too fast or breaks into a greasy sheen on top. If the sauce looks a little loose in the pan, that’s fine; it thickens as it cools and gets that classic pourable fudge texture.
What Each Ingredient Is Actually Doing in This Dish
- Butter — This gives the sauce body and helps carry the chocolate flavor. Salted or unsalted both work, though unsalted gives you more control over the finish.
- Cocoa powder — Use a good unsweetened cocoa here. Dutch-process makes the sauce darker and smoother-tasting, while natural cocoa gives it a sharper chocolate edge.
- Sugar — Granulated sugar dissolves into the sauce and creates the glossy texture. Brown sugar will work in a pinch, but it adds molasses flavor and makes the sauce a little less clean and dark.
- Heavy cream — This is what turns the mixture from chocolate paste into sauce. Half-and-half can work if that’s what you have, but the finished sauce will be thinner and less rich.
- Vanilla extract — Stir it in off the heat so it stays fragrant. It rounds out the chocolate and makes the sauce taste fuller without making it sweeter.
- Salt — Even this small amount matters. It keeps the sauce from tasting flat and sharpens the chocolate in the last bite.
Building the Sauce in the Right Order
Melt the Butter First
Start over medium-low heat and let the butter melt completely without browning. Browning isn’t the goal here; you want a clean fat base that will help the cocoa dissolve smoothly. If the butter foams aggressively, the heat is too high and the sauce will cook unevenly from the start.
Whisk the Cocoa and Sugar Into the Fat
Add the cocoa powder and sugar and whisk until the mixture looks smooth and paste-like, with no dry streaks hiding along the edges of the pan. This is the point where clumps either disappear or become your problem later. Keep whisking until the mixture darkens and looks glossy before you add the cream.
Add the Cream Slowly
Pour in the heavy cream in a steady stream while whisking constantly. If you dump it in all at once, the cocoa paste can seize into tiny lumps before it loosens back up. The sauce should look smooth within seconds, with a thinner, pourable texture that coats the whisk.
Simmer Until It Turns Lush
Bring the sauce to a gentle simmer and cook for 3 to 4 minutes, stirring often. You’re looking for small bubbles around the edges and a shine that becomes deeper as it cooks. If it starts to sputter hard or stick on the bottom, lower the heat immediately; that’s how the sugar scorches and the sauce loses its clean finish.
Finish Off the Heat
Remove the pan from the burner and stir in the vanilla and salt. The vanilla stays brighter that way, and the salt blends in without cooking away. Let the sauce cool for a few minutes before serving so it thickens just enough to cling to ice cream instead of running straight to the plate.
What to Change When You Need a Different Version
Dairy-Free Version
Swap the butter for a good plant-based butter and use full-fat canned coconut milk in place of the cream. The sauce will still be smooth and spoonable, but it picks up a faint coconut note, so it works best when you want a dessert topping with a little extra character.
Extra-Thick Hot Fudge
Cook the sauce an extra minute or two at a very gentle simmer if you want a thicker, spoonable fudge for brownies or cake. It will set up more firmly as it cools, so add a splash of cream when reheating if it becomes too dense in the fridge.
Less-Sweet Chocolate Finish
Reduce the sugar by 2 to 3 tablespoons if you prefer a darker, less sweet sauce. The texture still works, but the cocoa flavor becomes sharper and more grown-up, which is great over rich vanilla ice cream or salty pretzels.
Storage and Reheating
- Refrigerator: Store in a sealed jar or container for up to 2 weeks. It will thicken a lot when chilled, which is normal.
- Freezer: It freezes fine for up to 3 months in a freezer-safe container. Leave a little room at the top so the sauce can expand, then thaw overnight in the fridge before reheating.
- Reheating: Warm gently in a small saucepan over low heat or in short microwave bursts, stirring between each one. The common mistake is blasting it on high heat, which can make the sauce separate before it loosens back up.
Answers to the Questions Worth Asking
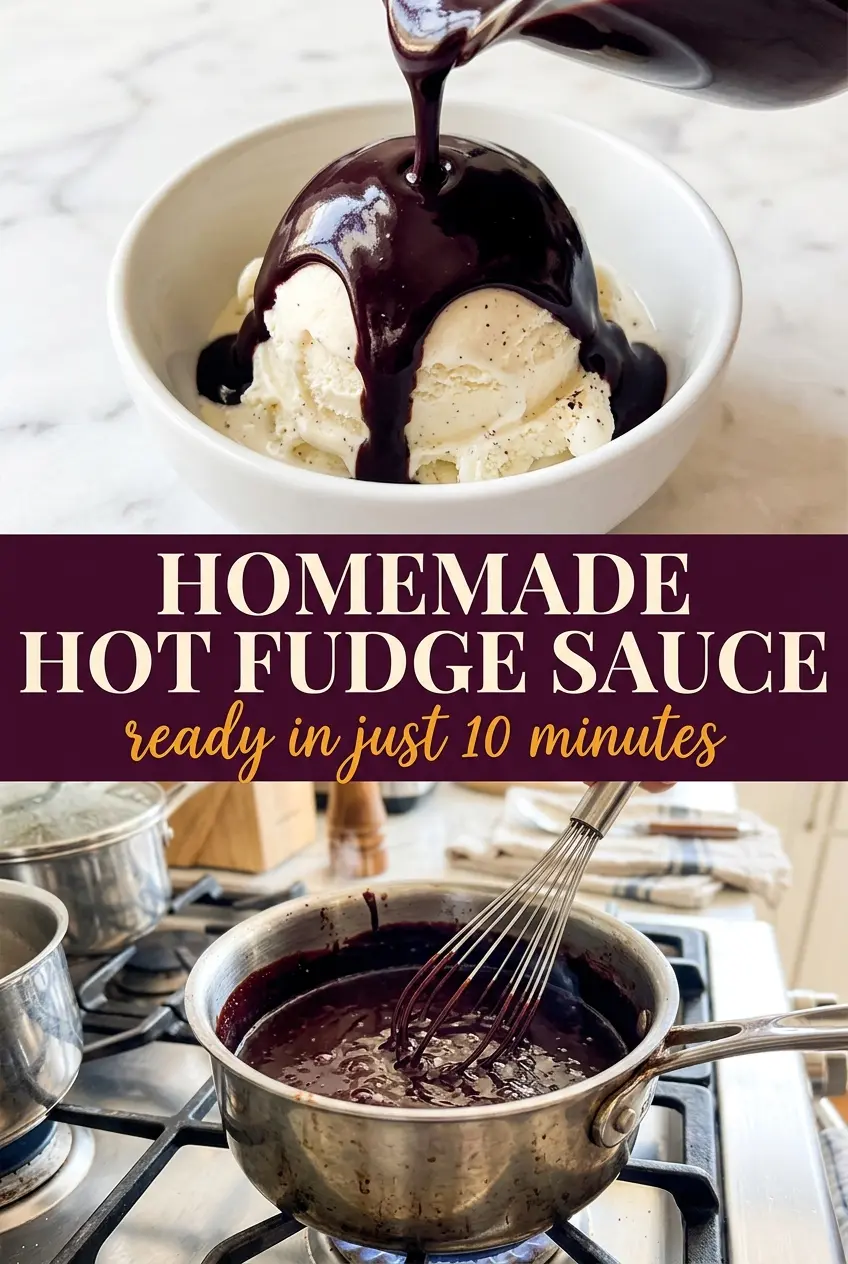
Homemade Hot Fudge Sauce
Ingredients
Equipment
Method
- Melt the butter in a saucepan over medium-low heat until fully liquid and smooth, about 1-2 minutes, watching closely for any browning (no visual foaming or dark spots).
- Whisk in the cocoa powder and sugar until smooth and no lumps remain, 1-2 minutes at medium-low heat, using steady whisking to keep the mixture silky (no dry cocoa patches).
- Slowly pour in the heavy cream while whisking constantly, about 30-45 seconds, until the mixture looks uniform and glossy (no streaks of dry cocoa).
- Bring to a gentle simmer and cook for 3-4 minutes, stirring often, until glossy and slightly thickened (it should cling lightly to the back of a spoon).
- Remove from heat and stir in the vanilla extract and salt, 30-60 seconds, until fully incorporated and fragrant (the sauce should look smooth and dark).
- Let cool slightly before serving warm over ice cream, 5 minutes, so it pours thickly rather than immediately running off.