
Campfire chili mac lands in that sweet spot between hearty and low-fuss: browned beef, tender macaroni, and chili-spiced tomato sauce all cook together in one pot, then get finished with a melty cheddar blanket. It eats like the kind of meal people remember from good camping trips because it comes out rich, smoky, and filling without asking for a stack of dishes afterward.
What makes this version work is the way the pasta cooks right in the seasoned liquid. The macaroni pulls flavor from the broth and tomatoes instead of tasting like plain noodles tossed into chili at the end, and the starch helps the sauce thicken as it simmers. The key is keeping enough liquid in the pot for the pasta to soften fully while still letting the mixture tighten up at the end.
Below, I’ve included the small details that keep it from sticking, the best way to judge when the pasta is done over a campfire, and a few easy swaps if you want to stretch it or change the heat level.
The pasta cooked right in the chili base and came out tender, not mushy, and the cheddar melted into the top perfectly. My husband went back for seconds before I even sat down.
Save this campfire chili mac for nights when you want one pot, big flavor, and a cheesy finish that holds up over the fire.
The Reason the Pasta Cooks in the Pot Instead of Afterward
Cooking the macaroni right in the chili base gives you more than convenience. It lets the noodles absorb beef broth, tomatoes, and chili seasoning as they soften, which is why the finished dish tastes seasoned all the way through instead of like chili spooned over plain pasta. It also releases starch into the pot, and that starch helps turn the liquid into a clingy sauce instead of a soupy broth.
The part people usually get wrong is the liquid level. If the pot looks dry before the macaroni is tender, the pasta will seize up and stick to the bottom before it finishes cooking. If it looks too wet at the end, keep simmering uncovered for a few minutes after the pasta turns tender. The sauce should still move, but it should mound lightly on a spoon instead of running like soup.
What Each Ingredient Is Actually Doing in This Dish

- Ground beef — This builds the savory base and gives the dish its hearty, camp-style character. An 80/20 blend brings enough fat for flavor, but if yours is leaner, the dish still works; just keep an eye on the pot so the onions don’t catch once the meat is drained.
- Onion — Diced onion softens with the beef and adds sweetness that keeps the tomato and chili powder from tasting flat. A yellow onion is the best all-purpose choice here.
- Elbow macaroni — This shape holds up well in one-pot cooking because it softens evenly without falling apart. Smaller pasta works best; long noodles or very delicate shapes don’t give you the same texture.
- Beef broth — Broth does the job water can’t. It carries the chili seasoning into the pasta and helps the sauce taste full instead of thin. If you only have stock, that works too.
- Diced tomatoes — These add acidity and enough juice to cook the pasta without making the dish heavy. Fire-roasted diced tomatoes are a nice upgrade if you want a little extra smoke.
- Chili powder and cumin — This is the seasoning backbone. Chili powder brings warmth and depth; cumin adds that earthy note that makes the whole pot taste like chili instead of just tomato pasta.
- Cheddar cheese — Shredded cheddar melts over the top and gives the dish its finish. Shred it yourself if you can; pre-shredded cheese is coated to prevent clumping, which can slow melting a bit.
Getting the Pot to the Right Stage at the Right Time
Brown the Beef Hard Enough to Matter
Cook the ground beef with the onion until the meat loses all pink color and you see browned bits forming on the bottom of the pot. Those browned bits are flavor, not burnt residue, and they’re part of what makes campfire chili mac taste deeper than a basic skillet pasta. If the pot is crowded and the meat steams instead of browns, give it another minute or two before adding anything else. Drain excess fat after browning, but leave a thin coating behind so the chili powder has something to bloom in.
Let the Pasta Simmer, Not Boil Violently
Once the macaroni, broth, tomatoes, chili powder, and cumin are in the pot, bring everything to a lively simmer and then settle it down. A hard boil breaks the pasta apart faster and can scorch the bottom before the center of the noodles softens. Stir every few minutes, scraping the bottom and corners of the pot, because the starch builds there first. If the mixture looks tight before the pasta is tender, add a small splash of broth and keep going.
Finish With Cheese After the Heat Comes Off
Pull the pot off the fire once the macaroni is tender and most of the liquid has been absorbed. Scatter the cheese over the top, cover the pot, and let the residual heat melt it instead of blasting it directly with flame. That gentle finish keeps the cheese smooth and stretchy instead of greasy or grainy. After a couple of minutes, stir it through lightly so the cheese clings to the pasta and beef.
Three Ways to Make This Work for Different Camps and Kitchens
Make It Spicier Without Drowning Out the Beef
Add a pinch of cayenne or diced green chiles when you stir in the chili powder and cumin. That gives you a sharper finish without changing the texture. If you go heavy on heat, keep the cheese amount the same; the dairy softens the spice and keeps the pot balanced.
Use Turkey or Vegetarian Crumbles
Ground turkey works well if you want a lighter version, but it needs a little extra seasoning because it doesn’t bring the same beefy depth. For a vegetarian version, use plant-based crumbles and vegetable broth; the texture stays close, though the flavor will be cleaner and less smoky. Add a spoonful of tomato paste if you want more body.
Make It Gluten-Free Without Losing the One-Pot Feel
Swap in a gluten-free short pasta that holds its shape well and watch the pot closely, because some gluten-free noodles soften faster than elbow macaroni. Start checking a couple minutes early and stir gently so they don’t break. The sauce may look a little looser while it’s hot, then tighten as it sits.
Storage and Reheating
- Refrigerator: Store for up to 4 days. The pasta keeps absorbing sauce, so the texture gets thicker by day two.
- Freezer: It freezes okay, but the noodles soften a bit after thawing. Freeze in portions and add a splash of broth when reheating.
- Reheating: Warm it gently on the stovetop over low heat with a little broth or water stirred in. High heat dries out the pasta and can make the cheese separate.
Answers to the Questions Worth Asking
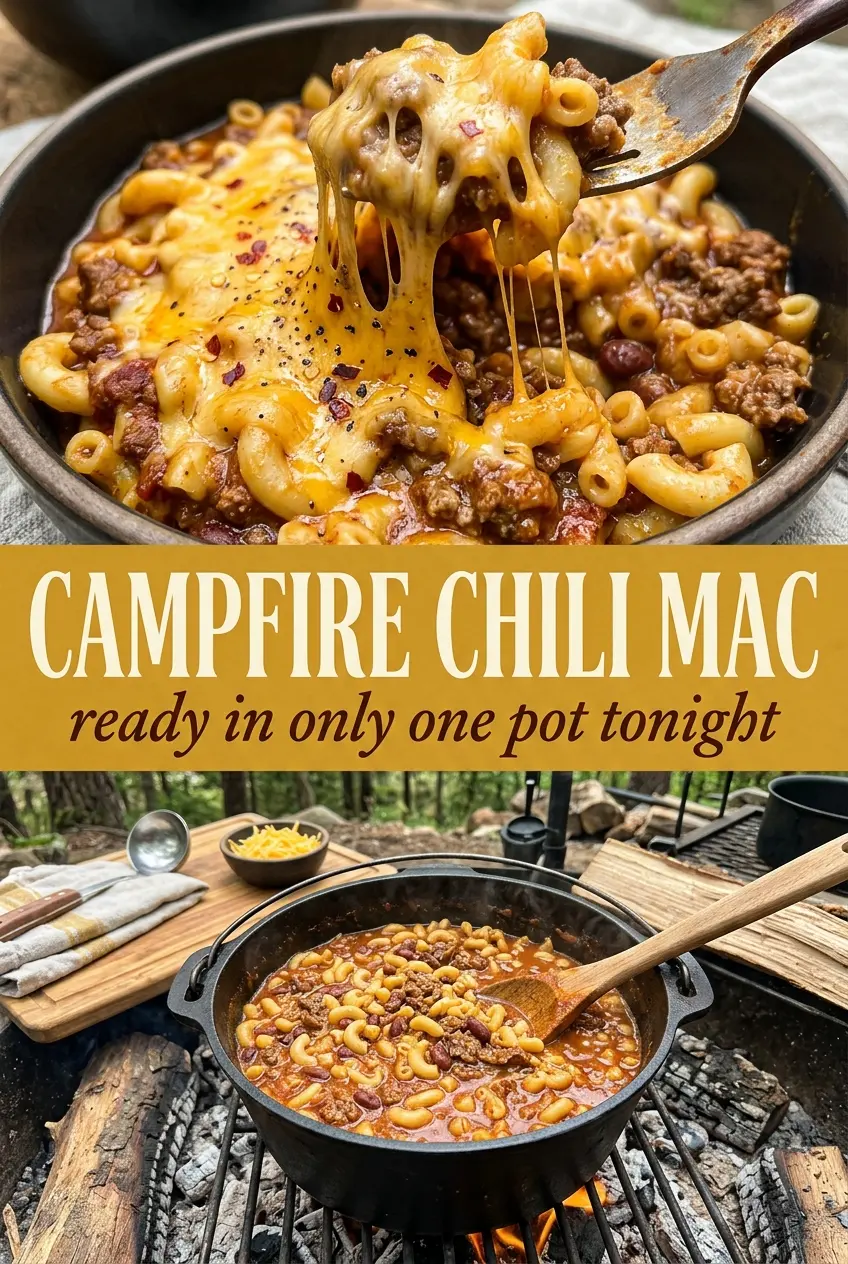
Campfire Chili Mac
Ingredients
Equipment
Method
- In a large Dutch oven over the campfire, brown the ground beef with the diced onion, stirring until no pink remains.
- Drain excess fat, then stir in the uncooked macaroni, beef broth, diced tomatoes, chili powder, and cumin.
- Cover and simmer for 12-15 minutes, stirring occasionally, until the macaroni is tender and the mixture looks slightly thick.
- Remove from heat once the pasta has absorbed most of the liquid.
- Sprinkle the shredded cheddar evenly over the top in a single layer so it melts consistently.
- Cover for 2-3 minutes until the cheese melts and turns glossy.
- Stir gently and serve warm.