
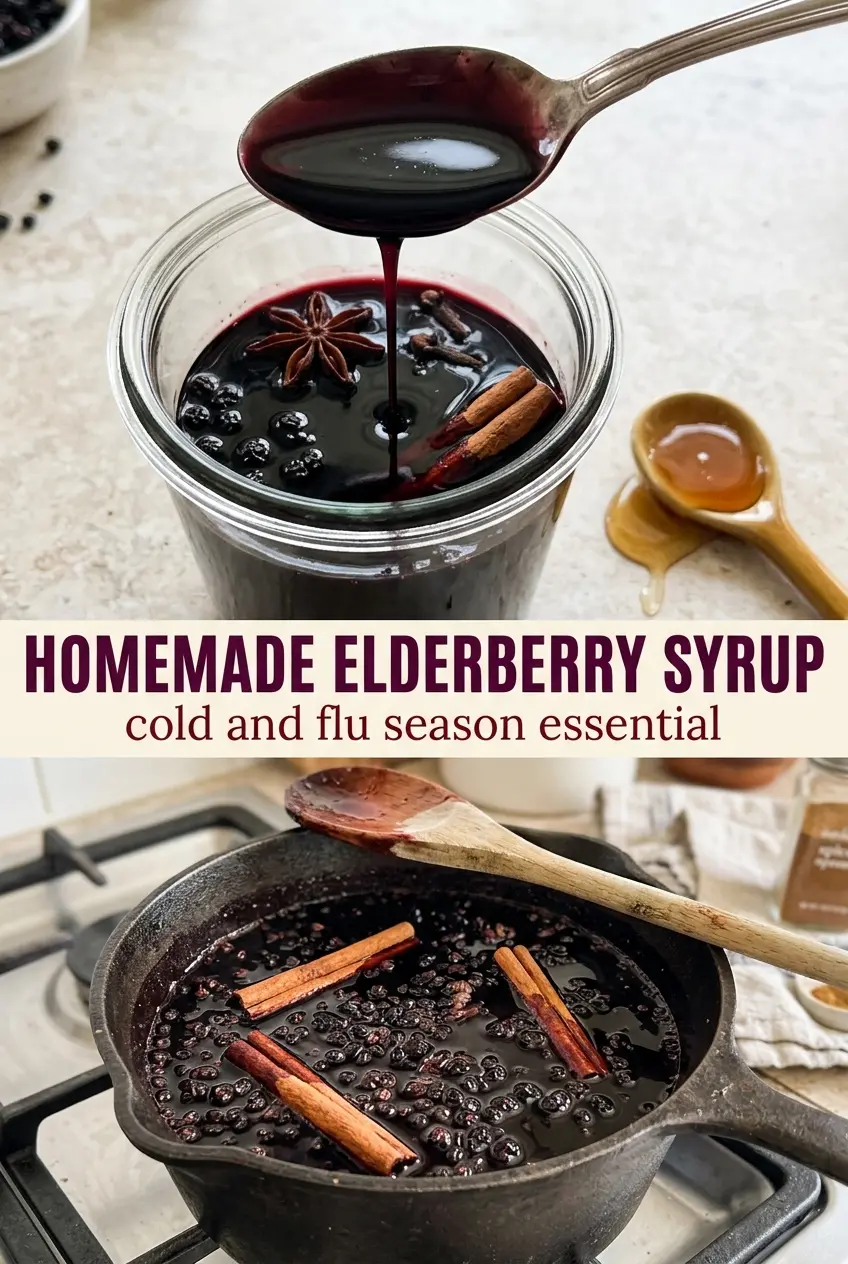
Elderberry syrup turns deep, glossy, and almost jammy as it simmers, with cinnamon, clove, and ginger giving the whole batch a warm edge that tastes far better than anything thin or one-note from a bottle. The finished syrup pours like a loose honey at first, then settles into that spoon-coating texture that makes it easy to stir into tea, drizzle over yogurt, or take by the spoonful when you want something comforting on hand.
What makes this version work is the balance between reduction and restraint. The berries simmer long enough to concentrate their color and flavor, but the honey goes in only after the liquid cools so it keeps its character and doesn’t get cooked off. That detail matters more than most people realize. If the syrup ever tastes dull or flat, it’s usually because it was rushed, boiled too hard, or sweetened before it cooled.
Below you’ll find the exact simmering time that gets the texture right, plus the one temperature detail that keeps the honey from losing what makes it worth adding in the first place. I also included a few practical swaps and storage notes, since this is the kind of recipe people like to keep around and make again without guessing.
The syrup reduced beautifully and turned out thick enough to coat the spoon without being gummy. I strained it well and the ginger gave it such a nice finish in tea.
Save this elderberry syrup for the times you want a deep plum, cinnamon-spiced batch that simmers down glossy and keeps beautifully in the fridge.
The Simmer Time That Gives Elderberry Syrup Its Body
Elderberry syrup can go wrong in two opposite ways: it can taste watery if you stop too soon, or it can turn harsh and flat if you boil it hard for too long. The sweet spot is a steady uncovered simmer that reduces the liquid by about half. That concentration is what gives you a syrup that tastes full and looks dark and glossy instead of thin and tea-like.
The other mistake is straining too early. The berries need time to give up their color and flavor, and the spices need enough time to open up without turning bitter. A gentle simmer also keeps the ginger bright instead of muddy. If the pot is bubbling aggressively, the edges can start to catch and the flavor gets less clean.
What Each Ingredient Is Actually Doing in This Dish
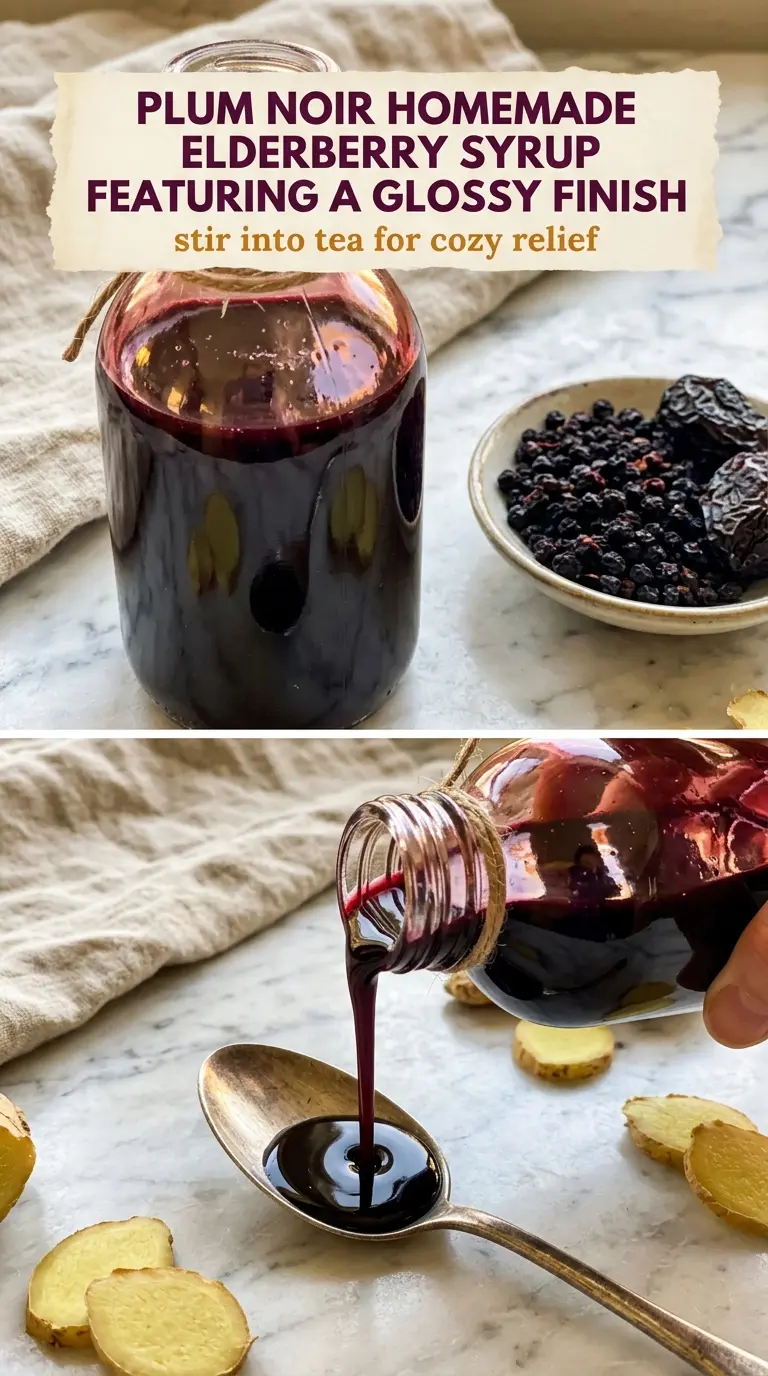
- Dried elderberries — These carry the color and the core flavor. Fresh elderberries aren’t a good swap here unless you already know they’re properly prepared for cooking, because raw elderberries need careful handling. Dried berries are the safer, more reliable choice for syrup.
- Cinnamon stick — A whole stick gives a smoother, rounder spice note than ground cinnamon, which can make the syrup gritty. If you only have ground cinnamon, use a small pinch, but expect a slightly cloudier syrup.
- Whole cloves — Cloves add depth fast, so don’t overdo them. Five is enough for the batch size here. More than that pushes the syrup toward medicinal bitterness.
- Fresh ginger — Slice it so it can perfume the liquid without disappearing completely. Ginger powder won’t give the same fresh bite. If you need a swap, use a small extra piece of sliced fresh ginger rather than ground ginger.
- Raw honey — This sweetens the syrup and gives it that classic thick, silky finish. Stir it in only after the liquid cools to lukewarm. If it goes into a hot pot, you’ll lose some of the qualities that make raw honey worth using.
How to Reduce the Syrup Without Cooking Off the Good Parts
Building the base
Start with the elderberries, water, cinnamon stick, cloves, and ginger in a saucepan. Bring it to a boil only to get the process moving, then immediately lower the heat to a steady simmer. You want movement at the surface, not a hard rolling boil. If the pot boils too hard, the liquid can reduce before the spices have time to infuse evenly.
Waiting for the right reduction
Let the mixture simmer uncovered for about 45 minutes, until it’s reduced by half. The color will deepen to a rich plum-black, and the liquid will look more concentrated around the edges. Don’t judge it by smell alone; the visual cue is the reduction. If it still looks thin and tea-like, it needs more time.
Straining for a clean finish
Remove the pot from the heat and let it cool slightly before straining through a fine mesh sieve. Press the berries gently to pull out the last of the liquid, but don’t mash so hard that sediment pushes through. A little patience here gives you a cleaner syrup with a smoother mouthfeel. If you skip the fine mesh or rush this part, you’ll end up with a gritty bottle.
Adding the honey at the end
Let the strained liquid cool to lukewarm before stirring in the raw honey until fully dissolved. The goal is to keep the honey below about 100°F, which protects what you want from raw honey in the first place. If the liquid is too hot, wait. This is the one place where speed hurts the finished syrup more than it helps.
What to Change When You Need a Different Version
Make it vegan
Swap the honey for maple syrup if you want a plant-based version. The syrup will be a little looser and the flavor will lean darker and woodier, but it still works well stirred into tea or drizzled into yogurt.
Make it brighter and sharper
Add a strip of orange peel to the simmer for a lighter citrus note. Pull it out with the spice solids so it doesn’t turn bitter. This version tastes less like a straight herbal syrup and more like something you’d spoon into hot tea on a sore-throat day.
Adjust the spice level
If you want a softer finish, drop the cloves to three. If you want more warmth, add a second small slice of ginger instead of extra cloves. Ginger gives heat without turning the syrup bitter the way too many cloves can.
Storage and Reheating
- Refrigerator: Store in a sterilized glass bottle for up to 3 to 4 weeks. It may thicken slightly as it chills, which is normal.
- Freezer: It freezes well in small portions, especially in silicone ice cube trays. Thaw only what you need, since repeated thawing can dull the fresh spice notes.
- Reheating: Don’t boil it after the honey goes in. Warm only the amount you’re using over low heat or let it sit at room temperature until loosened, since high heat is the fastest way to change the texture and flavor.
Questions I Get Asked About This Recipe
Homemade Elderberry Syrup
Ingredients
Equipment
Method
- Combine dried elderberries, water, cinnamon stick, whole cloves, and fresh ginger in a saucepan.
- Bring to a boil over medium-high heat, then reduce to a gentle simmer and cook uncovered for 45 minutes, until reduced by about half, keeping a steady bubbling look.
- Remove the saucepan from heat and let the mixture cool slightly, until it is no longer actively steaming.
- Strain the liquid through a fine mesh sieve into a bowl, pressing on the berries to extract as much liquid as possible.
- Discard the solids and let the strained liquid cool to lukewarm.
- Stir in raw honey until fully dissolved, then transfer to a sterilized glass bottle, aiming for a syrup that looks glossy and spoon-coating.