
Hamburger steak with onion gravy earns its place in the dinner rotation because it gives you big diner-style comfort without any fussy steps. The patties sear up with a deep brown crust, then finish in a silky onion gravy that clings to every bite instead of pooling on the plate. The onions bring sweetness, the beef broth keeps the gravy savory, and the whole dish tastes like it simmered longer than it really did.
The part that makes this version work is restraint. The patties stay tender because the mix isn’t overworked, and the gravy gets its body from cooked flour and browned onion fond in the same skillet you used for the beef. That means you get more flavor without needing extra ingredients. Taking the onions all the way to soft, golden, and lightly caramelized is what keeps the gravy from tasting flat.
Below, I’ll walk you through the small choices that matter here: how to shape the patties so they hold together, how to keep the gravy smooth, and what to do if you want to stretch this into a bigger family meal.
The onion gravy thickened up perfectly and the patties stayed tender even after simmering. My husband said it tasted like the diner dinners he grew up on, and the whole skillet was gone fast.
Save this hamburger steak with onion gravy for a skillet dinner with tender patties and rich, caramelized onion sauce.
The Trick to Keeping the Patties Tender While the Gravy Simmered
Hamburger steak can turn dense fast if the beef gets packed too tightly or cooked too long before it hits the gravy. The goal is a patty that browns well on the outside but still has enough give to soak up the onion gravy without falling apart. That’s why the egg and breadcrumbs matter here: they hold the mixture together, but they also keep the texture softer than a plain beef patty.
The other place people go wrong is the skillet. If the pan is too cool, the patties won’t brown deeply enough, and the gravy will miss that built-in beefy flavor from the browned bits. If the pan is too hot for the onions later, they’ll scorch before they soften, and the gravy turns sharp instead of sweet. The sweet spot is a good sear up front, then a slower cook for the onions so they melt down properly.
- Brown the patties first and pull them out before starting the gravy. That keeps them from overcooking while the onions caramelize.
- Scrape up the browned bits when you add the broth. That’s where a lot of the savory depth comes from.
- Cook the onions until they’re soft, golden, and fragrant, not just translucent. Underdeveloped onions make the sauce taste thin.
What Each Ingredient Is Actually Doing in This Dish
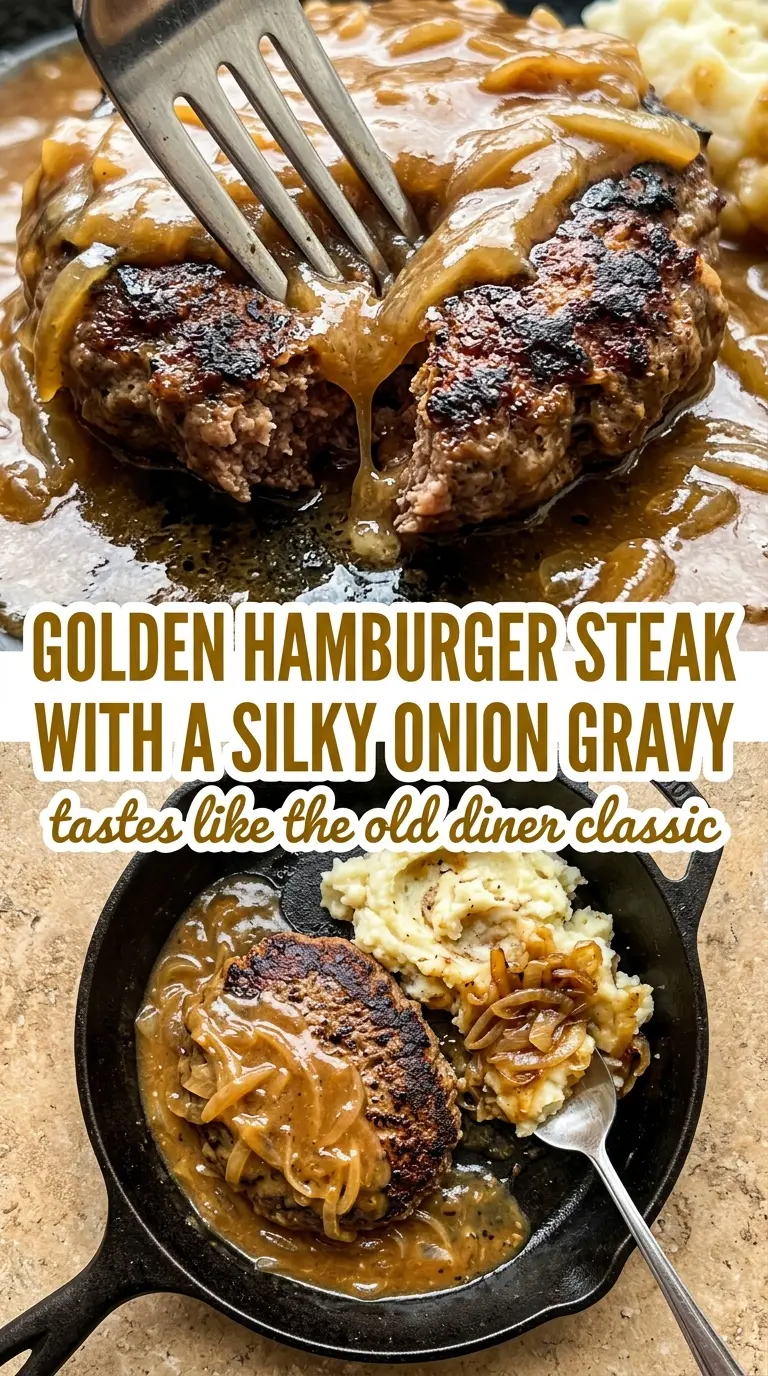
- Ground beef — Go with beef that has enough fat to stay juicy, usually 80/20 or close to it. Leaner beef works, but the patties won’t taste as plush and can dry out faster during the final simmer.
- Egg and breadcrumbs — This is the binder that keeps the patties from cracking when they sear and simmer. If you need a substitute, crushed saltines or plain panko both work, but don’t add too much or the texture turns bready.
- Garlic powder — It spreads evenly through the meat without leaving raw garlic bits in the gravy. Fresh garlic can burn in the skillet and go bitter, so powder is the cleaner choice here.
- Onions — These carry the gravy. Slice them thin so they soften and sweeten at the same pace; thick slices take longer and can stay stringy instead of melting into the sauce.
- Beef broth — Use a broth you’d actually sip on its own. Since the gravy is mostly broth, onion, and flour, a weak broth gives you a weak sauce.
- Butter and flour — This is your quick roux. The flour needs a full minute or two in the butter so the gravy doesn’t taste chalky.
Getting the Sear, Onion Gravy, and Final Simmer in the Right Order
Shaping the Patties Without Packing Them Tight
Mix the beef just until the seasonings disappear into the meat. If you keep working it, the patties get springy and dense instead of tender. Shape them into ovals so they look like classic hamburger steak and have enough surface area to brown well in the skillet. Press a shallow dimple into the center if they tend to puff up, though these should hold fairly flat if you don’t overmix them.
Building the Brown Crust
Sear the patties over medium-high heat until the first side releases with a deep brown crust, about 3 to 4 minutes. If they stick when you try to flip them, they need another minute; a proper sear will let go naturally. Don’t chase full doneness here. You’re building flavor and structure, not finishing the meat yet.
Coaxing the Onions Into the Gravy
Use the same skillet and keep every browned bit in the pan. Melt the butter, then cook the onions slowly until they’re soft and golden with some deeper color at the edges. Sprinkle the flour over the onions and stir long enough that it loses its raw smell and turns pasty, then add the broth gradually while whisking so the gravy stays smooth instead of lumpy.
Finishing the Dish in the Sauce
Put the patties back into the skillet and let them simmer gently in the gravy for about 5 minutes. The sauce should bubble lazily around the edges, not boil hard. If it boils hard, the beef tightens up and the gravy can reduce too fast. By the end, the patties should be cooked through, the onions soft, and the gravy thick enough to coat the back of a spoon.
How to Adapt This for Smaller Families, More Tender Gravy, or a Lower-Carb Plate
Make it gluten-free
Swap the breadcrumbs for gluten-free breadcrumbs or crushed gluten-free crackers, and use a 1:1 gluten-free flour blend for the gravy. The texture stays close to the original, though the gravy may need an extra minute of whisking to thicken fully.
Make it lower-carb
Skip the breadcrumbs in the patties and use a little less flour in the gravy, or thicken with a small cornstarch slurry at the end if you don’t mind that swap. The patties will be a touch looser, but the flavor stays rich and beefy.
Stretch it for a bigger crowd
Add another onion and a half cup more broth if you want extra gravy for mashed potatoes or rice. The biggest mistake when scaling up is crowding the skillet, which steams the meat instead of searing it, so work in batches if the pan feels tight.
Storage and Reheating
- Refrigerator: Store in an airtight container for up to 4 days. The gravy thickens as it chills, and that’s normal.
- Freezer: It freezes well for up to 2 months. Cool it completely, then freeze the patties and gravy together so the meat stays moist when reheated.
- Reheating: Reheat gently on the stovetop over low heat with a splash of broth or water. High heat is the mistake here; it tightens the beef and can make the gravy separate.
Answers to the Questions Worth Asking
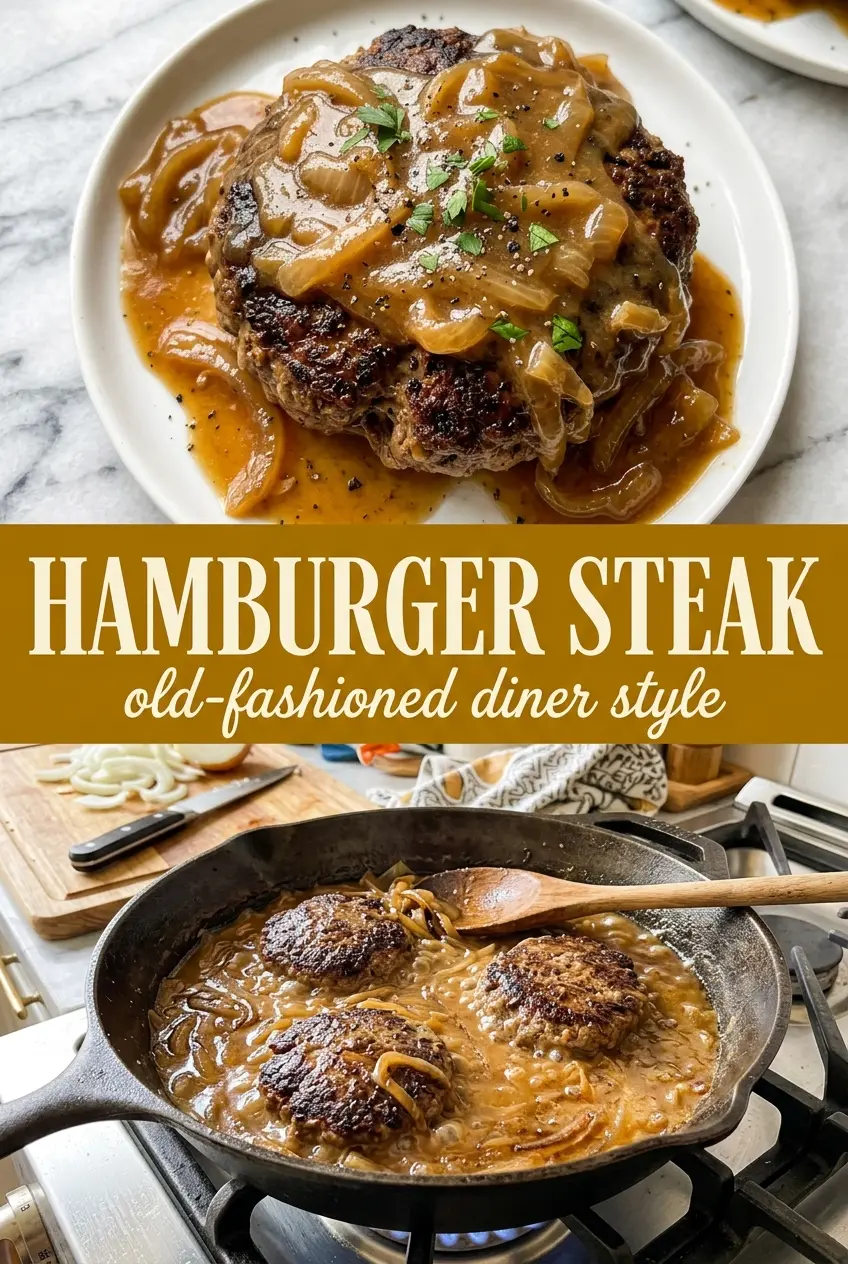
Hamburger Steak With Onion Gravy
Ingredients
Equipment
Method
- In a bowl, mix ground beef, egg, breadcrumbs, garlic powder, Salt and pepper, to taste until evenly combined; press the mixture together so it holds its shape (visual cue: uniform, slightly sticky mix).
- Shape the mixture into oval patties about 1-inch thick (visual cue: patties with smooth surfaces and consistent thickness).
- Heat a cast iron skillet over medium-high heat, then sear patties 3–4 minutes per side until deeply browned (visual cue: dark golden crust and juices pooling at the edges).
- Transfer the patties to a plate and set aside while you cook the onions (visual cue: browned patties resting without steam trapped on top).
- In the same skillet, melt butter and cook large onions until caramelized, about 12–15 minutes (visual cue: onions turn deep golden-brown and look glossy).
- Sprinkle flour over the onions and stir to combine for 1 minute (time range: 1 minute; visual cue: flour disappears and the mixture looks slightly pasty).
- Pour in beef broth while whisking until the gravy thickens (time range: 3–5 minutes; visual cue: gravy coats the back of a spoon).
- Return patties to the skillet and simmer in the gravy for 5 minutes (time range: 5 minutes; visual cue: patties are warmed through and the gravy looks smooth and clingy).
- Serve hamburger steak smothered in onion gravy (visual cue: patties topped with a generous layer of silky gravy).