
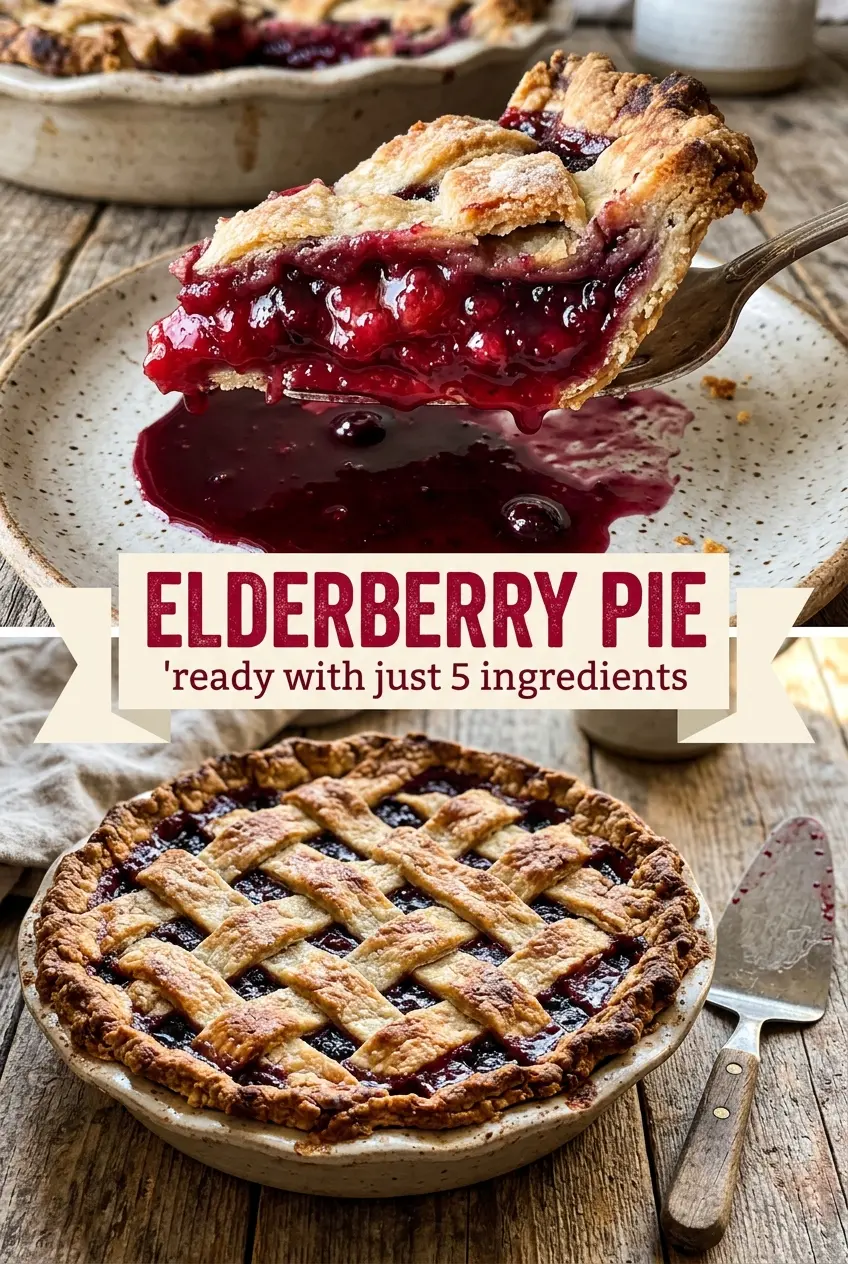
Juicy elderberries baked under a flaky top crust turn into a deep ruby pie that slices into thick, jammy wedges instead of running across the plate. The filling lands somewhere between tart and floral, with just enough sugar to round it out and keep the berries tasting bright. It’s the kind of pie that feels old-fashioned in the best way: simple ingredients, bold color, and a filling that tastes like it came from a kitchen where pie was baked by instinct.
What makes this version work is the balance. Elderberries can be sharp, so the sugar isn’t there just for sweetness — it softens the edges and helps the fruit taste full. Cornstarch does the heavy lifting on the texture side, but it only sets properly if the pie bakes long enough for the filling to bubble all the way through the vents. That bubbling is your signal that the starch has activated and the center will slice cleanly after cooling.
Below, I’ve included the one cooling step people skip and regret, plus a couple of smart swaps for when elderberries are frozen or you want a more rustic finish.
The filling set up beautifully after the full cooling time, and the crust stayed flaky instead of getting soggy on the bottom. My husband said it tasted like the pies his grandma used to make.
Love the jammy elderberry filling and flaky double crust? Save this pie for the next time you want a ruby-red dessert that sets cleanly and tastes homemade.
The Part That Keeps Elderberry Pie from Turning Watery
Elderberries carry a lot of juice, and that’s exactly what makes them tricky. If you don’t give the filling enough starch and enough bake time, the pie may look done at the edges while the center stays loose and runny. The goal is a filling that bubbles through the vents before you pull it from the oven. That bubbling tells you the cornstarch has actually thickened the juices instead of just coating the berries.
The other trap is cutting too soon. Even a well-baked elderberry pie needs time to settle as it cools, because the filling firms up as the temperature drops. Slice it early and the juices will still be moving. Wait the full two hours, and you get clean wedges with a glossy, jammy center.
What the Five Ingredients Are Each Doing Here

- Elderberries — Fresh or frozen both work here. Frozen berries can go straight into the bowl, which helps if you’re baking outside the picking season, but they may release a little more liquid, so don’t skip the full bake time.
- Sugar — This takes the edge off elderberries’ natural tartness and helps the filling taste rounded instead of sharp. If your berries are especially ripe and sweet, you can trim it slightly, but don’t cut it too far or the filling will taste flat.
- Cornstarch — This is the thickener that turns berry juice into a sliceable filling. Arrowroot can work in a pinch, but it sets a little differently and can turn softer after cooling, so cornstarch is the better choice for a clean pie slice.
- Lemon juice — A small amount wakes up the flavor and keeps the filling from tasting one-note. It also balances the sweetness so the berries still taste bright after baking.
- Store-bought pie crusts — These keep the recipe fast without changing the filling. If you use homemade crust, keep it chilled and handle it gently so the bottom crust doesn’t shrink before the filling goes in.
Building the Filling and Baking It Until It Sets
Coating the Berries Evenly
Toss the elderberries with sugar, cornstarch, and lemon juice until every berry looks lightly dusted and glossy. Dry pockets of cornstarch leave chalky streaks in the finished pie, while clumps of sugar can sink and create uneven sweetness. If the berries are very juicy, let the mixture sit for a minute or two before filling the crust so the starch starts to hydrate.
Filling the Crust Without Overworking It
Fit the bottom crust into the pie dish and pour in the berry mixture evenly. Don’t press the filling down hard; that packs the berries and can make the center dense instead of jammy. Lay the top crust over the pie, seal the edges well, and crimp firmly enough that the juices don’t leak during baking.
Watching for the Right Bake Signal
Bake at 400°F until the crust is golden and the filling bubbles through the vents, usually 45 to 50 minutes. If the edges start browning too quickly, cover them with foil halfway through so the top doesn’t overdarken before the center is done. The pie needs that full bubbling stage or the filling won’t set properly once it cools.
Letting It Cool the Rest of the Way
Set the pie on a rack and leave it alone for at least 2 hours before slicing. The filling tightens as it cools, and that’s what gives you neat slices instead of a spill. If you cut too early, the crust can still be perfect and the filling will still run.
Three Ways to Adjust This Pie Without Losing What Makes It Good
Make it with frozen elderberries
Use the berries straight from frozen. Thawing first adds extra liquid and can make the filling harder to judge, while baking them frozen keeps the juices inside the pie where they belong. Just expect the bake to land closer to the longer end of the time range.
Use a lattice top for a more rustic finish
Swap the full top crust for a lattice if you want more steam release and a look that shows off the filling. The texture stays the same, but the open top can make the pie a little easier to judge in the oven because you’ll see the bubbles sooner.
Make it dairy-free and vegan
This pie already fits both without any changes as long as your store-bought crust is dairy-free. That’s one reason it’s such a useful dessert to keep in your back pocket: the filling is all fruit and starch, so the only label you need to check is the crust.
Use a little less sugar for a tarter pie
You can drop the sugar slightly if your berries are naturally sweet or you prefer a sharper filling. Go too low and the pie starts tasting thin rather than bright, so keep enough sugar in the mix to support the fruit and help the juices thicken cleanly.
Storage and Reheating
- Refrigerator: Cover and store for up to 4 days. The crust softens a bit in the fridge, but the filling stays nicely set.
- Freezer: This pie freezes well after baking. Wrap it tightly once fully cooled and freeze for up to 2 months; thaw overnight in the refrigerator before serving.
- Reheating: Warm slices in a 300°F oven for about 10 to 15 minutes. Microwaving works in a pinch, but it softens the crust and can make the filling too loose at the edges.
Questions I Get Asked About This Pie
Elderberry Pie
Ingredients
Equipment
Method
- Preheat the oven to 400°F and place a sheet pan inside to catch drips. A hot surface helps the bottom crust bake through.
- In a bowl, toss the elderberries with sugar, cornstarch, and lemon juice until evenly coated. The berries should look evenly dusted with thickener.
- Fit one pie crust into a 9-inch pie dish and pour in the berry filling. Spread it into an even mound.
- Top with the second crust, seal and crimp the edges, then cut a few vents in the top. Look for visible openings so steam can escape.
- Bake for 45 to 50 minutes, until the crust is golden and the filling bubbles through the vents. If the edges brown too quickly, cover them with foil halfway through baking.
- Let the pie cool for at least 2 hours before slicing. The filling should thicken enough to cut into clean wedges.