
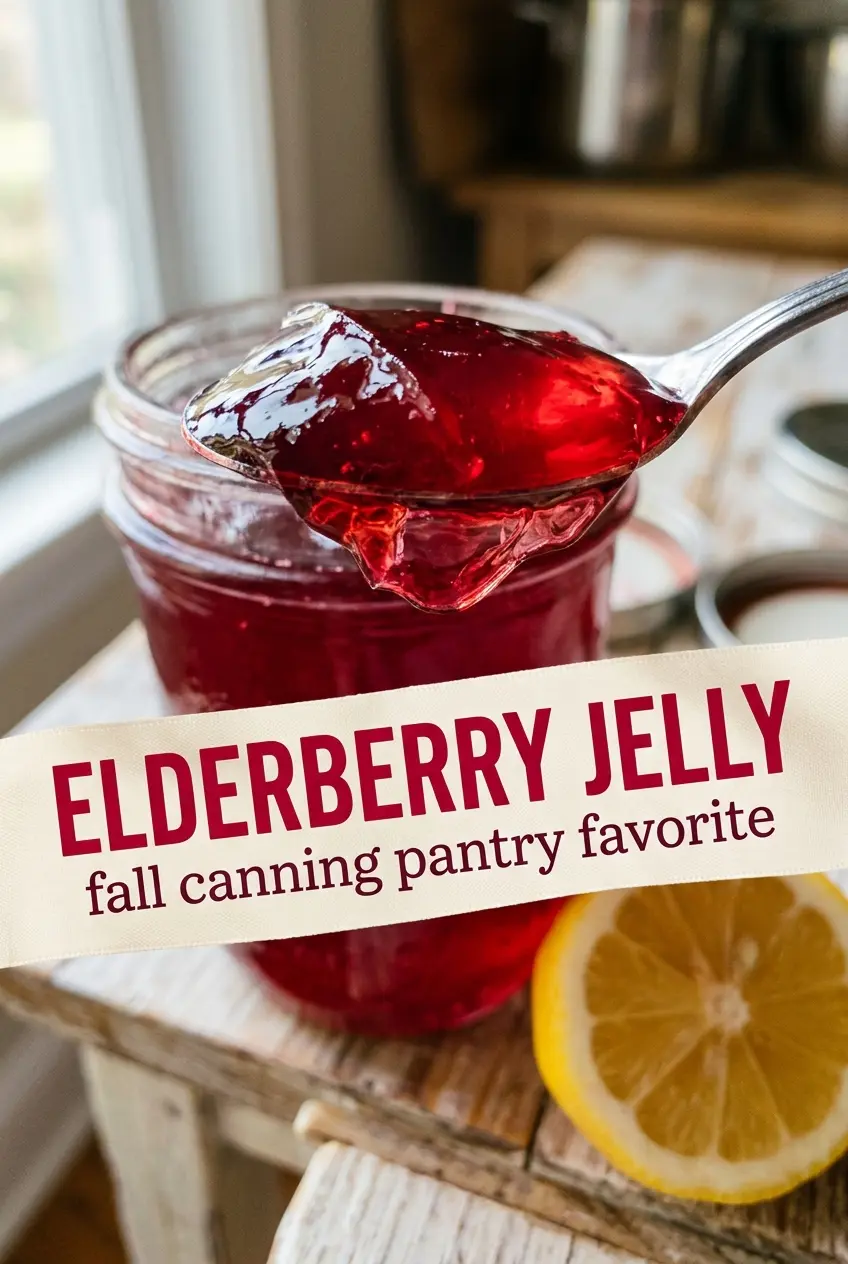
Ruby-red elderberry jelly sets up with a glossy finish and a clean, bright sweetness that feels a little old-fashioned in the best way. The texture should land somewhere between soft wobble and firm spread, not loose syrup, and that depends on getting the boil and the set point right. When it’s done well, it slides onto toast in a smooth sheet and holds its shape in the jar without turning sticky or grainy.
The balance here comes from the lemon juice, which sharpens the flavor and helps the pectin do its job, and from keeping the boil hard enough once the sugar goes in. Elderberries bring a deep, almost winey note, but they need enough sugar to turn from tart juice into a proper jelly. The trick is to stop the cook at the right moment, not after the mixture looks thick in the pot. Jelly often sets later as it cools, which is why a plate test matters more than guessing by sight.
Below you’ll find the timing that keeps the batch from overcooking, plus the one little check I use before I start filling jars. If you’ve ever ended up with runny jelly or a batch that tightened too much, the notes here will help you avoid both.
The set was perfect and the jelly stayed clear and glossy after processing. I did the spoon test on a chilled plate and it wrinkled exactly like you said, so I knew I had it right before I jarred it.
Save this elderberry jelly for the batch that turns fresh juice into a glossy, spoonable preserve with a clean set.
The Set Point That Makes Elderberry Jelly Hold Instead of Run
The biggest mistake with jelly is pulling it when the pot looks thick enough. Hot jelly always looks looser than the finished jar, and elderberry juice can go from under-set to overcooked in a short window. The goal is a full rolling boil after the sugar goes in, then a quick check for set before you lose the bright flavor.
If your jelly turns out soft, the boil probably never got strong enough or the batch was taken off heat too soon. If it gets sticky or dense, it cooked past the point where the pectin could do clean work. The spoon test on a chilled plate is the best safeguard here because it shows how the jelly behaves once it cools, which is what matters in the jar.
What Each Ingredient Is Actually Doing in This Dish
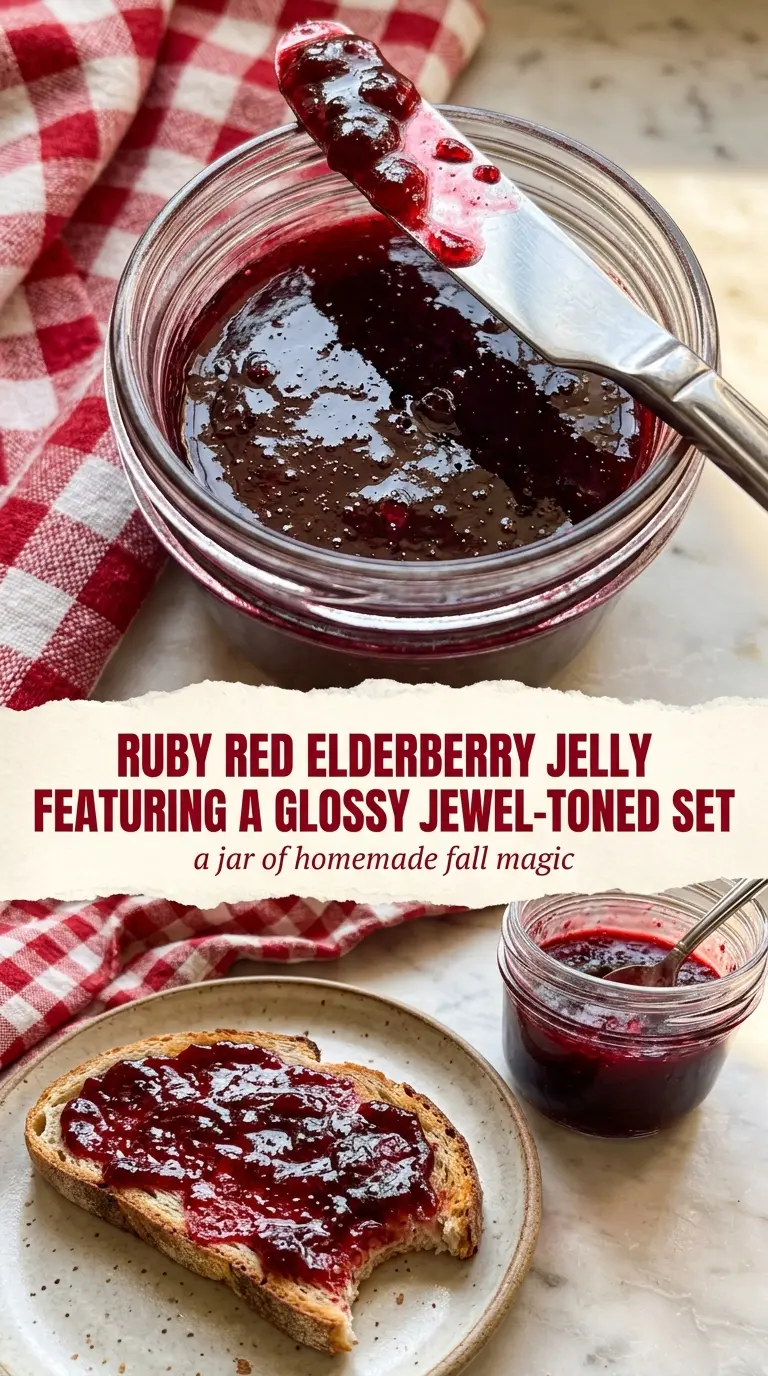
- Elderberry juice — Use clear juice, not a cloudy puree. A strained juice gives you a cleaner jelly with a smoother set and a brighter finish.
- Lemon juice — This adds acidity, which helps the pectin gel properly and keeps the sweetness from flattening the flavor. Bottled lemon juice is fine here because the acidity is dependable.
- Powdered pectin — This is the structure of the jelly, so follow the brand’s instructions for timing. Don’t swap in a low-sugar or liquid pectin without adjusting the method, because the set point changes.
- Sugar — The sugar is doing more than sweetening; it helps the jelly set and gives it that classic glossy texture. Reducing it changes the preserve from jelly to something softer and less stable.
How to Move Fast Once the Sugar Goes In
Start with the base
Combine the elderberry juice, lemon juice, and powdered pectin in a large pot and stir it well before turning up the heat. You want the pectin fully dispersed so it doesn’t clump once the boil starts. Set the burner high and stay close, because this mixture needs constant attention once it starts moving.
Bring it to a real boil
Let the mixture come to a rolling boil that doesn’t stop when you stir it. That hard boil is what activates the pectin properly. If the surface only bubbles lazily, the jelly won’t set the way it should, so keep the heat up until the boil looks active across the whole pot.
Add the sugar and time the finish
Dump in the sugar all at once, then return the pot to a full rolling boil for exactly 1 minute. Stir constantly so the sugar dissolves and doesn’t sink to the bottom and scorch. The second that minute is up, pull it off the heat; extra cooking is the fastest way to dull the flavor and tighten the set too much.
Skim, jar, and process
Skim any foam from the surface before you ladle the jelly into sterilized jars, leaving ¼ inch headspace. Wipe the rims clean so the lids seal properly, then process the jars in a water bath canner for 10 minutes. If you skip the full processing time, the seals can fail later, and all that careful cooking won’t matter.
What to Change When You Want a Different Result
Make it a little less sweet
You can reduce the sugar only if you switch to a low-sugar pectin that’s designed for that method. Don’t just cut the sugar in this version and expect the same set; the texture will turn loose and the jars may not hold well.
Use bottled juice when fresh elderberries aren’t on hand
Bottled elderberry juice works as long as it’s unsweetened and not diluted with a lot of extra flavors. Check the label for added sugar, because that can throw off the balance and make the final jelly sweeter than you planned.
Make a smaller batch
This jelly is best made in a full batch, since pectin sets more predictably with the listed proportions. If you cut it down, keep the ingredient ratios exact and use the same boiling and testing method so the texture stays consistent.
Storage and Reheating
- Refrigerator: Sealed jars keep for several weeks once opened; the texture stays smooth if you use a clean spoon each time.
- Freezer: Properly sealed canned jars are stored at room temperature, not frozen. If you skip canning and want to freeze a small batch, leave extra headspace and expect a softer set after thawing.
- Reheating: Jelly doesn’t need reheating in the usual sense. If it firms up too much after chilling, let the jar sit at room temperature for a few minutes before serving; microwaving can make the texture uneven and loosen the set in spots.
Answers to the Questions Worth Asking
Elderberry Jelly
Ingredients
Equipment
Method
- Combine elderberry juice, lemon juice, and powdered pectin in a large pot over medium-high heat until fully mixed. Stir until the pectin dissolves and the mixture looks uniform.
- Bring the mixture to a rolling boil over high heat, stirring constantly, for 1 minute of continuous boil once it reaches the boil. Keep the boil aggressive so it stays at a true rolling stage.
- Add the sugar all at once and return to a full rolling boil over high heat. Stir until the sugar is dissolved and the boil resumes.
- Boil the sugar-pectin mixture at a full rolling boil for exactly 1 minute over high heat, stirring constantly. Watch for the boil to remain full and bubbling rather than simmering.
- Remove from heat and skim off any foam from the surface using a spoon. Keep skimming until the top looks smooth.
- Test for set by chilling a small spoonful on a plate for 1 minute; it should wrinkle when pushed. If it doesn’t wrinkle, keep cooking and re-test in small batches.
- Ladle the hot jelly into sterilized jars, leaving 0.25 inch headspace. Wipe jar rims clean so seals form evenly.
- Process the jars in a water bath canner for 10 minutes. After processing, cool completely on a towel-lined counter without moving the jars.