
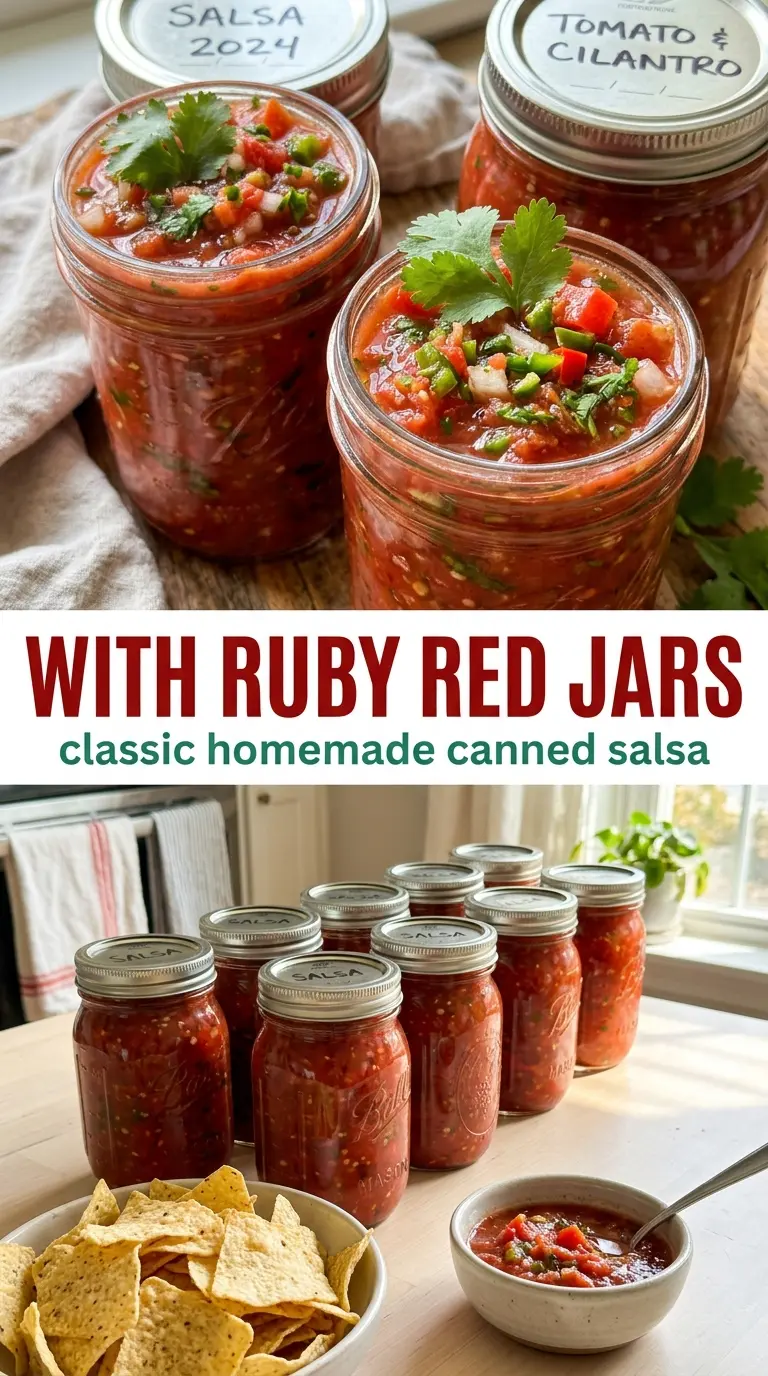
Bright, chunky tomato salsa that actually holds its texture in the jar is worth the extra prep. The tomatoes stay lively instead of turning watery, the onions and peppers keep the salsa crisp enough to spoon over tacos, and the vinegar gives it the clean tang you want in a pantry salsa. This is the kind of batch that disappears a jar at a time because it tastes like summer, but it still feels balanced and practical enough for canning day.
The part that matters most here is moisture control. Draining the tomatoes before they go into the pot keeps the salsa from thinning out as it simmers, and the salt rest pulls out even more liquid while seasoning the fruit all the way through. Tomato paste might look small in the ingredient list, but it quietly deepens the body so the finished salsa tastes cooked in a good way, not dull or over-reduced.
Below, I walk through the two draining stages that keep the texture right, plus the canning step that matters if you want jars that seal cleanly and stay shelf-stable.
I followed the draining step and the salsa set up beautifully instead of going watery in the jars. The flavor had a clean tomato tang with just enough heat, and the jars sealed perfectly on the first water bath.
Save this tomato salsa for canning when you want a chunky, tangy jar of the harvest with real body and a clean seal.
The Drainage Step That Keeps Canned Salsa Thick
Most watery salsa problems start before the pot ever hits the stove. Tomatoes carry a lot of juice, and once they simmer with onion and peppers, that liquid can turn a promising salsa into something thin and soupy after processing. The first drain in the colander removes the loose juice, and the salt rest pulls out even more while also tightening the tomato pieces a little so they stay distinct in the jar.
That second drain matters because canned salsa doesn’t need to be aggressively reduced to be safe; it needs enough structure to stay spoonable. If you skip the resting time, the tomatoes release that liquid in the pot instead, and the batch can cook down unevenly. The goal is a salsa that moves as one thick mixture, not a broth with vegetables suspended in it.
What Each Ingredient Is Actually Doing in This Dish
- Tomatoes — Use peeled, chopped tomatoes that are drained before measuring. Extra juice is the biggest reason this recipe turns thin.
- Onion and green bell pepper — These bring body and crunch. Chop them evenly so they soften at the same pace and don’t stand out in awkward hard chunks.
- Jalapeños — The heat stays modest here unless you leave in more seeds and membranes. That is the easiest way to turn the dial up without changing the texture.
- Vinegar — This isn’t just for tang; it matters for safe canning acidification. Use the vinegar listed rather than swapping in something milder unless you know the acidity is equivalent.
- Tomato paste — A small amount gives the salsa a fuller, more cooked texture without needing a long reduction. It helps the finished jars taste thick even after processing.
Building the Salsa Before It Hits the Canner
Pulling the Extra Liquid Out First
After peeling and coring the tomatoes, let them drain in a colander over a bowl before chopping them for the salt rest. That first drain keeps the bowl from collecting all the juices that would otherwise dilute the salsa. If the tomatoes are especially ripe and soft, this stage matters even more because they can give off a surprising amount of liquid.
Letting the Salt Do Its Job
Combine the chopped tomatoes with the canning salt and leave them alone for 2 to 3 hours. The salt draws moisture out and seasons the tomatoes from the inside, which means the final salsa tastes more integrated instead of salted at the end. Stir once or twice during the rest if the bowl settles into a pool of juice, then drain off the liquid before cooking.
Simmering to the Right Texture
Bring the full mixture to a boil, then lower the heat and simmer for 10 to 15 minutes, stirring often. You’re looking for a thick, glossy salsa where the onions are softened but still present and the tomatoes hold shape at the edges. If the heat stays too high, the bottom can scorch before the top reduces, so keep the simmer active but controlled.
Filling and Processing Cleanly
Pack the hot salsa into sterilized pint jars within 1/2 inch of the top and wipe the rims carefully before sealing. Any smear on the rim can stop a lid from sealing, and that tiny slip is the most common reason a jar fails after all the work is done. Process the jars for 15 minutes in a boiling water bath, adjusting for altitude if needed, then let them sit untouched until you hear the lids seal.
Three Smart Ways to Adjust This Salsa Without Losing the Balance
Milder Salsa with the Same Chunky Texture
Use one jalapeño instead of two and remove the seeds and membranes. You keep the same fresh pepper flavor and visible flecks in the jar, but the heat stays gentle enough for people who want salsa they can pile on chips without hesitation.
A Vegetarian Taco Topping That Still Tastes Pantry Fresh
This recipe is already vegetarian, and it works beautifully as a spoonable topping for bean bowls, roasted vegetables, or eggs. The vinegar and tomato base keep it bright enough to cut through richer foods, which is why it doesn’t just feel like canned tomatoes in a jar.
More Herb Forward, Less Peppery
You can increase the cilantro slightly if you want the salsa to read greener and fresher after canning. Keep the measurement close, though, because too much herb can muddy the texture and make the salsa taste grassy instead of clean and bright.
Storage and Reheating
- Refrigerator: Store opened jars in the fridge for up to 2 weeks. The salsa may loosen a little after chilling, but the flavor stays bright.
- Freezer: This salsa can be frozen if you skip canning and pack it in freezer-safe containers, but the texture softens after thawing. It won’t have the same fresh crunch.
- Reheating: Serve it cold or room temperature; reheating isn’t usually needed. If you want it warm for eggs or rice, heat only the portion you need over low heat so it doesn’t break down and turn watery.
Answers to the Questions Worth Asking

Classic Homemade Tomato Salsa for Canning
Ingredients
Equipment
Method
- Peel the tomatoes, remove the cores, and place in a colander over a bowl to drain at room temperature for 30 minutes, with a visible slow drip of tomato liquid.
- Chop the drained tomatoes into half-inch pieces and place in a large mixing bowl with canning salt, then rest for 2 to 3 hours at room temperature until the tomato juices collect in the bottom.
- Combine the tomatoes, chopped onion, chopped green bell pepper, minced garlic, minced jalapeño peppers, cumin, chopped cilantro, dried oregano, sugar, vinegar, and tomato paste in a large Dutch oven.
- Bring the mixture to a boil over medium-high heat, then reduce to a simmer at 200°F to 210°F and cook for 10 to 15 minutes, stirring often until the salsa looks cohesive.
- Fill sterilized pint-size canning jars within 1/2 inch of the top, wipe the rims clean, and seal with lids and rings so the jars are evenly filled and the rims are free of residue.
- Process the jars in a water bath canner for 15 minutes, adjusting time for altitude, and keep the water at a steady, active boil throughout.