
Golden graham crackers, melted chocolate, and a marshmallow toasted until the outside is bronzed and the center turns into a soft, sticky pull — that’s the whole point of a great s’more. The best version isn’t messy because it failed; it’s messy because the marshmallow hit the chocolate at exactly the right moment and everything softened into one warm bite. When it’s done well, you get crisp crackers, a glossy square of chocolate, and that slow, gooey stretch that makes people reach for a second one before they’ve finished the first.
The trick is to toast the marshmallow over glowing coals or low flame instead of blasting it straight into the fire. That gives you control, so the outside turns golden instead of black while the inside melts all the way through. A good chocolate bar matters here too. Thin baking chocolate can work, but a regular bar softens more evenly under the heat of the marshmallow and gives you a cleaner melt between the crackers.
Below, I’ll walk through the small details that keep s’mores from turning into a charred, cracked mess, plus a few easy ways to adapt them when you want the same classic flavor with a different cracker or chocolate.
The marshmallows toasted evenly over the coals and the chocolate went perfectly soft without turning greasy. My kids actually waited for theirs to cool for once, which says a lot.
Save these classic campfire s’mores for the nights when you want that perfect toasted marshmallow pull and a clean chocolate melt between graham crackers.
The Difference Between a Toasted Marshmallow and a Burnt One
The biggest mistake with s’mores is treating the marshmallow like it needs high heat to finish fast. It doesn’t. A marshmallow over direct flame goes from pale to black in seconds, while the inside stays stubbornly stiff. What you want is radiant heat from glowing coals or the edge of the fire, where the sugar can caramelize slowly and the center has time to loosen. That’s how you get a marshmallow that slips off the stick in one glossy piece instead of shedding charred skin into the fire.
There’s a second trap too: assembling too early. If the marshmallow lands on the chocolate the second it comes off the heat, the cracker can slide before the chocolate softens. Let it sit just long enough for the heat to start working, then press gently. You want the marshmallow to squash the chocolate, not drag the whole stack apart.
What Each Ingredient Is Actually Doing in This Treat
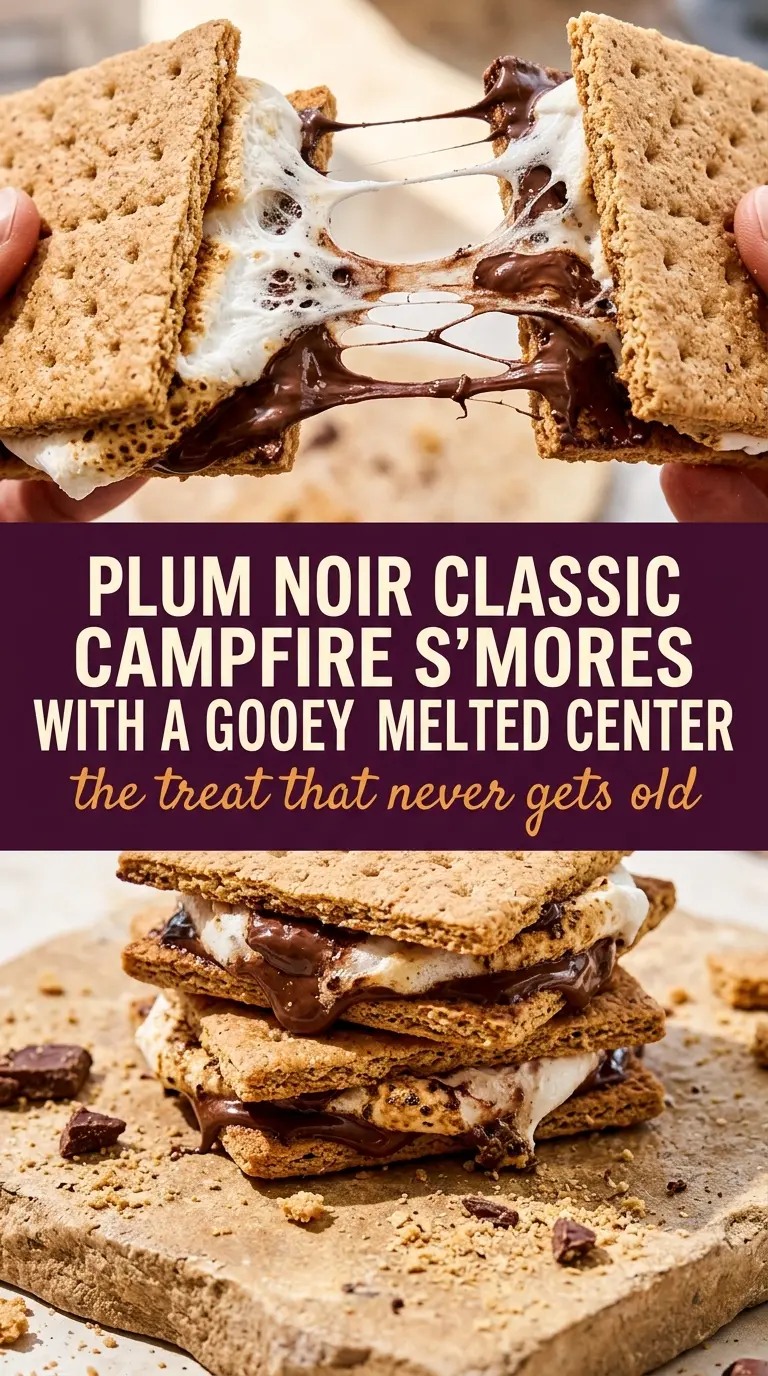
- Graham crackers — These give you the snap that keeps the s’more from turning into pure sugar paste. Standard honey grahams work best because they’re sturdy enough to hold the filling but still break cleanly in half. If you want a swap, digestive biscuits or plain tea biscuits will work, but the flavor shifts away from the classic campfire profile.
- Chocolate bars — A bar melts better than chips because it spreads into a soft layer instead of holding its shape. Milk chocolate is the classic choice, but semi-sweet gives a little more contrast against the sweet marshmallow. If you use a thicker artisan bar, break it into thinner pieces so the heat can soften it before the cracker gets soggy.
- Marshmallows — Fresh marshmallows toast more evenly and puff up instead of collapsing. Older marshmallows dry out and go sticky on the outside before the middle gets warm. Jumbo marshmallows work too, but they need a slower toast so the outside doesn’t outrun the center.
Building the S’more So the Chocolate Melts at the Right Time
Setting Up the Base
Break the graham crackers into neat halves before you start roasting so you’re not fumbling with sticky hands later. Set one half down and place the chocolate on it first. That order matters because the chocolate needs to be underneath the marshmallow’s heat path, not tucked on top where it never softens properly.
Toasting the Marshmallow
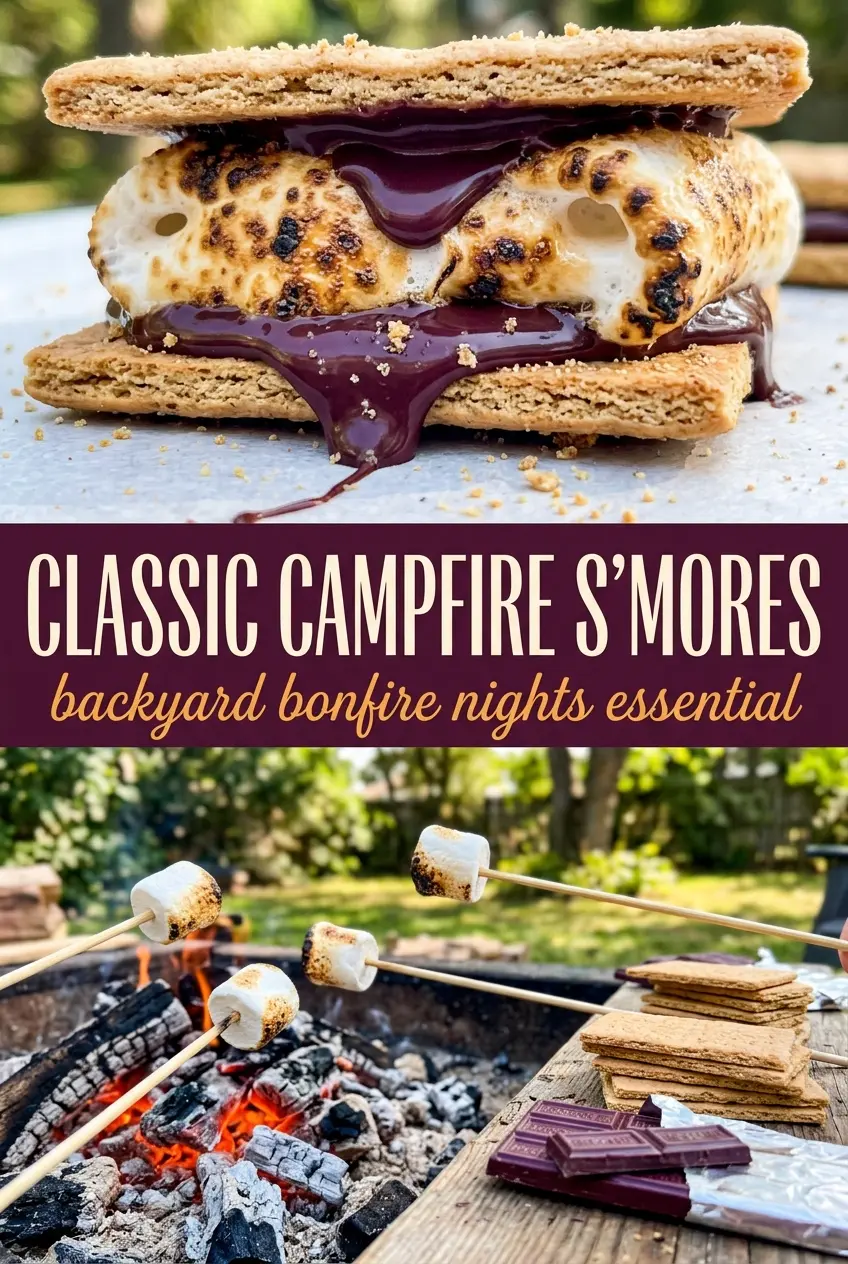
Hold the marshmallow just above the coals or at the edge of the flame and rotate it slowly. You’re looking for a deep golden shell with a few darker spots, not a blackened crust. If the marshmallow catches fire, pull it away and let the flame die down; blowing on it usually just makes the outside char faster. The goal is even softening, and that takes a little patience.
Assembling Fast but Gently
Slide the toasted marshmallow onto the chocolate-topped cracker while it’s still hot and pliable. Cap it with the second cracker and press just enough to spread the marshmallow and nudge the chocolate into melting. If you press too hard, the crackers crack and the filling squeezes out the sides before it can soften into that classic gooey layer.
The Short Rest That Makes a Better Bite
Give the finished s’more a few seconds to settle before taking the first bite. That pause lets the chocolate loosen without turning the whole thing into a slippery pile. If the marshmallow is still too hot, the chocolate can slide instead of melt smoothly, which is how you end up with half the filling on your fingers instead of in the cracker.
Three Ways to Adjust the Classic Without Losing the Campfire Feel
Use dark chocolate for a less sweet finish
Swap the milk chocolate for a 60% to 70% dark chocolate bar if you want a deeper, slightly bitter contrast. It won’t melt quite as softly as milk chocolate, but it keeps the marshmallow from tasting one-note sweet. This is the best change when you like the classic texture but want a little more balance.
Make it gluten-free with sturdy gluten-free crackers
Use a gluten-free graham-style cracker that holds its shape when warmed. Some brands crumble more easily, so test one before you build a batch around them. You still get the same toasted marshmallow and chocolate combination, just with a cracker that needs a gentler hand.
Add peanut butter for a saltier, richer layer
Spread a thin layer of peanut butter on the chocolate before adding the marshmallow. Too much will make the s’more slide apart, but a thin smear adds salt, richness, and a little extra melt. This works best with milk chocolate because the two flavors stay balanced.
Storage and Reheating
- Refrigerator: S’mores are best eaten right away. If you have leftovers, wrap them tightly and refrigerate for up to 1 day, though the crackers will soften.
- Freezer: Freezing isn’t a good fit here. The crackers lose their snap and the marshmallow texture changes once thawed.
- Reheating: Reheat briefly in a low oven or toaster oven just until the chocolate softens. The mistake to avoid is microwaving too long, which makes the marshmallow collapse and turns the cracker chewy.
Answers to the Questions Worth Asking
Classic Campfire S’mores
Ingredients
Equipment
Method
- Break the graham cracker sheets in half to create individual squares.
- Place a square of chocolate on one graham cracker half.
- Skewer a marshmallow on a roasting stick and toast over the campfire until golden and gooey, rotating slowly.
- Carefully slide the toasted marshmallow onto the chocolate-topped graham cracker.
- Top with the second graham cracker half and press gently to sandwich everything together.
- Let sit for a few seconds so the chocolate softens before eating.
- Repeat with remaining ingredients.