
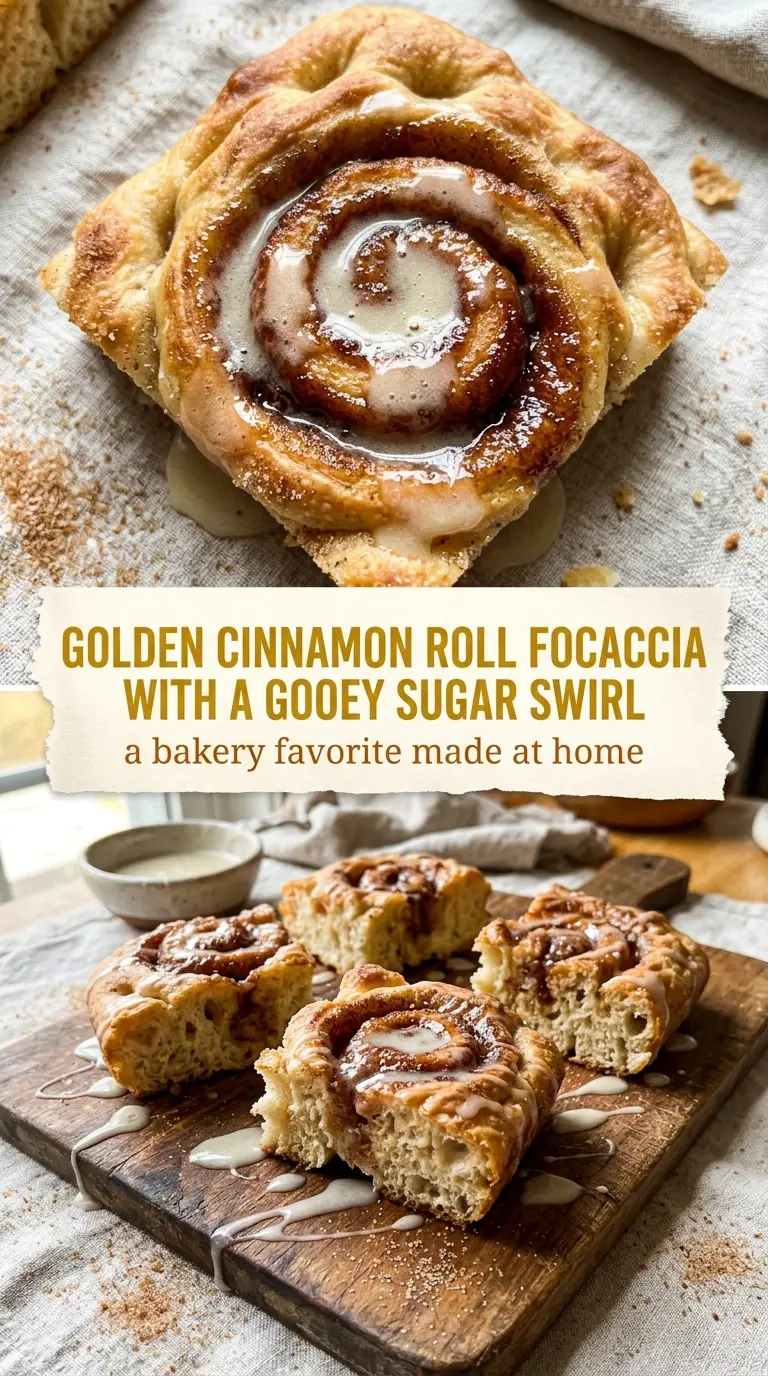
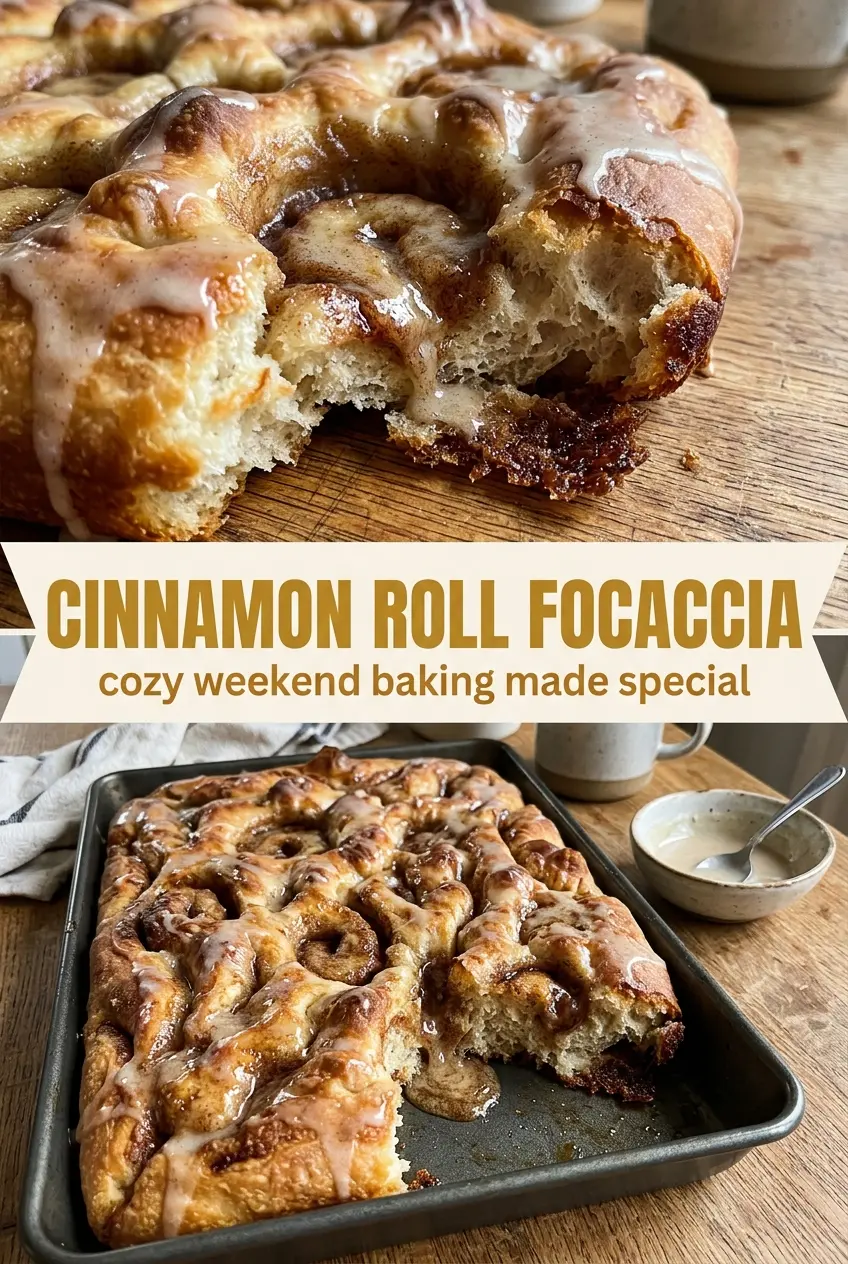
Pillowy focaccia and cinnamon roll filling belong together in a way that makes perfect sense the second you pull this from the oven. The edges bake up crisp and deeply golden while the center stays soft, buttery, and just a little gooey where the cinnamon sugar melts into the dimples. It eats like a treat bread, but it has the airy, chewy structure that keeps each piece from feeling heavy.
The dough starts with bread flour and instant yeast, which gives you enough strength for those big focaccia bubbles without turning the crumb tight. Warm water helps the dough come together fast, and the olive oil does more than keep it from sticking — it helps the crust brown and gives the bread that classic focaccia finish. The real trick is the dimpling. Pressing the dough deeply before the butter and cinnamon sugar go on creates little pockets that hold onto the filling instead of letting it slide off the top.
Below, I’ve included the details that matter most: how aggressively to dimple the dough, what to look for when it’s finished baking, and a few variations if you want to lean more into breakfast bread, dessert, or a dairy-free version.
The dough puffed up beautifully and the cinnamon sugar settled into all those little dimples instead of running off the pan. I used the glaze while it was still warm and it soaked in just enough without making the top soggy.
Cinnamon Roll Focaccia is the kind of bake that disappears while it’s still warm, so pin it now for the next time you want a gooey, golden pull-apart treat.
The Reason Cinnamon Sugar Belongs in Focaccia, Not on Top of It
Most sweet flatbreads go wrong because the topping sits on the surface and bakes into a dry crust. This one works because the butter and sugar are pushed down into the dimples before baking, so they melt into the bread instead of forming a loose layer that cracks off when you slice it. You get pockets of caramelized cinnamon sugar in the crumb, not just a dusting on top.
The other thing that matters is the dough’s structure. Focaccia needs enough strength to hold those deep indentations without collapsing, which is why bread flour earns its keep here. If you use all-purpose flour, the bread will still work, but the crumb will be a little less chewy and the dough can spread more in the pan. The rise after shaping is short on purpose; it gives the dough time to relax and puff back up so it bakes light instead of dense.
What Each Ingredient Is Actually Doing in This Cinnamon Roll Focaccia
- Bread flour — This gives the dough enough protein to trap air and stay chewy after baking. All-purpose flour works in a pinch, but the bread won’t have the same lift or structure.
- Instant yeast — It moves fast and makes this a dependable same-day bake. If you only have active dry yeast, bloom it in the warm water with the sugar first and give it a few extra minutes before mixing in the flour.
- Warm water — Warm, not hot, water helps the yeast wake up without killing it. If the water feels too hot for a comfortable finger test, it’s too hot for the dough.
- Olive oil — Oil keeps the dough supple and helps the bottom and edges fry gently in the pan, which is part of what makes focaccia taste like focaccia. Use a mild olive oil so it doesn’t overpower the cinnamon.
- Butter — Melted butter carries the cinnamon sugar into the dimples and gives the top that glossy, bakery-style finish. This is not the place for a hard swap; margarine won’t bring the same richness or aroma.
- Brown sugar and cinnamon — Brown sugar melts into a deeper, more caramel-like filling than white sugar would. The cinnamon should smell warm and pungent, not dusty, so use fresh spice if yours has been sitting open for ages.
- Powdered sugar glaze — The glaze finishes the bread with a sweet, thin sheen that sets as it cools. Add it while the bread is still warm and it will sink slightly into the top instead of sitting as a stiff layer.
Getting the Dough, Dimpling, and Bake in the Right Order
Mix the Dough Until It Looks Rough, Not Polished
Stir the flour, yeast, warm water, sugar, and salt together until you have a shaggy mass, then knead until the dough turns smoother and elastic. It doesn’t need to be perfectly silky before the first rise; it just needs to come together and stop feeling sticky in patches. If the dough seems dry and refuses to absorb the flour, add a teaspoon of water at a time. If it feels soupy, a light dusting of flour is enough — too much flour will give you a tight, bready result.
Let the First Rise Build Strength
Coat the dough in olive oil, cover it, and let it rise until doubled, about an hour. The surface should look puffy and a little domed, and a finger pressed lightly into it should leave an indentation that fills back in slowly. If your kitchen is cool, the rise may take longer, and that’s fine; the dough is ready when it looks alive and airy, not by the clock alone.
Press, Dimple, and Load It Up
Transfer the dough to a greased sheet pan and stretch it gently toward the corners. If it keeps shrinking back, let it rest for 10 minutes and come back to it. Press your fingers all the way down through the dough to create deep dimples, then drizzle on the melted butter and scatter the cinnamon sugar evenly over the top. The dimples matter here; shallow impressions won’t hold the filling, and it will bake off the surface instead of into the bread.
Bake Until the Edges Go Deep Gold
Let the shaped dough rise again for about 30 minutes, then bake at 400°F until the top is deep golden brown and the edges look set and crisp. You want a little color, not pale bread with sugar on top. If the center still looks soft but the edges are coloring fast, rotate the pan and give it a few more minutes. The glaze goes on while the bread is warm, when it can melt into the top without disappearing completely.
Three Ways to Change This Without Losing the Magic
Dairy-Free Version
Swap the butter for a good-quality plant-based butter that melts smoothly. The bread will still get that sweet, glossy top, but the flavor will be a little less rich and the glaze may need a splash of non-dairy milk to loosen it.
Make It More Like Breakfast Bread
Use the full amount of glaze, but drizzle it in a thinner layer so the bread stays sliceable. You’ll get the cinnamon roll feeling without crossing into full dessert territory, especially if you serve it warm with coffee.
Extra Gooey, More Caramelized Top
Add an extra tablespoon or two of brown sugar to the cinnamon mixture and let a little pool in the dimples. The top will bake darker and stickier, with more of that caramel edge where the sugar meets the pan.
Storage and Reheating
- Refrigerator: Store covered for up to 3 days. The crumb stays soft, but the sugar topping will firm up as it cools.
- Freezer: Freeze slices tightly wrapped for up to 2 months. Thaw at room temperature before reheating so the glaze doesn’t melt off unevenly.
- Reheating: Warm slices in a 300°F oven for 8 to 10 minutes or microwave briefly just until the butter softens again. Don’t blast it too long or the bread turns tough and the glaze gets sticky in the wrong way.
Questions I Get Asked About This Recipe
Cinnamon Roll Focaccia
Ingredients
Equipment
Method
- Mix the bread flour, instant yeast, warm water, sugar, and salt into a shaggy dough, then knead until smooth.
- Coat the dough in olive oil, cover, and let it rise for 1 hour until doubled.
- Press the dough into a greased sheet pan, dimpling it deeply with your fingers so the pockets are clearly visible.
- Drizzle the melted butter over the surface so it pools inside the dimples.
- Mix the brown sugar and cinnamon, then sprinkle generously over the top for a thick, even cinnamon layer.
- Let rise for another 30 minutes, until the dough looks puffier and the sugar begins to look slightly moist.
- Bake at 400°F for 20 to 25 minutes until deep golden brown, with the edges visibly darker than the center.
- Drizzle with the powdered sugar glaze while still warm so it melts slightly and clings to the dimples.