
Chewy pumpkin cookies land in that sweet spot between soft, cakey, and just sturdy enough to pick up without falling apart. The glaze adds the part that makes people come back for a second cookie: a thin maple finish that sinks a little into the tops and sets with a glossy sheen instead of a hard crackle. They’re tender in the center, warmly spiced, and the pumpkin flavor stays present without turning muddy or heavy.
The trick here is keeping the dough soft but not wet. Pumpkin puree brings moisture, so the cookies need enough flour to hold their shape and enough baking soda to lift them without drying them out. These bake as rounded mounds rather than spreading into thin rounds, which is exactly why they stay plush after cooling. The glaze goes on only after the cookies are fully cool; if you rush that part, it melts into the surface instead of sitting in those pretty drizzled ribbons.
If you’ve had pumpkin cookies turn gummy in the middle or taste more like spice cake than pumpkin, the notes below will help you avoid both problems. There’s a reason the baking time is short, and it matters more here than in a standard cookie dough.
The cookies stayed soft for days, and the maple glaze set up beautifully without getting sticky all over the container. I baked mine right at 14 minutes and they came out with that perfect cake-like center.
These maple-glazed pumpkin cookies stay soft, thick, and perfectly spiced, so tuck this one away for the next time you want a cookie that tastes like fall without getting dry.
The Secret to Soft Pumpkin Cookies That Don’t Turn Gummy
Pumpkin cookies fail for one of two reasons: too much moisture or too much baking time. Pumpkin puree is not like melted butter or applesauce. It carries a lot of water, and if the dough is left loose, the cookies bake up puffy at first and then sink into a dense, damp middle. The fix is a dough that looks soft but still holds its scoop shape.
That’s why these cookies are mixed just until the flour disappears and baked only until the centers are set. They should not look wet on top when they come out, but they also shouldn’t look deeply browned. If the edges are pulling away and the tops spring back lightly when touched, they’re done. Let them finish setting on the pan. That last few minutes of carryover heat does the work without drying them out.
What the Flour, Pumpkin, and Maple Each Bring to the Table
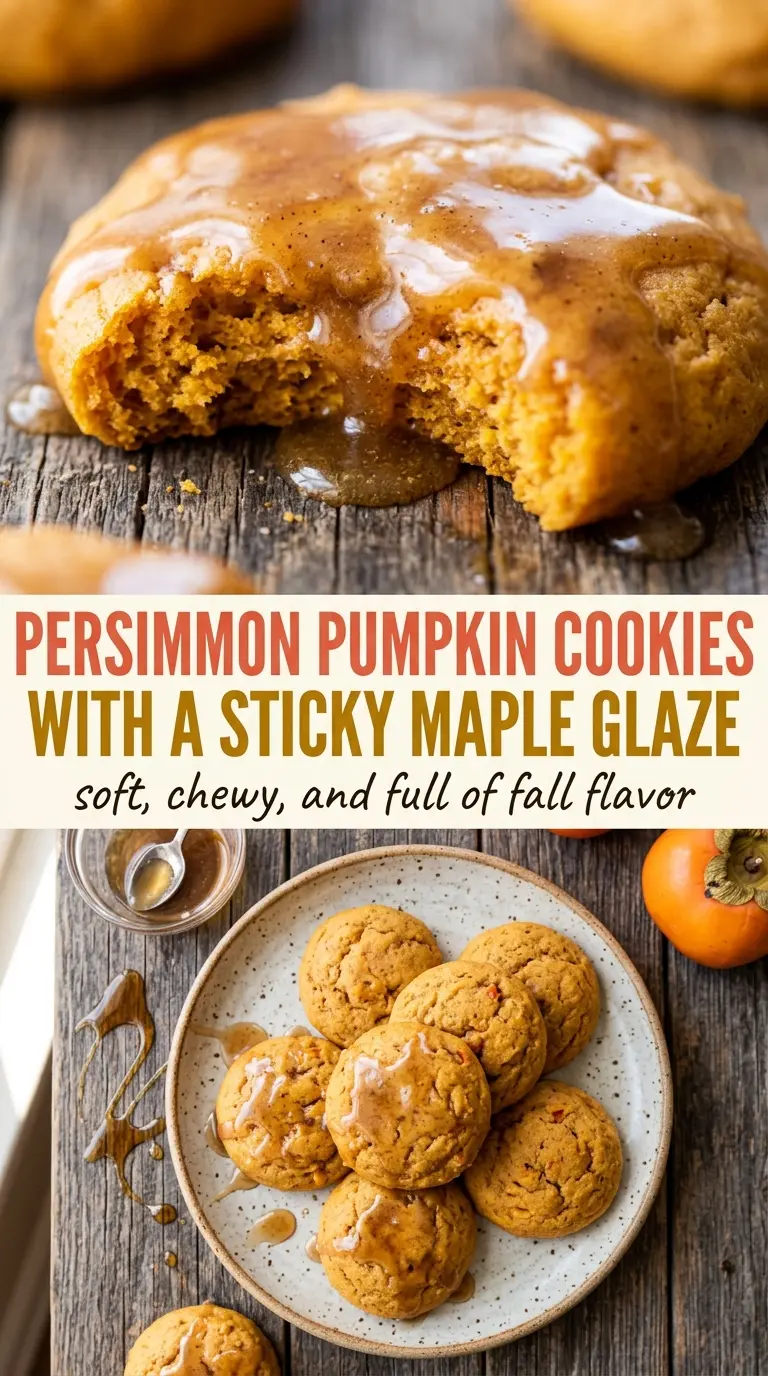
- All-purpose flour — This gives the cookies enough structure to hold their shape around the pumpkin puree. A cup-for-cup gluten-free blend can work, but the texture will be a little more delicate and less chewy.
- Pumpkin puree — Use plain pumpkin puree, not pumpkin pie filling. Pie filling comes pre-sweetened and spiced, which throws off both the flavor and the texture. If your puree looks especially watery, blotting it lightly with paper towels can keep the dough from becoming too loose.
- Brown sugar — Brown sugar adds moisture and that deeper caramel note that pairs well with pumpkin. White sugar will make the cookies a little drier and flatter in flavor.
- Butter — Softened butter creams with the sugar and gives the cookies their tender crumb. Don’t melt it; melted butter makes the dough spread too much and changes the texture from plush to greasy.
- Maple syrup — This is what makes the glaze taste like more than sweet powdered sugar. Real maple syrup gives the glaze its warmth and aroma, and there isn’t a substitute that tastes quite the same. If you want a thinner drizzle, add a few drops of milk; if you want it thicker, add more powdered sugar.
How to Mix, Scoop, and Bake Them So They Stay Soft
Building the Dough
Whisk the dry ingredients first so the baking soda and spices distribute evenly. Cream the butter and brown sugar until the mixture looks fluffy and a shade lighter, then mix in the pumpkin puree and vanilla. The batter may look a little loose at this point, and that’s normal; the flour brings it into cookie territory. Once the dry ingredients go in, stop mixing as soon as the dough comes together. Overmixing tightens the gluten and makes the cookies tougher.
Scooping for Even Baking
Use a cookie scoop or a spoon to drop the dough onto a lined baking sheet. Leave enough space for a little spread, even though these don’t flatten dramatically. If the dough seems too sticky to scoop cleanly, chill it briefly. A short chill firms the butter just enough to keep the mounds from slumping before they set in the oven.
Watching for the Right Bake
Bake at 350°F for 13 to 15 minutes, and start checking at the low end of that range. The cookies are done when the tops look set and the edges are just beginning to look matte instead of shiny. Pull them before they seem fully firm in the center; they finish on the hot pan. If you wait until they look completely baked in the oven, they’ll be dry by the time they cool.
Glazing After the Cool Down
Whisk the powdered sugar with maple syrup until you get a drizzle that falls in a ribbon but still holds its shape. The cookies need to be completely cool before the glaze goes on. Warm cookies melt the glaze right into the surface, and you lose that pretty finish. A fork or spoon works fine for drizzling; the goal is a thin, uneven layer that looks homemade, not a perfect grid.
Three Ways to Change These Without Losing What Makes Them Good
Dairy-Free Version
Swap the butter for a plant-based butter that comes in stick form, not a soft tub spread. The dough should still cream and hold shape, and the cookies will keep the same soft texture as long as the replacement is firm enough to whip with the sugar.
Gluten-Free Adjustment
Use a 1:1 gluten-free flour blend that includes xanthan gum. The cookies will still be soft and cakey, though a little more fragile when warm. Let them cool fully before moving them, or they can break apart at the center.
Extra Maple, Less Spice
If you want the maple glaze to lead the flavor, keep the cookie dough as written and add an extra teaspoon of maple syrup to the glaze along with a pinch of salt. The cookies will read a little sweeter and less spiced, which works well if you’re serving them with coffee or tea.
Storage and Reheating
- Refrigerator: Store in an airtight container for up to 5 days. The glaze may soften a little, but the cookies stay tender.
- Freezer: Freeze the unglazed cookies for up to 2 months. Thaw at room temperature, then glaze after thawing for the cleanest finish.
- Reheating: If you want them just-warm, microwave one cookie for 8 to 10 seconds. Don’t overheat them or the glaze will melt and the center can turn rubbery.
Questions I Get Asked About This Recipe
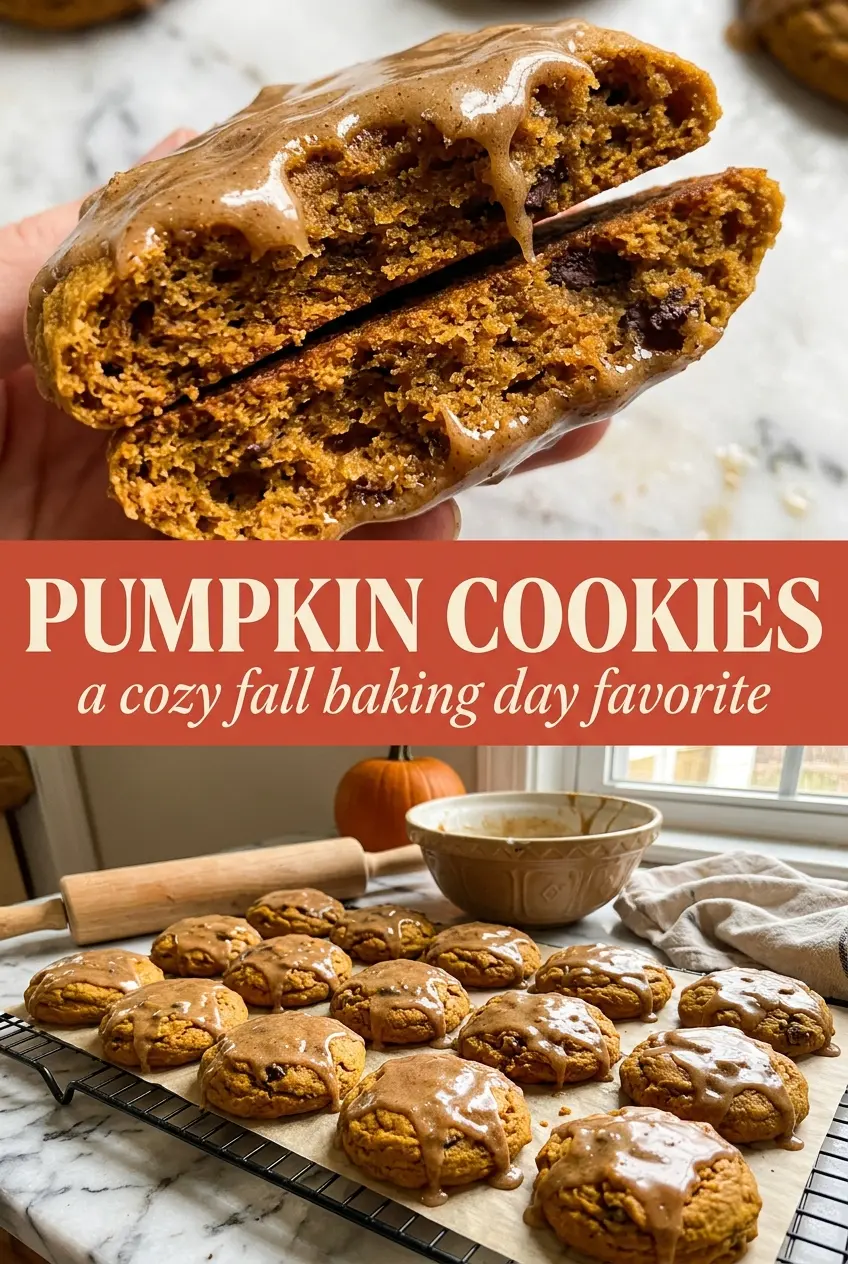
Chewy Pumpkin Cookies With Maple Glaze
Ingredients
Equipment
Method
- Whisk all-purpose flour, baking soda, cinnamon, and nutmeg together until evenly combined and no spice pockets remain.
- Beat softened unsalted butter and brown sugar until fluffy, then mix in pumpkin puree and vanilla extract until smooth.
- Fold in the dry ingredients until a soft dough forms, stopping as soon as no dry streaks remain.
- Scoop the dough onto a lined baking sheet, spacing cookies a few inches apart for spreading.
- Bake at 350°F for 13-15 minutes until the cookies are set around the edges but still soft in the center.
- Cool the cookies completely so the glaze stays thick instead of melting into the surface.
- Whisk powdered sugar with maple syrup for the glaze until glossy and pourable with a ribbon that holds briefly before settling.
- Drizzle the glaze generously over the cooled cookies, letting it streak down the sides for a glossy finish.