
Butternut squash mac and cheese lands with that same creamy, pull-apart comfort people want from a baked pasta, but the squash gives the sauce a deeper sweetness and a silkier body than a plain cheese sauce alone. The sharp cheddar keeps it from tasting flat, and the breadcrumb top gives you the contrast that makes each bite worth going back for.
The key is treating the squash like part of the sauce, not a separate add-in. Once it’s mashed smooth and whisked into the roux-thickened milk, it disappears into the base and gives the cheddar something sturdier to cling to. That’s what keeps the sauce from tasting heavy or one-note. A little garlic powder is enough here; you want the squash and cheese to stay front and center.
Below, I’ll walk through the point where most baked mac and cheese gets gummy, the ingredient swap that saves time without ruining texture, and a few ways to adapt it if you need to work with what’s in the fridge.
The squash blended right into the cheese sauce and kept it creamy without tasting sweet. I baked it until the topping was crisp and the pasta underneath stayed saucy, not dry.
Keep this butternut squash mac and cheese handy for a baked pasta that turns extra creamy from the squash and crisp on top every time.
The Trick to Keeping Squash Mac and Cheese Creamy Instead of Grainy
Grainy baked mac and cheese usually starts when the cheese goes into a sauce that’s too hot or too thin. The milk needs time to thicken with the flour first, and the heat needs to come down before the cheddar goes in. If you rush that part, the fat separates and you end up with a sauce that looks broken before it even hits the oven.
The squash helps here because it adds body without making the sauce gluey. That extra thickness lets the noodles stay coated after baking instead of sinking into a puddle at the bottom of the dish. The other thing that matters is using sharp cheddar. Mild cheddar disappears into the squash and the dish tastes soft where it should taste bold.
What Each Ingredient Is Actually Doing in This Dish
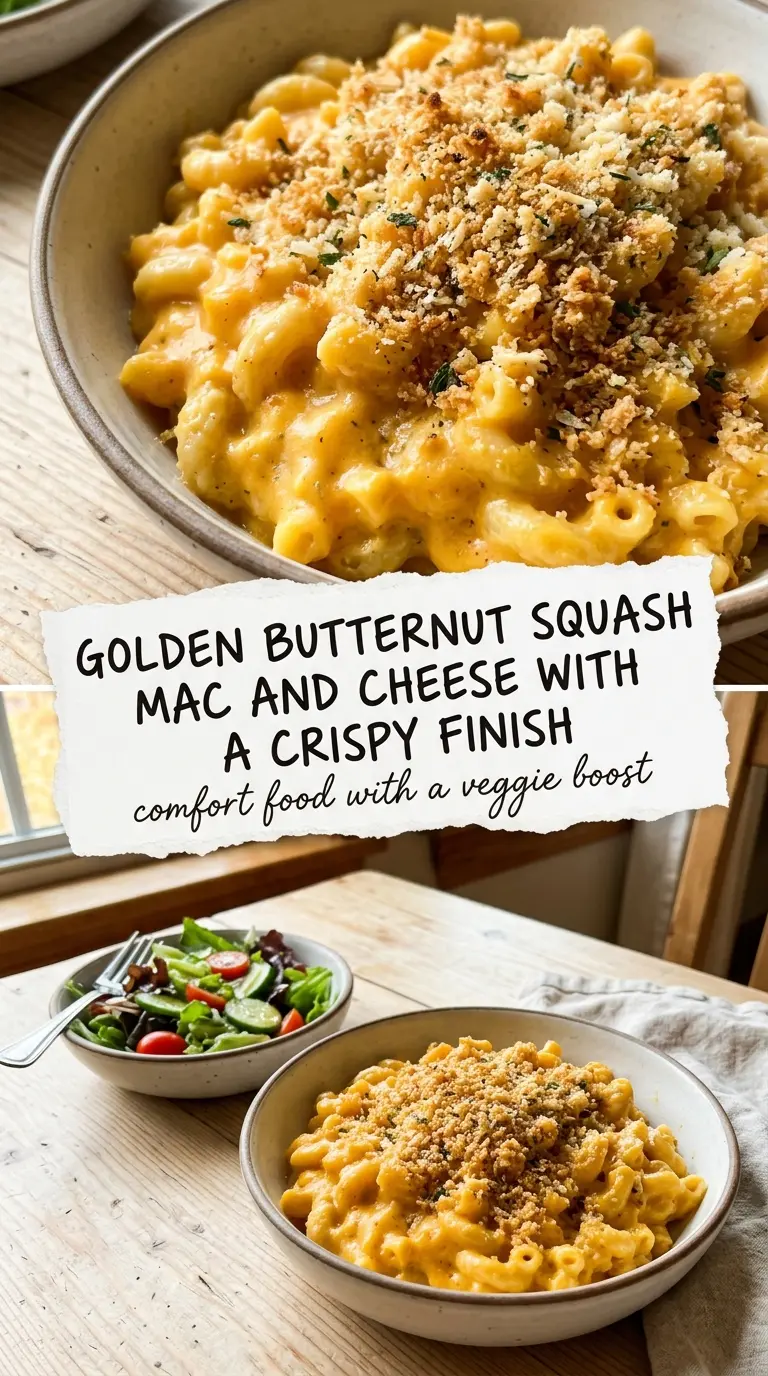
- Roux base — Butter and flour give the sauce its structure. Cook the flour for a full minute so it doesn’t taste pasty, but don’t let it darken much or you’ll mute the color and sweetness of the squash.
- Roasted butternut squash — This is the ingredient that turns the sauce velvety and gives it that orange color. Pre-roasted puree from the freezer section works well if it’s plain and smooth; just warm it enough to blend cleanly.
- Sharp cheddar — This is where the flavor lives. Pre-shredded cheese will melt, but freshly shredded cheddar gives a smoother sauce because it doesn’t carry the anti-caking coating that can make things feel a little gritty.
- Panko breadcrumbs — Regular breadcrumbs can work, but panko stays lighter and crisper on top. Toss them on right before baking so they toast instead of soaking up the sauce.
Building the Sauce Before the Oven Gets Involved
Making the Roux
Melt the butter over medium heat, then whisk in the flour and let it bubble for about a minute. You’re looking for a pale paste that smells a little nutty, not browned butter. If the heat is too high, the flour clumps and the sauce takes on a raw taste that won’t disappear later.
Thickening the Milk
Add the milk gradually and whisk after each addition until the mixture turns smooth again. That slow pour keeps lumps from forming, especially if your pan runs hot. Let the sauce thicken until it coats a spoon and leaves a clear line when you drag a finger through it.
Melting in the Squash and Cheese
Stir in the mashed squash first, then lower the heat before adding the cheddar. The squash should disappear into the sauce, leaving you with a deep orange base that looks glossy and even. If the cheese starts to look stringy or oily, pull the pan off the burner and stir until it comes back together.
Baking Until the Top Cracks Lightly
Toss the sauce with the drained macaroni, spread it in a greased baking dish, and top with panko. Bake until the edges are bubbling and the top turns deep golden in spots. If you pull it too early, the center stays loose; if you overbake it, the pasta drinks up too much sauce and loses that creamy middle.
How to Adapt This for Different Kitchens and Different Cravings
Dairy-Free Version
Use unsweetened oat milk or a plain, neutral plant milk and swap in a good melting dairy-free cheddar-style shreds. The sauce won’t be quite as rich, but the squash still gives it body, and the baked topping helps carry the texture. Skip any product that tastes sweet on its own, or the whole dish shifts in the wrong direction.
Gluten-Free Swap
Use gluten-free elbow pasta and thicken the sauce with a 1:1 gluten-free flour blend in place of the all-purpose flour. Gluten-free pasta can go soft fast, so cook it just until barely tender since it will keep cooking in the oven. For the topping, use gluten-free panko or crush plain gluten-free crackers.
Extra-Smooth, Faster Prep
Use pre-roasted squash puree from the freezer section when you want to cut down the prep time. It behaves just like homemade puree as long as it’s unsweetened and not packed with extra liquid. Warm it before adding it so it blends into the sauce without leaving little cold streaks.
More Crunch on Top
Mix the panko with a small spoonful of melted butter before scattering it over the casserole. That gives you a deeper brown crust and keeps the crumbs from looking dry or dusty after baking. If you want a little salt and savoriness, add a pinch of grated Parmesan to the crumbs.
Storage and Reheating
- Refrigerator: Store leftovers in an airtight container for up to 4 days. The sauce will thicken as it chills, so expect the pasta to seem a little firmer the next day.
- Freezer: It freezes reasonably well for up to 2 months if you wrap it tightly and cool it first. For the best texture, freeze before baking, then bake from thawed so the sauce stays smoother.
- Reheating: Reheat covered in a 325°F oven with a splash of milk stirred in first, or use the microwave in short bursts. The biggest mistake is blasting it on high heat, which dries out the pasta before the center warms through.
Questions I Get Asked About This Recipe
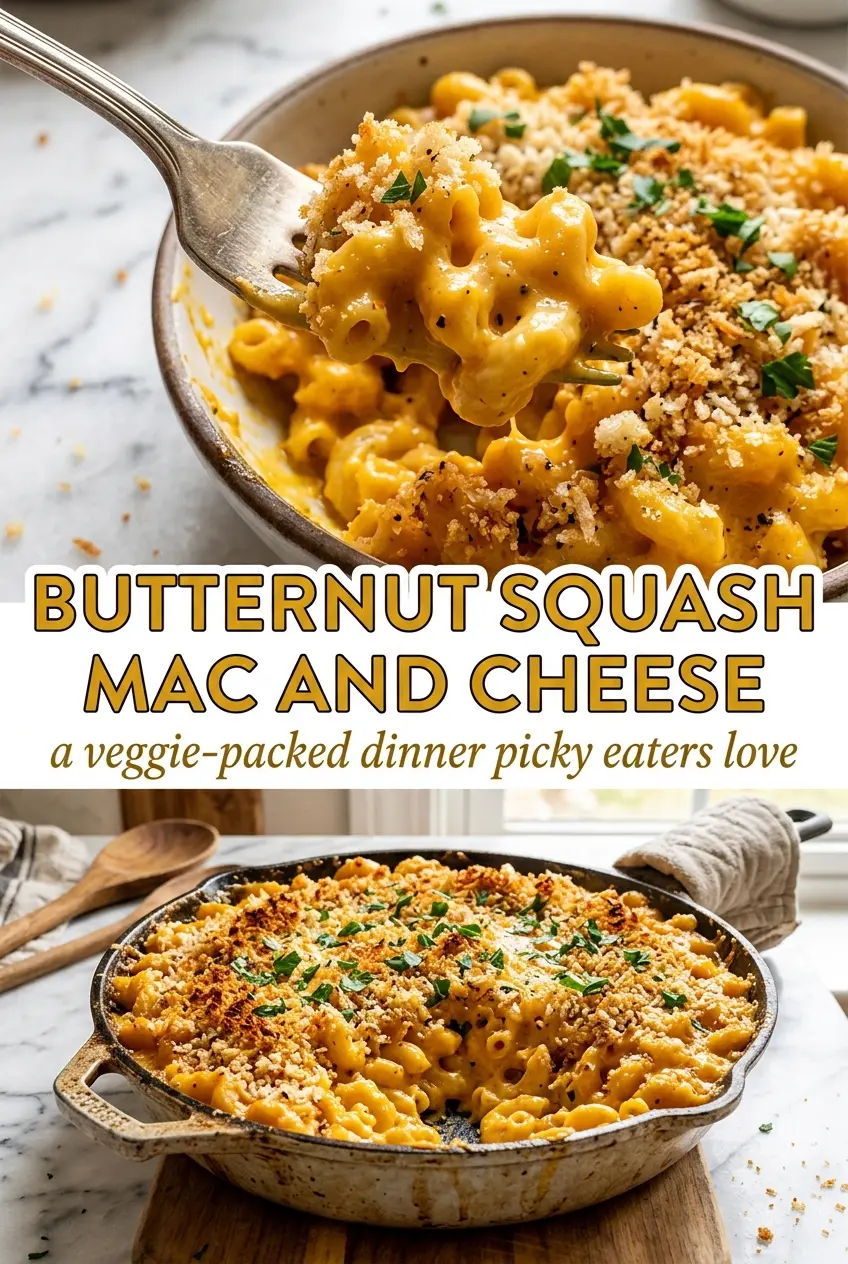
Butternut Squash Mac And Cheese
Ingredients
Equipment
Method
- Cook the elbow macaroni according to package instructions until tender, then drain thoroughly with no extra water left behind.
- Melt the butter in a saucepan over medium heat, then whisk in the flour and cook for 1 minute while it smells lightly toasted.
- Whisk the milk in gradually until the mixture is smooth, then keep whisking until it is slightly thickened.
- Stir in the mashed roasted butternut squash, shredded sharp cheddar cheese, and garlic powder, mixing until the cheese is fully melted and the sauce looks glossy and uniform.
- Toss the cooked macaroni with the sauce until every noodle is coated, then spread the mixture into a greased baking dish so it lies in an even layer.
- Sprinkle the panko breadcrumbs evenly over the top for a crisp layer.
- Bake at 375°F for 15-20 minutes until the top is golden and the edges are bubbling gently.