
Bright, chunky tomato salsa tastes even better when it’s sealed into jars and put away for later. The tomatoes cook down just enough to concentrate their sweetness, while onion, jalapeño, garlic, and cumin keep every spoonful sharp, smoky, and balanced. What you end up with is a salsa that still tastes fresh months after canning, not flat or dull the way some preserved salsas do.
The key here is using the right acidity and the right amount of simmering. The vinegar and bottled lime juice aren’t just background flavor; they help create the safe acid level that makes water bath canning work, and they also keep the salsa tasting bright instead of heavy. Simmering for the full 20 minutes is what thickens the mixture enough to ladle cleanly into jars without leaving you with watery salsa after processing.
Below you’ll find the exact timing that keeps the texture right, plus the one ingredient swap that matters for safety. I’ve also included a few ways to adjust the heat and a couple of canning questions people ask every time they make a batch.
The salsa thickened up beautifully and didn’t turn watery in the jars. I used it on eggs the next morning and it had that fresh tomato taste with just enough heat.
Save this water bath canned tomato salsa for the jars that keep their fresh tomato bite and smoky heat all winter long.
The Part Most Salsa Recipes Get Wrong: Keeping the Texture Thick Without Losing the Acid
Water bath canned salsa needs to walk a line. If it’s too thin, you end up with jars of tomato juice and floating bits of pepper. If it’s cooked down too far, the flavor dulls and the salsa starts tasting more like stewed tomatoes than something you want to spoon onto chips. The simmer in this recipe gives you enough reduction to concentrate the mixture, but not so much that the acid balance gets thrown off or the final texture turns paste-like.
The other mistake is treating the acid like an afterthought. In canning, vinegar and bottled lime juice aren’t there just for tang. They’re part of what keeps the recipe safely in the water bath range, which is why this version uses a full cup of vinegar and bottled lime juice instead of fresh. Fresh lime can vary in acidity, and that’s not a place to guess.
What Each Ingredient Is Actually Doing in This Dish
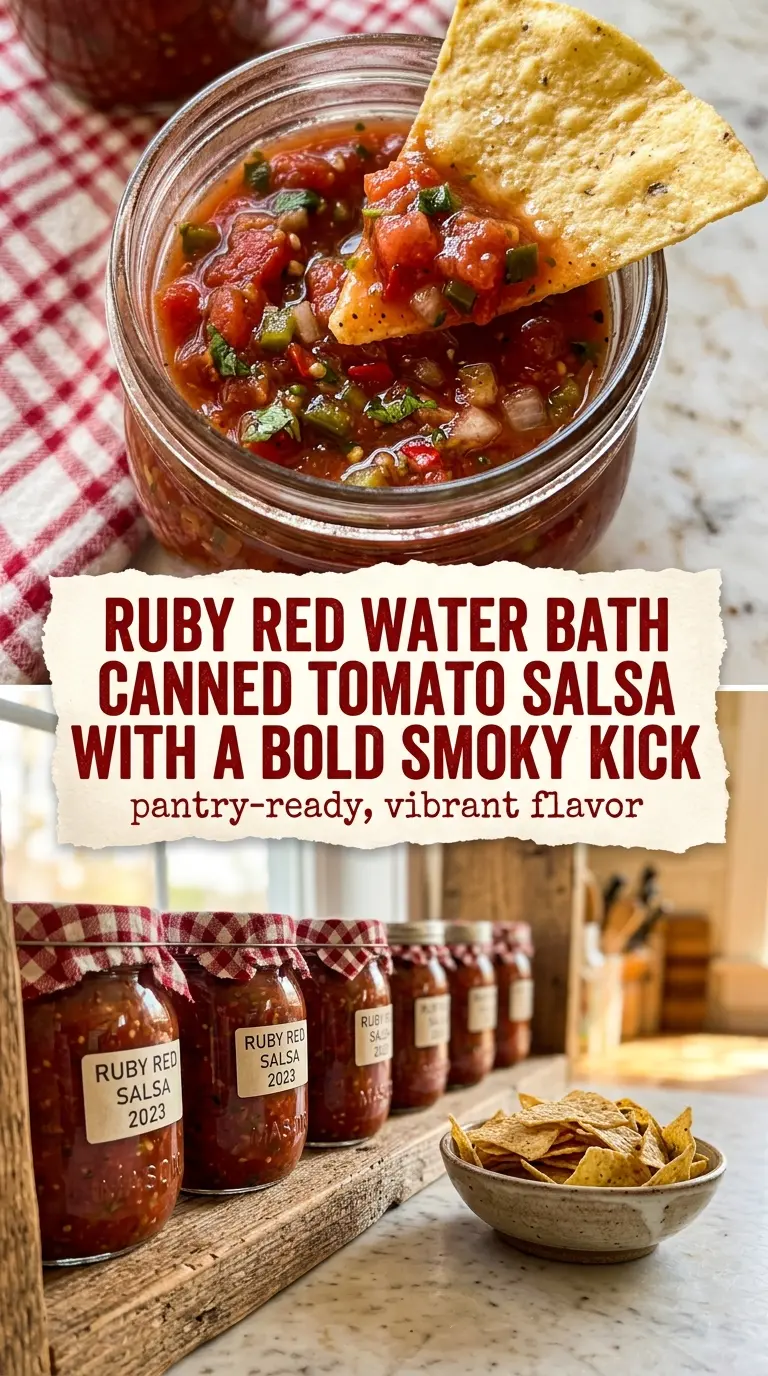
- Tomatoes — Use ripe, meaty tomatoes if you can. Extra-juicy tomatoes will still work, but they need the full simmer time to cook off enough water for a spoonable salsa.
- Vinegar — This does the heavy lifting on acidity. Use the type the recipe calls for and don’t cut it back, even if the salsa tastes sharp before processing; it mellows as it sits.
- Bottled lime juice — Bottled juice matters here because the acidity is standardized. Fresh lime juice tastes great, but it isn’t the safe swap for a canning recipe.
- Jalapeños — Seed them for a milder salsa or leave some seeds in for more heat. They bring the clean pepper bite that keeps the salsa from tasting flat.
- Cilantro — Stir it in at the end so it stays bright. If you cook it too long, it loses its fresh edge and disappears into the tomatoes.
Building the Salsa So It Cooks Down Cleanly and Seals Right
Starting with the vegetables
Combine the tomatoes, onion, jalapeños, and garlic in a large pot so the mixture has room to bubble without spitting over the sides. As it heats, the tomatoes will release liquid almost immediately, which is exactly what you want at the start. Stir occasionally so the onion and garlic don’t stick on the bottom, especially once the tomatoes begin to soften.
Adding the acid and spice
Stir in the vinegar, lime juice, and cumin before the simmer starts. That lets the seasonings distribute evenly instead of sitting in streaks or clumps. The salsa should smell bright and savory almost immediately; if the cumin seems aggressive at first, don’t worry, it settles into the tomatoes as the mixture reduces.
Reducing until it coats the spoon
Bring the pot to a boil, then lower the heat and simmer for 20 minutes. You’re looking for a thicker, still-chunky salsa that mounds slightly on a spoon rather than running off like soup. If it starts to scorch on the bottom, the heat is too high. Stir more often and lower it; burned tomato flavor carries straight into the jars.
Jarring and water bath processing
Ladle the hot salsa into sterilized jars with 1/2 inch headspace, then wipe the rims before sealing. That headspace matters because the salsa expands during processing, and too little room can keep the lids from sealing properly. Process the jars for 15 minutes, then let them cool completely on a towel-lined counter without moving them around. You’ll hear the seals pop as they set.
Three Ways to Make This Tomato Salsa Fit What You Have
Make it milder without losing body
Use one jalapeño instead of two, and remove the seeds and ribs before mincing. The salsa will keep the same texture and acidity, but the heat stays in the background instead of taking over. This is the cleanest way to make a friendlier jar without changing the canning method.
Make it dairy-free, gluten-free, and pantry-safe as written
This recipe already lands naturally in dairy-free and gluten-free territory, which is part of why it’s such a useful canning staple. Just keep an eye on any add-ins you might be tempted to use later, like extra seasonings or store-bought spice blends, since some blend fillers can contain starches or anti-caking agents.
Add more smoke without changing the safety balance
A small pinch of smoked paprika can deepen the flavor if you want a more roasted note. Keep it modest so it supports the tomatoes instead of making the salsa taste dusty. Skip liquid smoke here; it overwhelms the fresh tomato flavor fast.
Storage and Reheating
- Refrigerator: Once opened, keep the salsa chilled and use it within 1 to 2 weeks. The flavor stays bright, though the tomatoes soften a little over time.
- Freezer: This salsa can be frozen if you skip the canning step, but the texture turns softer after thawing. Freeze in airtight containers with headspace, then thaw in the refrigerator.
- Reheating: You usually don’t need to heat it. If you want it warm for a cooked dish, use low heat and stir gently so the tomatoes don’t break down into sauce.
Answers to the Questions Worth Asking
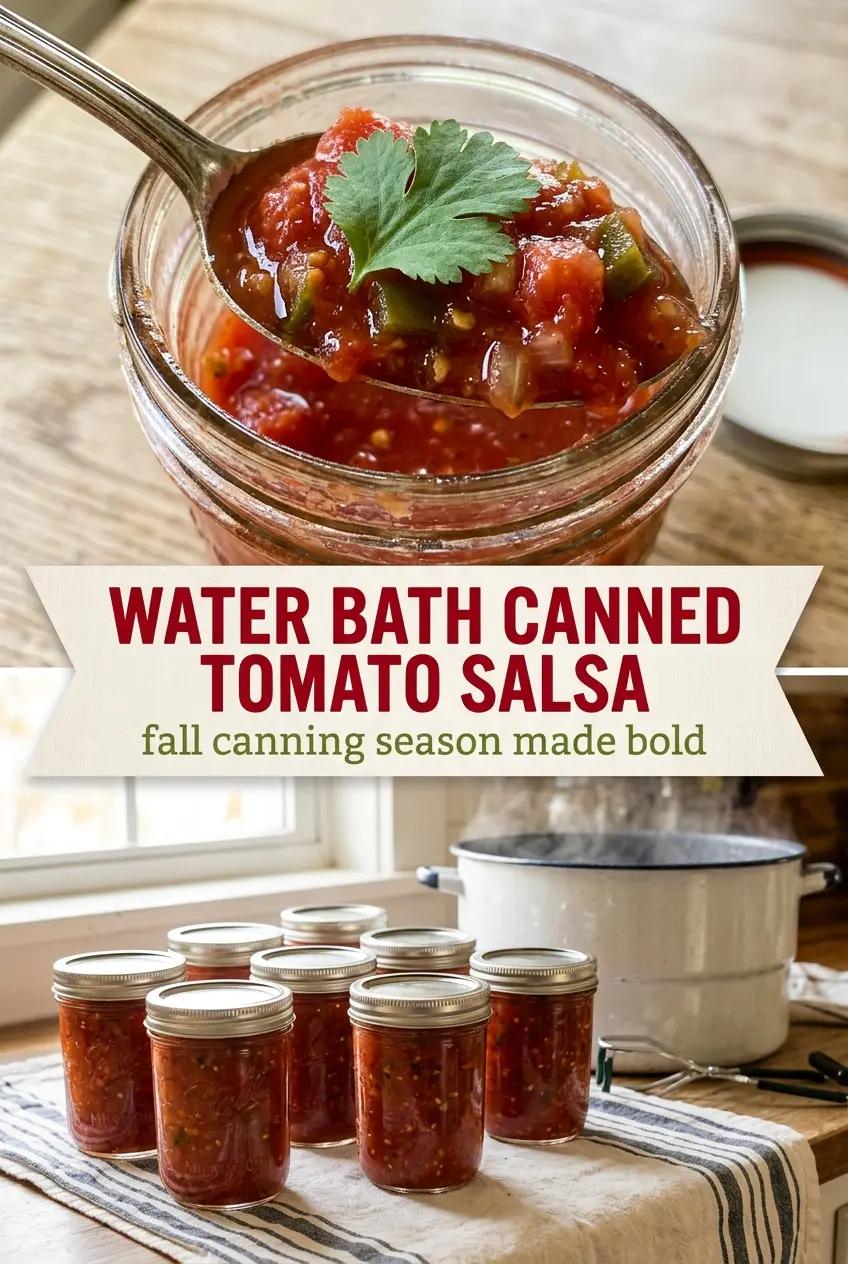
Water Bath Canned Tomato Salsa
Ingredients
Equipment
Method
- Combine the diced tomatoes, onion, jalapeños, and garlic in a large pot over medium-high heat. Stir until evenly distributed and starting to heat through, about 5 minutes, with the mixture beginning to steam.
- Stir in the vinegar, lime juice, and cumin. Mix until the salsa is uniform in color and fragrant, 1 to 2 minutes.
- Bring the mixture to a boil, then reduce heat to maintain a gentle simmer. Simmer at a steady bubbling rate for 20 minutes, stirring occasionally, until thickened.
- Stir in the cilantro and season with salt. Cook 2 to 3 minutes more, until the salsa looks glossy and slightly thicker.
- Ladle the hot salsa into sterilized jars, leaving 1/2 inch headspace. Wipe rims clean and apply lids as directed so jars are ready for processing.
- Process the jars in a water bath canner at a rolling boil for 15 minutes. Make sure jars stay covered by water by at least 1 inch, then remove carefully and cool completely on a towel-lined counter.