
Salted caramel mocha lands in the mug with the kind of balance that keeps you coming back for another sip: deep espresso, chocolate that tastes rich instead of syrupy, and caramel that turns the whole drink into something dessert-like without crossing into cloying. The flaky salt matters here. It sharpens the caramel, pulls the chocolate forward, and keeps the drink from tasting flat at the end of the sip.
The trick is building the flavor in the hot espresso before the milk goes in. That gives the chocolate syrup and caramel a chance to dissolve completely, so you don’t end up with streaks at the bottom of the mug. Steamed milk softens the edges and gives the drink its café texture, while whipped cream and a final drizzle make each cup feel finished, not rushed.
If you’ve only had this drink from a coffee shop, the version below will save you a trip and give you better control over the sweetness. A small pinch of salt and a warm drizzle of caramel make a bigger difference than most people expect.
The caramel and chocolate mixed right into the espresso without sinking to the bottom, and the little bit of salt kept it from tasting too sweet. I used a frother for the milk and it came out just like a coffee shop drink.
Save this salted caramel mocha for the mornings when you want espresso, chocolate, and caramel to taste like one smooth café-style drink.
The Reason This Mocha Tastes Like a Coffee Shop Drink Instead of Sweet Syrup
The difference comes down to order. If you pour milk into espresso before dissolving the chocolate and caramel, the drink can taste thin or uneven, with syrup pooling at the bottom. Stirring the sweeteners into the hot espresso first gives you a concentrated base that tastes integrated all the way through.
Flaky sea salt also earns its place. It doesn’t make the drink salty; it keeps the caramel from reading one-note and helps the chocolate taste deeper. The result is richer, not sweeter.
What Each Ingredient Is Actually Doing in This Mug
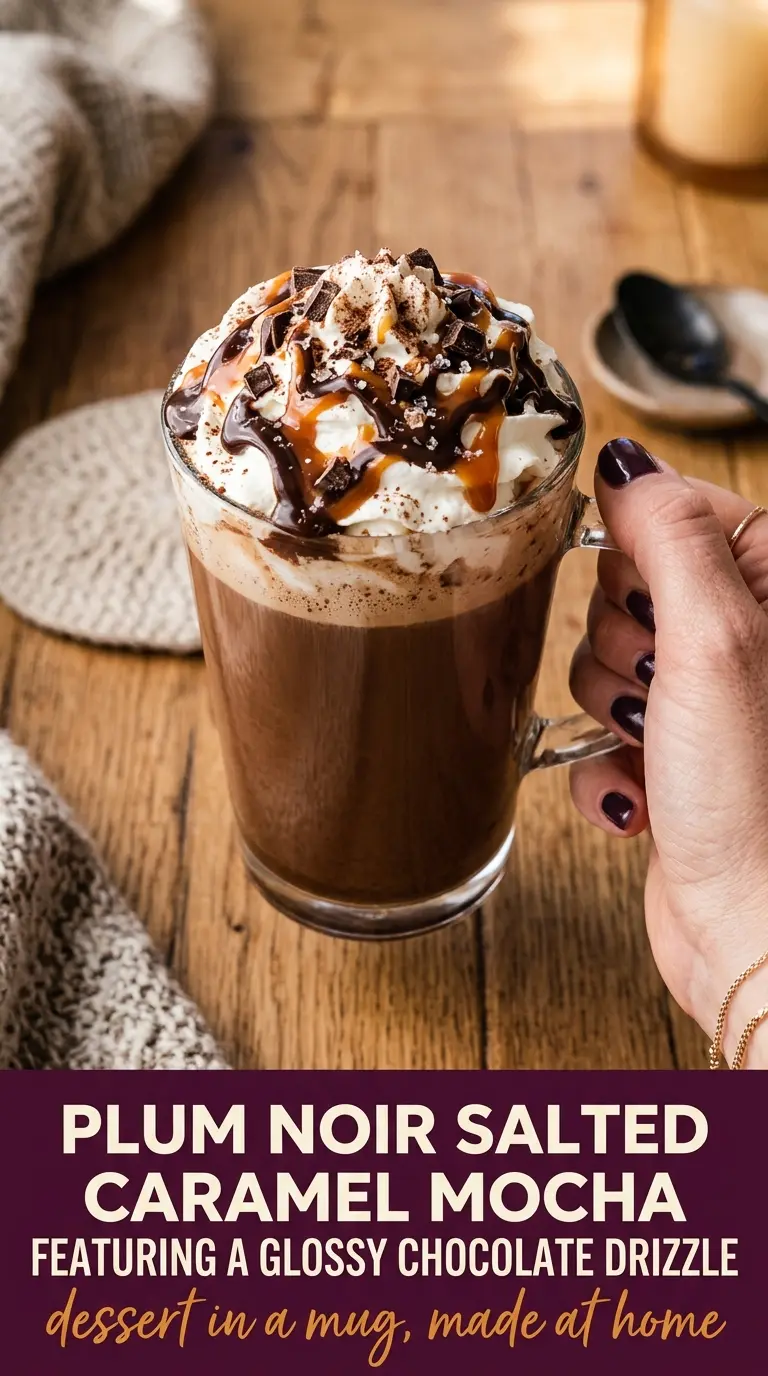
- Espresso — Two shots give the drink enough backbone to stand up to caramel and whipped cream. Strong brewed coffee works in a pinch, but it will taste lighter and less café-like.
- Chocolate syrup — This dissolves smoothly into hot espresso and gives you that mocha base fast. Use a good syrup if you can, since a thin, overly sweet one can make the drink taste flat.
- Caramel sauce — Sauce, not caramel topping, gives you the best texture for blending into the coffee. If yours is thick from the fridge, warm it for a few seconds so it stirs in cleanly.
- Flaky sea salt — A small pinch makes the caramel taste more pronounced. Table salt works only if that’s what you have, but use less because it disappears faster and can taste sharper.
- Milk — Whole milk gives the creamiest froth, but 2% still works well. Oat milk is the best dairy-free swap because it steams smoothly and keeps the drink full-bodied.
- Whipped cream — This isn’t just garnish. It softens the first sip and gives the caramel and chocolate something to cling to on top.
Building the Mocha Without Letting the Syrup Sink
Dissolving the Base First
Start with hot espresso and stir in the chocolate syrup, two tablespoons of caramel sauce, and the salt while the coffee is still steaming. That heat is what dissolves everything into one glossy base. If you rush this and move straight to milk, you’ll taste pockets of syrup instead of a unified mocha.
Steaming or Frothing the Milk
Heat the milk until it’s hot and foamy, but don’t let it boil. Overheated milk gets a cooked taste and loses the creamy texture that makes this drink feel special. A handheld frother works well, and a whisk can get you close if you keep at it until the milk looks pale and velvety.
Finishing the Mug
Pour the milk into the espresso mixture and stir gently, just enough to combine. Then add the whipped cream and drizzle with the remaining caramel and chocolate. If your caramel is too thick to drizzle, warm it for a few seconds first so it falls in neat ribbons instead of clumps.
Three Useful Ways to Adjust It
Dairy-Free Version
Use oat milk and coconut-based whipped topping. Oat milk gives the closest creamy body, while almond milk drinks thinner and won’t carry the mocha as well. The flavor stays balanced, and the drink still froths nicely.
Less Sweet, More Coffee Forward
Cut the caramel sauce back by one tablespoon and use the chocolate sparingly. You’ll get a sharper espresso flavor with enough sweetness to keep the drink round. This is the version I make when I want dessert vibes without a sugar-heavy finish.
Iced Salted Caramel Mocha
Let the espresso base cool, then pour it over ice with cold milk instead of steamed milk. Shake the coffee base with ice in a jar if you want a smoother texture and faster cooling. The whipped cream still works on top, but drizzle the caramel after the ice has settled so it doesn’t disappear right away.
Storage and Reheating
- Refrigerator: The espresso mixture keeps for 2 days, but the milk and whipped cream should be added fresh for the best texture.
- Freezer: This doesn’t freeze well once mixed, since dairy and caramel can separate when thawed.
- Reheating: Warm the coffee base gently on the stove or in the microwave, then add freshly steamed milk. Don’t boil it or the caramel can turn sticky and the espresso can taste harsh.
The Things That Trip People Up With This Drink
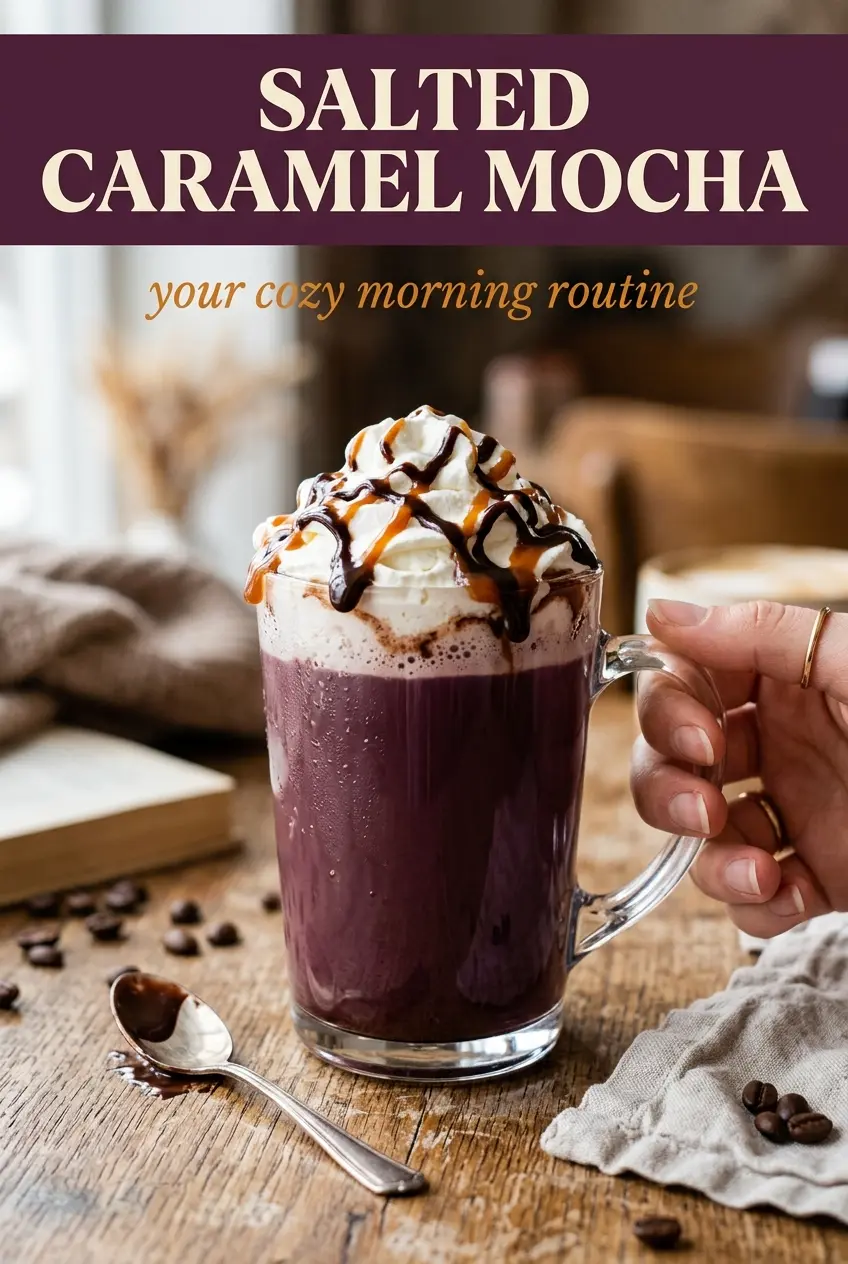
Salted Caramel Mocha
Ingredients
Equipment
Method
- Brew the espresso shots. Use hot brewed espresso so it’s ready to dissolve the syrups immediately.
- Stir the chocolate syrup, 2 tablespoons of the caramel sauce, and the flaky sea salt into the hot espresso until dissolved. Keep stirring until the mixture looks smooth and evenly dark.
- Steam the milk until hot and frothy, using a handheld frother or whisking vigorously. Aim for visible foam and a glossy, pourable texture.
- Pour the steamed milk into the mug with the espresso mixture, stirring gently to combine. Stop stirring once the drink looks evenly blended.
- Top with whipped cream. Add it in a thick layer so it holds the drizzle on top.
- Drizzle with the remaining caramel sauce and extra chocolate syrup before serving. Use a slow zigzag so the surface looks glossy and layered.