
Savory, saucy sloppy joes hit the table fast, but the good ones don’t taste rushed. This version turns ground beef into a thick, glossy filling with just enough sweetness to round out the tang, and it stays put on the bun instead of sliding into a puddle on the plate. The texture matters here: you want a spoonable mixture that clings, not a loose meat sauce that turns the bread to mush.
The trick is giving the vegetables a head start with the beef, then letting the sauce simmer uncovered until the ketchup loses its sharp edge and thickens into that classic sloppy joe coating. Worcestershire adds depth, mustard keeps the flavor from leaning too sweet, and toasting the buns gives you a little structure under all that filling. It’s a simple skillet dinner, but the balance has to be right or it tastes flat.
Below, I’ve included the timing cue that tells you when the filling is done, plus a few smart swaps if you need to stretch the batch or adjust for what’s in your pantry.
The filling thickened up exactly like you said, and toasting the buns kept everything from getting soggy. My kids asked for seconds, which almost never happens with a messy sandwich meal.
Save these thick, tangy homemade sloppy joes for the nights when you need a one-skillet dinner that stays glossy and pile-high on toasted buns.
The Reason the Filling Needs to Simmer Uncovered
Sloppy joe filling fails in one of two ways: it’s either watery and slips through the bun, or it gets cooked down so hard it tastes dull and paste-like. The uncovered simmer solves the first problem by letting excess moisture evaporate while the sauce reduces around the beef. You’re watching for a glossy, thick coating that clings to a spoon, not a loose tomato soup with meat in it.
That last 10 to 12 minutes matters more than the browning stage. Once the beef is cooked, the sauce needs time for the ketchup to lose its raw sweetness and for the Worcestershire and mustard to settle in. If the pan looks dry before the mixture thickens, lower the heat instead of adding water right away — the sauce should reduce, not get diluted.
What Each Ingredient Is Actually Doing in This Dish
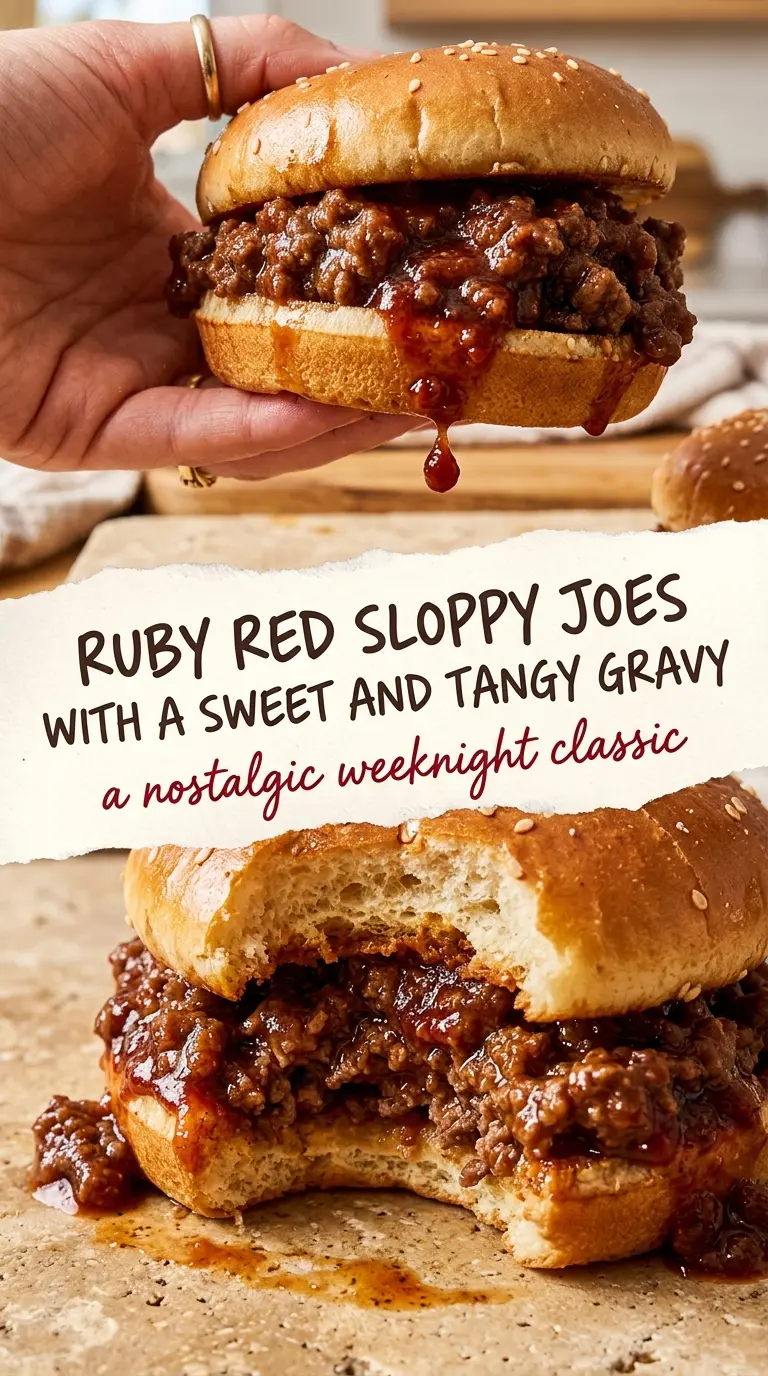
- Ground beef — This is the backbone of the dish. An 80/20 mix gives the best flavor and keeps the filling from tasting dry after it simmers; leaner beef works, but you may need a touch more fat in the pan. If your beef is very lean, don’t skip draining carefully after browning so the sauce doesn’t turn greasy.
- Onion and green bell pepper — These bring sweetness, bulk, and a little texture so the filling tastes like more than seasoned meat in tomato sauce. Dice them small so they soften into the mixture instead of staying crunchy. If you don’t have bell pepper, use a little extra onion, but the flavor will be less rounded.
- Ketchup — This does the heavy lifting for both sweetness and tomato base, so the brand you choose changes the final taste more than you might expect. A thicker ketchup gives you a better head start on the sauce body. If yours is very sweet, reduce the brown sugar slightly.
- Brown sugar, Worcestershire, and mustard — These are the balance points. Brown sugar smooths the acidity, Worcestershire adds depth and that savory edge sloppy joes need, and mustard keeps the whole thing from tasting one-note. Yellow mustard is fine here; you’re after brightness, not sharp heat.
- Hamburger buns — Soft buns are classic, but they need to be toasted or the filling will soak straight through. A quick toast gives the bread enough structure to hold up without turning chewy. Brioche, potato buns, or standard sesame buns all work as long as they’re sturdy enough to carry the sauce.
Building the Filling So It Stays Thick and Glossy
Brown the Beef with the Vegetables
Cook the ground beef with the diced onion and bell pepper in a large skillet until the meat loses its pink color and the vegetables soften. You want some browning on the beef, because that’s where the deeper flavor comes from, but don’t let the pan go dry and scorch. If there’s a lot of grease after browning, drain the excess so the finished filling doesn’t separate into oil and sauce.
Stir in the Sauce and Let It Reduce
Add the ketchup, brown sugar, Worcestershire sauce, mustard, salt, and pepper right into the skillet. Stir well so every bit of beef gets coated, then let it bubble gently over medium-low heat. The sauce should move from shiny and loose to thick and spoonable; if it’s still runny after 10 minutes, keep simmering uncovered for a few minutes longer.
Toast the Buns and Assemble Right Away
Split the buns and toast them until the cut sides are lightly crisp and golden. That small step keeps the bottom bun from collapsing the second the filling hits it. Spoon the sloppy joe mixture generously onto the buns and serve warm, while the sauce is still glossy and the bread still has some structure.
How to Adapt These Sloppy Joes for What You Have on Hand
Turkey Sloppy Joes
Swap the ground beef for ground turkey and keep the onion and pepper the same. Turkey brings a lighter flavor, so it benefits from the Worcestershire and mustard even more than beef does. If the pan looks dry, add a small splash of oil at the start because turkey has less fat to carry the browning.
Gluten-Free Sloppy Joes
The filling itself is naturally close to gluten-free, but you need to check the Worcestershire sauce and serve it on gluten-free buns. Some brands contain malt vinegar or other gluten sources, so read the label before you pour. Toast the gluten-free buns well so they hold up under the sauce.
Dairy-Free and Pantry-Friendly
This recipe is already dairy-free as written, which makes it an easy weeknight option when you’re trying to keep the ingredient list simple. If you’re out of bell pepper, use extra onion and a pinch of smoked paprika to replace some of that sweet vegetable depth. The texture will still be right as long as you let the sauce reduce fully.
Stretching the Batch for More Sandwiches
Add another half onion and a little extra ketchup if you need to feed more people without buying another pound of beef. The filling will be slightly softer, so extend the simmer until it looks thick again. This works best when you’re serving it with simple sides and want the sandwiches to stay substantial.
Storage and Reheating
- Refrigerator: Store the filling in an airtight container for up to 4 days. It thickens as it sits, which actually helps the texture.
- Freezer: It freezes well for up to 3 months. Cool it completely first, then portion it into freezer-safe containers or bags so it thaws evenly.
- Reheating: Warm it gently on the stovetop over low heat or in the microwave in short bursts, stirring between rounds. Add a splash of water if needed, but only enough to loosen it slightly — too much will bring back the runny texture you worked to cook off.
Answers to the Questions Worth Asking
Homemade Sloppy Joes
Ingredients
Equipment
Method
- Heat a large skillet over medium-high heat, then brown the ground beef with diced onion and green bell pepper until no pink remains; drain excess fat. Keep the heat high enough to get light browning, about 8–10 minutes, and stir occasionally until the vegetables soften and the meat releases its juices (visual cue: browned meat and translucent onions).
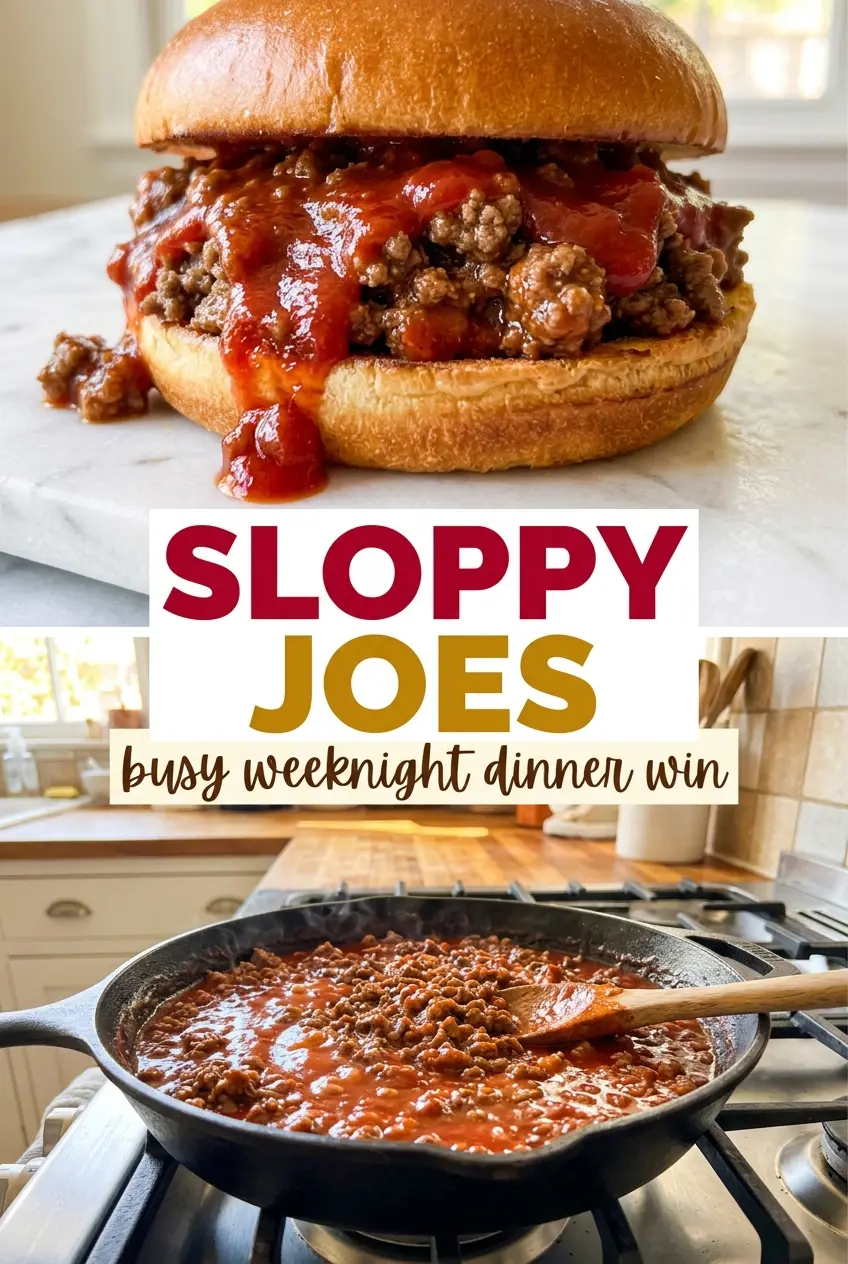
- Reduce heat to medium and stir in ketchup, brown sugar, Worcestershire sauce, mustard, salt, and pepper. Simmer 10–12 minutes, stirring often, until thickened and glossy (visual cue: the sauce clings to the spoon and looks shiny).
- Toast the hamburger buns until lightly crisp, about 1–2 minutes, and set aside. Use the edges as a visual cue: they should turn golden without burning.
- Pile the warm sloppy joe mixture onto the toasted buns and serve right away. For the best texture, spoon from the center so the filling stays thick and doesn’t run.