
Gluten free pumpkin bread should still slice cleanly, hold together without crumbling, and stay moist for days. That balance is what makes this loaf worth baking again and again. The crumb is tender, the pumpkin flavor comes through without tasting muddy, and the spice level lands in that cozy middle ground where it works for breakfast, snacks, or an afternoon coffee break.
The trick is using a good 1:1 gluten-free flour blend and not overworking the batter. Gluten-free quick breads need enough structure to rise, but they turn gummy if you beat them like a cake. A little xanthan gum helps if your blend doesn’t already include it, and the oil keeps the loaf soft even after it cools.
Below, I’ve added the part most gluten-free bakers actually need: how to keep the texture tender instead of dense, what your flour blend is doing, and the one cooling step that keeps the loaf from falling apart when you slice it.
The loaf stayed so moist and the slices held together after it cooled completely. I used my gluten-free 1:1 blend and didn’t get that gritty texture at all.
Save this gluten free pumpkin bread for the days when you want a tender, no-fuss loaf that slices beautifully.
The Crumb Depends on What Your Gluten-Free Blend Can Actually Do
Gluten-free pumpkin bread fails in a few predictable ways: it turns gummy, sinks in the center, or comes out dry and sandy. The biggest mistake is treating a gluten-free batter like a wheat batter. It doesn’t need more stirring or more time in the oven. It needs the right flour blend, enough fat, and a gentle hand once the dry ingredients go in.
That 1:1 gluten-free flour blend matters because it already contains starches and binders balanced for quick breads. If your blend does not include xanthan gum, adding a little gives the loaf enough structure to hold together after cooling. Pumpkin puree brings moisture, but it also makes the batter heavy, so the loaf depends on the eggs and oil to keep the crumb soft instead of dense.
What Each Ingredient Is Actually Doing in This Dish
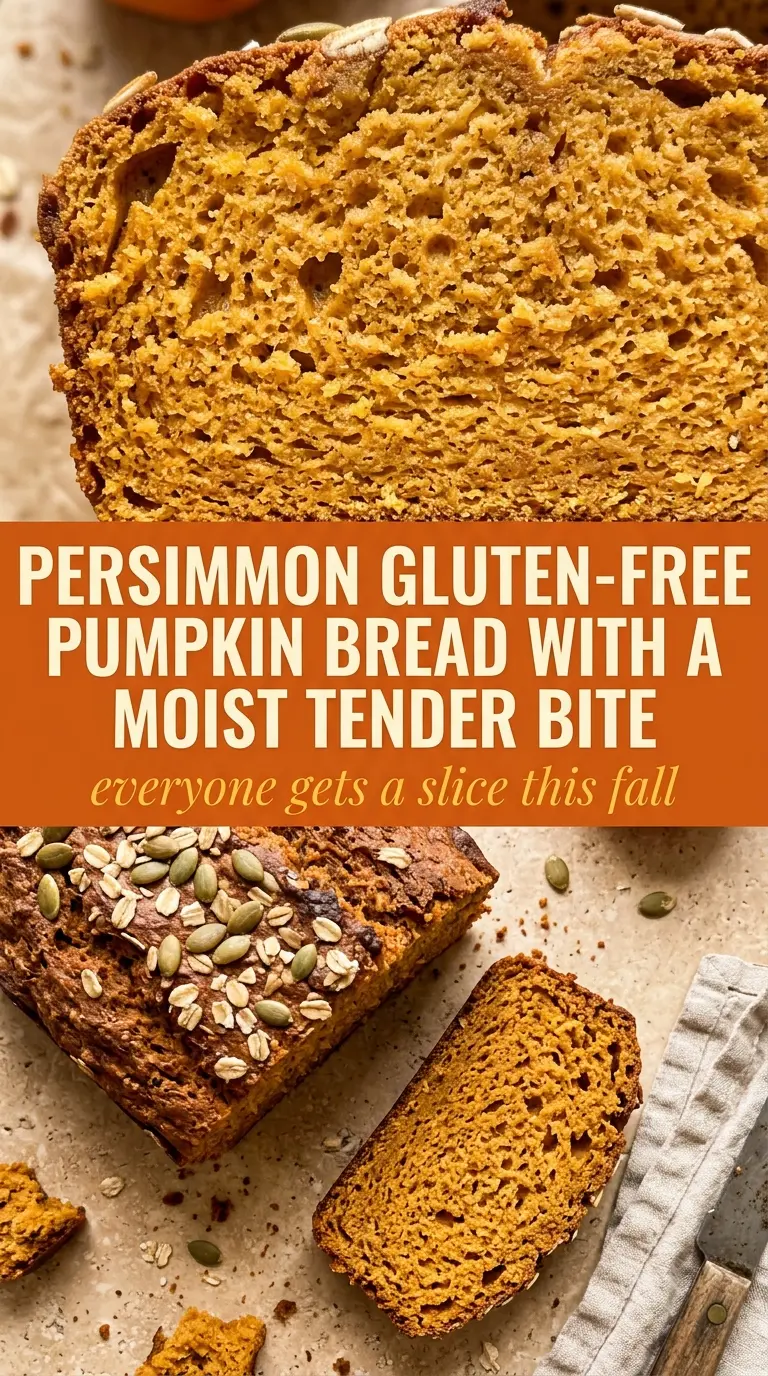
- Gluten-free 1:1 flour blend — Use a blend designed to replace all-purpose flour by cup. Almond flour or coconut flour won’t behave the same way and will change both the rise and the texture.
- Xanthan gum — If your flour blend already includes it, skip the extra. If it doesn’t, this small amount helps the loaf slice cleanly instead of crumbling apart.
- Pumpkin puree — Use plain pumpkin puree, not pumpkin pie filling. Pie filling is already sweetened and spiced, which throws off the balance of the loaf.
- Vegetable oil — Oil keeps the bread tender for days. Melted butter can work, but the loaf won’t stay as moist.
- Eggs — These give the loaf structure and lift. I haven’t found a swap that performs as well in this specific recipe.
Stir It Just Until the Flour Disappears
Whisk the dry ingredients first
Start by whisking the flour, baking soda, cinnamon, xanthan gum if needed, and salt together until the mixture looks evenly speckled. That step keeps the leavener and spice from clumping in one part of the loaf. If the baking soda isn’t distributed well, you’ll get uneven rise and a bitter spot in the crumb.
Build the wet base until it looks smooth
Whisk the sugar, oil, and eggs until the mixture looks glossy and a little thickened, then stir in the pumpkin puree. You’re not trying to whip air into it. You’re just dissolving the sugar enough that the batter bakes evenly and doesn’t separate.
Fold, don’t beat
Add the dry ingredients to the wet mixture and fold only until no dry flour remains. The batter will be thick, and that’s normal. If you keep mixing once the flour is hydrated, the loaf can turn tight and gummy instead of tender. Scrape the bottom of the bowl because gluten-free flour loves to hide there.
Bake until the center springs back
Pour the batter into a greased 9×5-inch loaf pan and smooth the top. Bake until a toothpick inserted in the center comes out clean, but don’t rely on color alone; gluten-free pumpkin bread can look set before the middle is actually done. The top should feel firm with a little spring when you press it lightly.
Cool completely before slicing
Let the loaf sit in the pan for 10 minutes, then move it to a wire rack. This is where a lot of people lose the loaf. If you cut it warm, the crumb can seem underbaked even when it isn’t. Once it cools all the way through, the slices hold together and the texture settles into the soft, moist crumb you want.
How to Adapt This Loaf Without Losing the Texture
Dairy-Free by Default
This loaf already skips the dairy, so you don’t need to change a thing for a dairy-free version. The oil does the same moisture job butter would usually do, and that helps the bread stay soft even after a day or two.
Making It Less Sweet
You can reduce the sugar slightly if you want a more breakfast-style loaf, but don’t cut it too far. Sugar isn’t only for sweetness here; it also helps keep the crumb tender and the loaf moist.
Add-Ins That Won’t Weigh It Down
A handful of chocolate chips or chopped walnuts works well, but keep the total amount modest. Too many add-ins can pull a gluten-free loaf down in the middle and make slicing messy.
Storage and Reheating
- Refrigerator: Store in an airtight container for up to 5 days. The crumb stays moist, though the loaf firms up a bit when chilled.
- Freezer: This loaf freezes well. Wrap slices or the whole cooled loaf tightly in plastic wrap, then freeze for up to 3 months.
- Reheating: Thaw at room temperature, then warm slices briefly in the microwave or toaster oven. Don’t overheat it or the crumb can dry out fast.
Questions I Get Asked About This Recipe
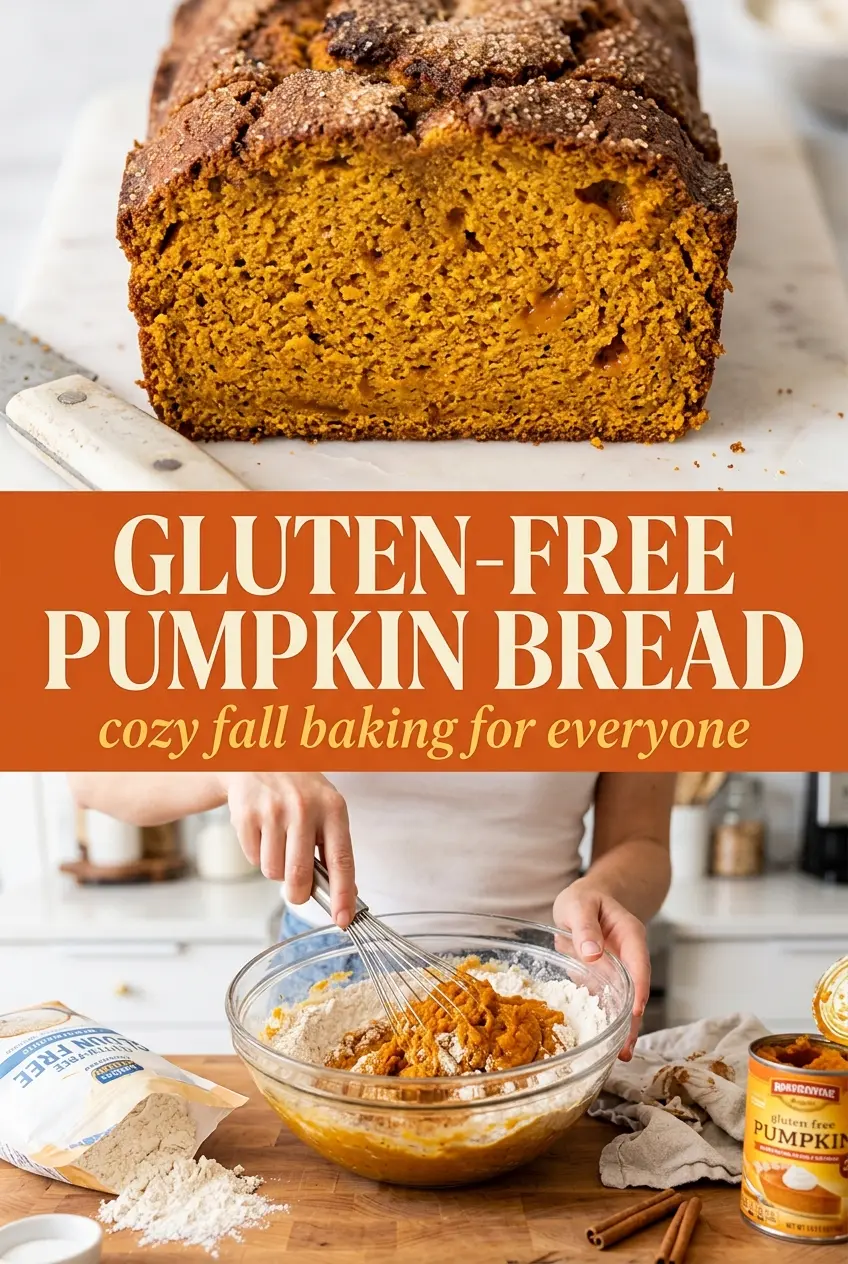
Gluten Free Pumpkin Bread
Ingredients
Equipment
Method
- Preheat the oven to 350°F and grease a 9x5-inch loaf pan, so the batter goes in right away.
- Whisk together the gluten-free 1:1 flour blend, baking soda, cinnamon, xanthan gum (if using), and salt until evenly combined, with no visible dry pockets.
- Whisk the sugar, vegetable oil, and eggs until smooth and glossy, with the sugar mostly dissolved.
- Stir in the pumpkin puree until fully combined and the batter looks uniform in color.
- Fold the dry ingredients into the wet ingredients until just combined, stopping as soon as you don’t see streaks.
- Pour the batter into the prepared loaf pan and smooth the top with a spatula-like motion so it bakes evenly.
- Bake for 55-65 minutes until a toothpick inserted in the center comes out clean, and the top springs back lightly.
- Cool in the pan for 10 minutes before transferring to a wire rack and cool completely so slices hold together.