
Crunchy dill pickle Parmesan chicken lands with the kind of shattering crust that makes you hear it before you taste it. The outside bakes up deeply crisp and savory, with a tangy pickle bite that cuts through the richness of the cheese, while the chicken underneath stays juicy if you don’t overbake it. It’s the sort of dinner that feels a little playful and a lot satisfying, especially when the coating stays put all the way from the pan to the plate.
The trick is building layers that each do a different job. The buttermilk and pickle juice lightly season the chicken and help the coating cling. The egg gives the crumbs something to grab onto, and the mix of crushed pickle chips, panko, and Parmesan brings both texture and flavor. Crush the chips fine enough that they nestle into the crumbs instead of falling off in big shards, and press the coating on hard so it bakes into a real crust instead of a dusty shell.
Below, I’ll walk through the one detail that keeps the coating crisp in the oven, plus a few swaps that still give you that tangy, crunchy finish when you need to work with what’s already in the kitchen.
The coating stayed crunchy even after I sliced it, and the pickle flavor came through without tasting salty. I followed the press-it-on-hard tip and it baked up way better than I expected.
Like this crunchy dill pickle Parmesan chicken? Save it to Pinterest for the nights when you want a crisp baked crust, tangy flavor, and almost no cleanup.
The Coating Only Stays Crisp When You Give It a Dry Finish
Pickle chicken can go soggy fast if the crust gets too wet before it reaches the oven. The buttermilk and pickle juice belong in the soaking step because they season the meat, but the chicken needs a separate egg dip before it touches the breadcrumb mixture. That extra layer helps the crumbs cling without getting clumpy, which is what keeps the coating rough and crunchy instead of paste-like.
The other thing that matters here is heat. A hot oven sets the outside quickly, so the panko and crushed chips dry out and brown before the chicken has time to steam underneath. If the crust looks pale at 20 minutes, give it a few more minutes until it looks deeply golden and sounds crisp when tapped with a fork.
What Each Ingredient Is Actually Doing in This Dish
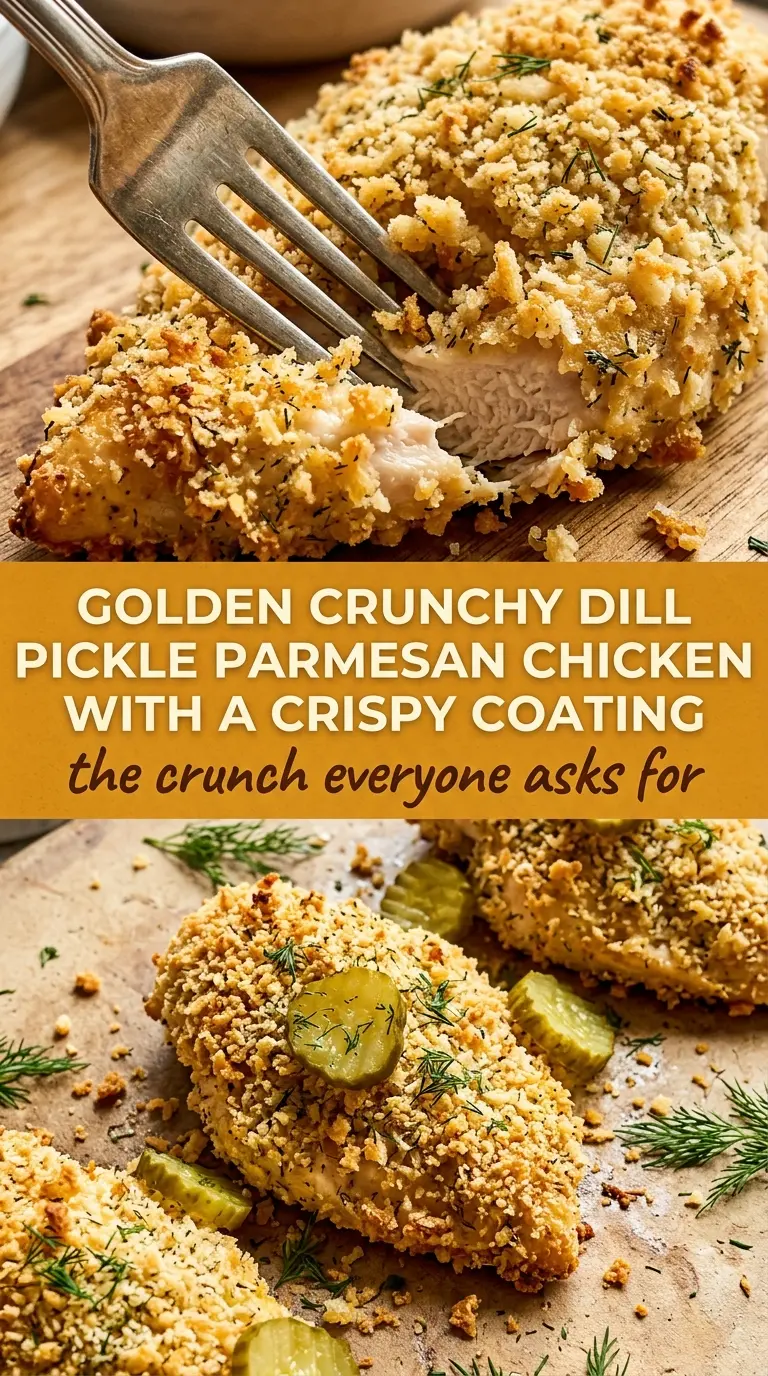
- Chicken breasts — Boneless breasts keep this quick and familiar, but thickness matters more than cut. If one side is much thicker, pound it lightly so the chicken bakes evenly and the coating doesn’t burn before the center is done.
- Dill pickle chips — These bring the sharp, briny flavor that makes the crust taste different from standard breaded chicken. Crush them finely enough that they mix with the panko instead of forming big wet pockets.
- Panko breadcrumbs — Panko gives the coating lift and crunch. Regular breadcrumbs will work, but the crust will be denser and a little less shattery.
- Parmesan cheese — Parmesan adds salt, nuttiness, and browning. Freshly grated Parmesan melts and clings better than the shelf-stable kind, though the pre-grated version still works in a pinch.
- Buttermilk and pickle juice — This combo lightly tenderizes and seasons the chicken before breading. If you don’t have buttermilk, use plain milk with a spoonful of lemon juice or vinegar; the texture won’t be quite as rich, but it will still help the coating adhere.
- Eggs — The egg layer is what turns the dry crumb mixture into a real crust on the chicken. Skip straight from soaking to crumbs and the coating tends to slide off in patches.
Building the Crunch Before the Chicken Goes Into the Oven
Soaking the Chicken
Whisk the buttermilk and pickle juice together, then let the chicken sit in it for about 10 minutes. That’s enough to season the surface without making the meat wet all the way through, which would sabotage the coating. If the chicken comes out dripping, let the excess run off before it meets the egg.
Setting Up the Breading Station
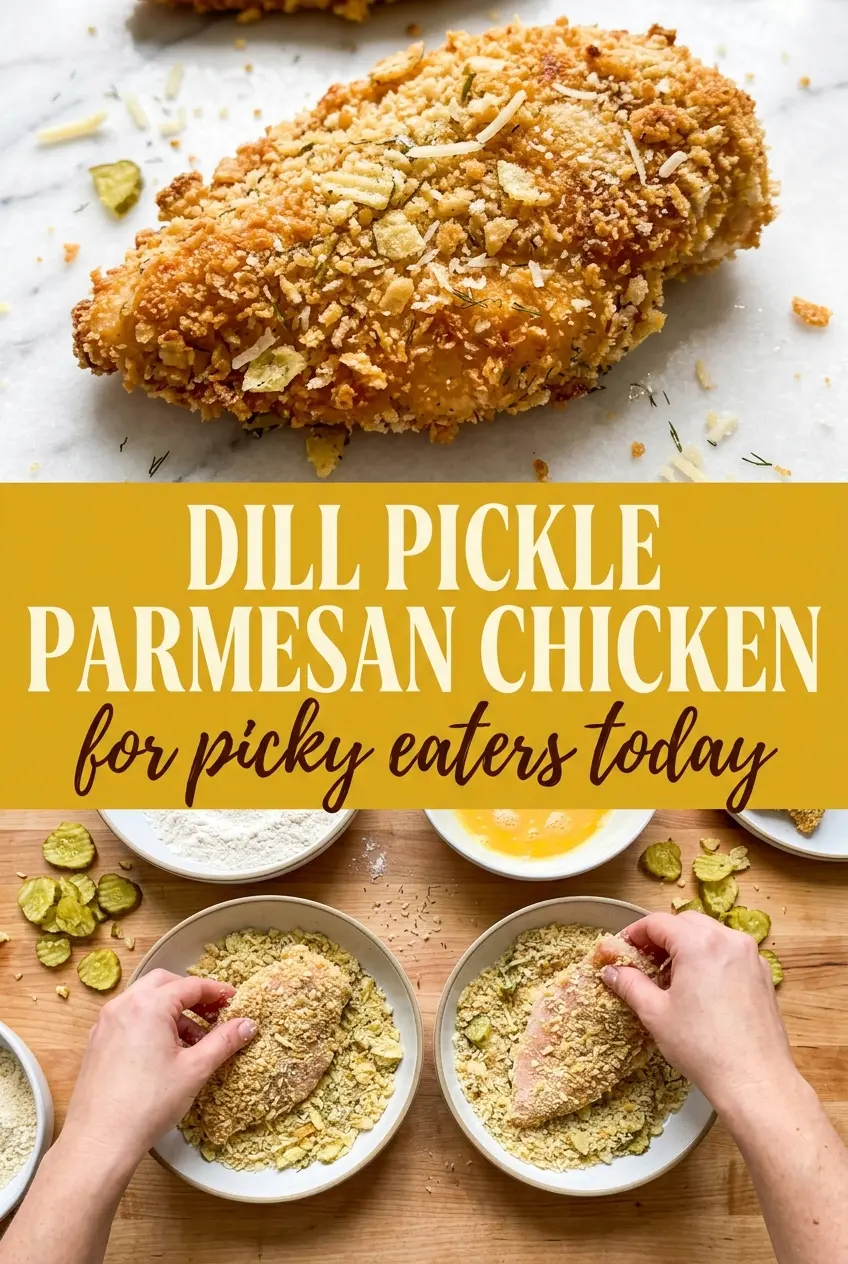
Use one bowl for the egg and another for the crushed pickle chip, panko, and Parmesan mixture. Keep the crumb bowl airy rather than packed down so the chicken can pick up an even layer. If you press the crumbs into a tight paste, they bake up heavy instead of crisp.
Pressing on the Coating
Dip each breast in egg, then press it firmly into the crumb mixture with your hand. Don’t just roll it around and hope for the best; you need actual pressure so the coating bonds to the chicken. Once it’s coated, place it on the parchment-lined sheet and season the top with salt and pepper.
Baking Until the Crust Sets
Bake at 425°F until the coating is deeply golden and the chicken reaches 165°F in the thickest part, usually 20 to 25 minutes. If the crumbs are browning fast but the chicken still needs time, lower the rack one notch so the top doesn’t overdarken. A wire rack helps the bottom stay crisp, but the chicken still needs space around each piece so the steam can escape.
How to Adapt This for Different Kitchens and Different Eaters
Gluten-Free Crunch Without Losing the Bite
Swap the panko for a gluten-free panko-style crumb or crushed gluten-free crackers. You’ll still get a crisp shell, but the flavor will lean a little more toward the cracker you choose, so keep the Parmesan and pickle chips in the mix for balance.
Dairy-Free Version
Use unsweetened plain plant milk mixed with a little lemon juice in place of the buttermilk, then skip the Parmesan or use a dairy-free hard cheese style substitute. The crust will be a touch less rich, but the pickle flavor still comes through cleanly.
Chicken Tenders Instead of Breasts
Tenders cook faster and are easier for kids to eat, which makes this a smart swap for a smaller dinner or lunchbox-style leftovers. Reduce the bake time and start checking early so the coating stays crisp and the meat doesn’t dry out.
Storage and Reheating
- Refrigerator: Store leftovers in an airtight container for up to 3 days. The crust softens a little in the fridge, which is normal.
- Freezer: Freeze after baking if you want, but the coating loses some of its crunch. Wrap pieces tightly and reheat from frozen for best results.
- Reheating: Use a 375°F oven or air fryer until heated through and crisp again. The biggest mistake is microwaving it, which turns the crust soft and steamy.
Questions I Get Asked About This Recipe
Crunchy Dill Pickle Parmesan Chicken
Ingredients
Equipment
Method
- Preheat the oven to 425°F and line a sheet pan with parchment paper.
- Whisk together the buttermilk and dill pickle juice in a shallow bowl.
- Soak the chicken breasts in the buttermilk mixture for 10 minutes.
- Whisk the eggs in a separate bowl.
- Combine the crushed dill pickle chips, panko breadcrumbs, and Parmesan in a third bowl.
- Dip each chicken breast in egg, then press firmly into the pickle-panko mixture to coat.
- Place the coated chicken on the prepared sheet pan and season with salt and pepper.
- Bake at 425°F for 20-25 minutes until golden and the chicken reaches 165°F internally.