
Shatteringly crisp skin and a glossy buffalo coating are what make these wings disappear fast. The oven does the heavy lifting here, and the baking powder is the quiet trick that pushes the skin past merely browned into that brittle, crackly finish people usually expect from a fryer. Once the wings hit the hot sauce and butter, they stay crisp enough to eat with your hands instead of collapsing into a soggy mess.
The method matters. Starting low helps render fat out of the skin before the high heat sets the crust, and a wire rack keeps the wings out of their own drippings so the bottoms don’t steam. Patting the wings dry is not optional if you want that crisp surface, and an uncovered rest in the fridge gives the skin even more time to dry out. The sauce is kept simple on purpose: butter for body, hot sauce for tang and heat, and just enough garlic to round it out.
Below you’ll find the exact timing that gives you crisp skin without burning the sauce, plus a few smart swaps and storage notes for when you want to get ahead.
The skin came out crackly even after tossing in the buffalo sauce, and the baking powder step made all the difference. I followed the timing exactly and didn’t end up with greasy wings for once.
Crispy Baked Buffalo Wings with that crackly skin are worth pinning for game day, parties, or any night you want wings that stay crisp after the sauce.
The Trick to Crisp Wings Without Frying Them
The biggest mistake with baked wings is putting them in the oven still damp and expecting the heat to fix it. Moisture is the enemy of crisp skin. If the wings go in wet, they steam first and brown second, which is how you end up with skin that looks done but eats rubbery.
Baking powder changes the surface of the skin so it dries and crackles in the oven. That only works when it’s spread in a thin, even coating, so toss lightly and don’t let clumps sit on the wings. The wire rack matters just as much, because the bottoms need hot air circulating around them instead of sitting in rendered fat.
What Each Ingredient Is Actually Doing in This Dish
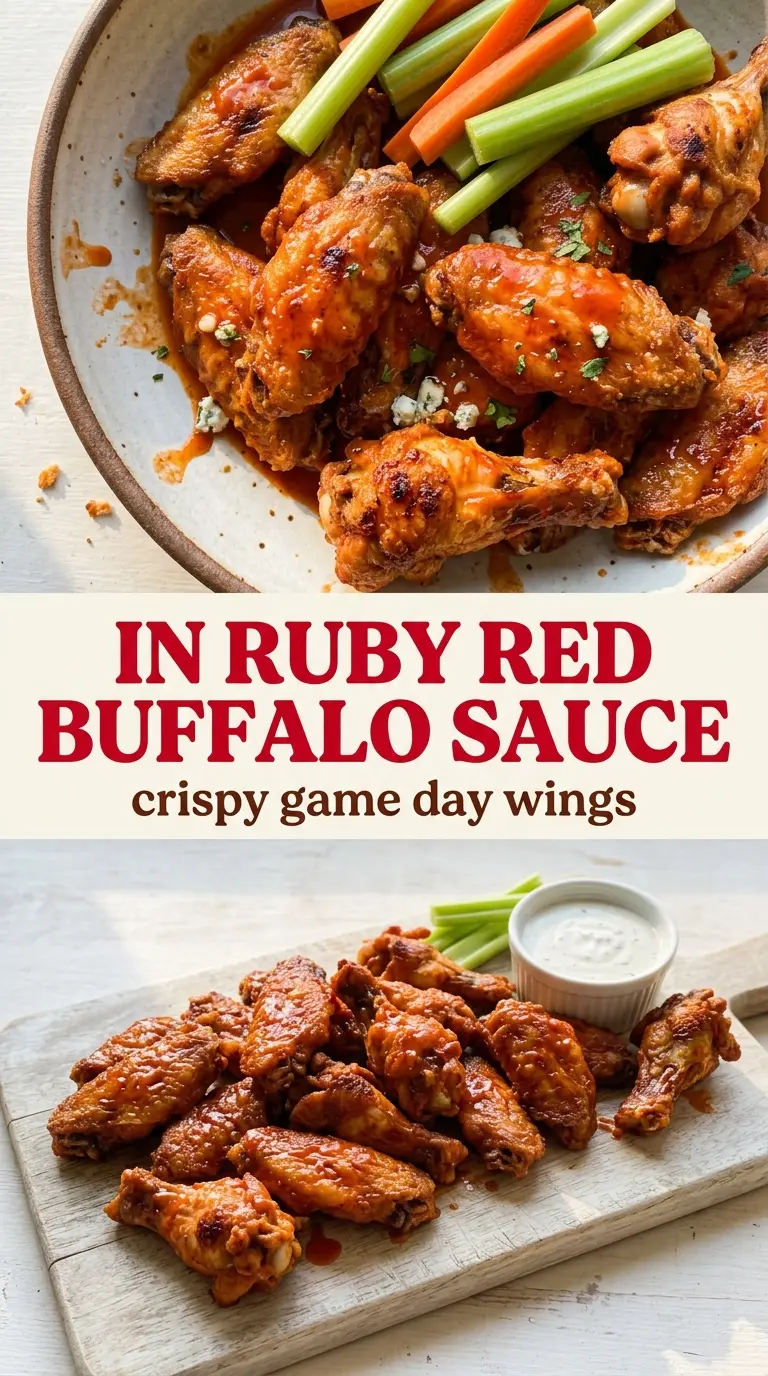
- Chicken wings — Drumettes and wingettes cook more evenly than whole wings. If you buy whole wings, split them at the joints first so the flats don’t lag behind the drums.
- Baking powder — Use aluminum-free if that’s what you keep in the pantry, but regular baking powder works too. Don’t use baking soda here; it can leave a harsh, soapy taste.
- Hot sauce — A vinegar-forward cayenne sauce gives the classic buffalo bite. If your sauce is thick and mellow, the wings will taste flatter, so use one with real tang.
- Butter — This softens the heat and helps the sauce cling. Salted butter works in a pinch, but unsalted gives you more control over the final seasoning.
How to Build the Bake in Two Temperatures
Dry the skin first
Pat the wings until the paper towel comes away almost clean, then let them sit uncovered in the fridge if you have time. That extra drying time is what helps the skin blister instead of turning soft in the oven. If you skip this part, the baking powder still helps, but the wings won’t get that same brittle finish.
Use the low start to render fat
The 250°F stage isn’t there for color. It slowly pulls fat out of the skin and sets the structure before the high heat hits. If you rush straight to a hot oven, the skin can brown before enough fat renders, and the texture lands somewhere between crispy and leathery.
Finish hot for the crust
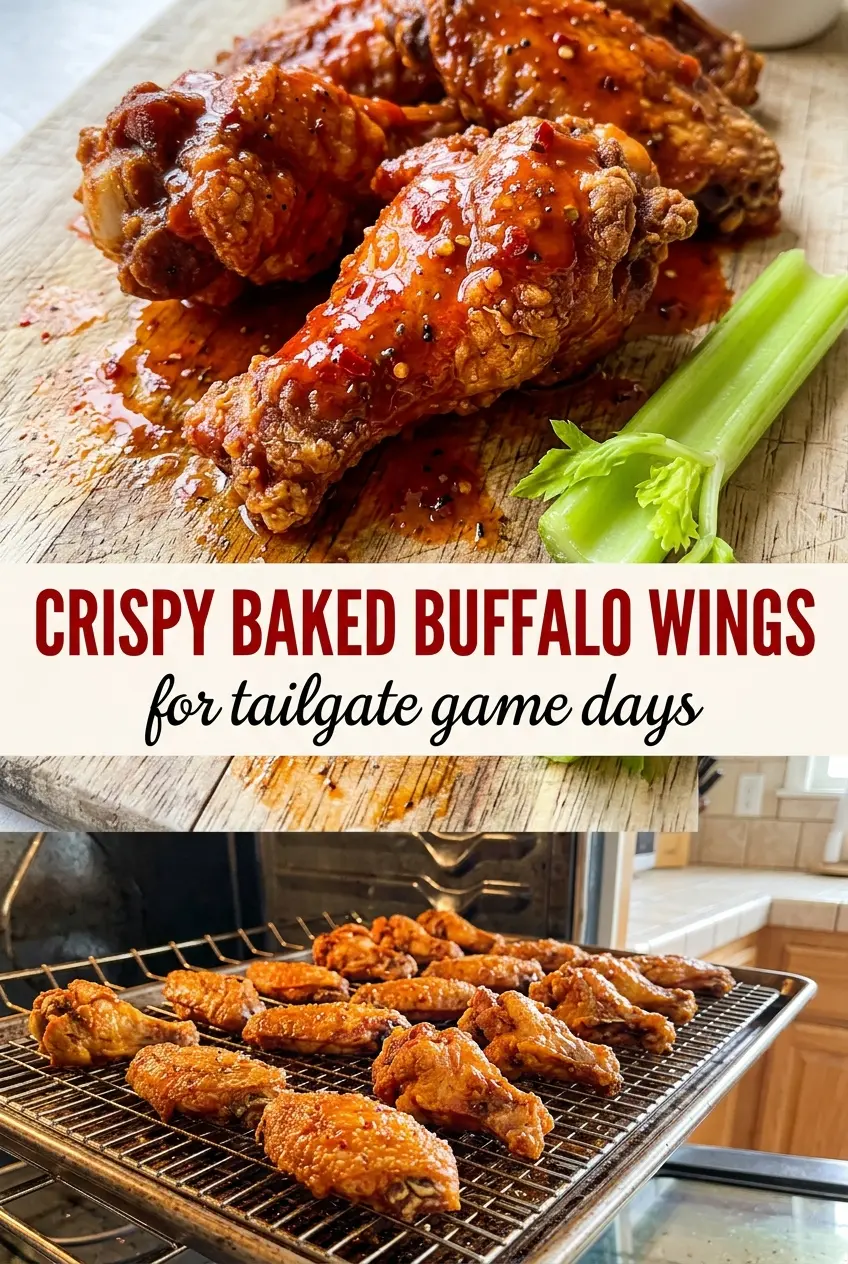
When you raise the heat to 425°F, the wings should already look pale and tightened. This final blast is where the golden, crackly skin develops. Rotate the pan halfway through so the wings on the edge don’t outrun the center, and pull them when the skin looks deep golden with a dry, blistered surface.
Toss while the sauce is smooth
Melt the butter with the hot sauce and garlic powder until the mixture looks fully emulsified and glossy. Toss the wings right away while they’re still hot so the sauce clings in a thin coat instead of sliding off. If the sauce breaks, it usually means it got too hot or sat too long off the heat, so whisk it smooth before adding the wings.
What You Can Swap Without Losing the Wing Texture
Dairy-Free Wings With the Same Crunch
Swap the butter for a good dairy-free butter or refined avocado oil. Oil gives you a thinner, sharper buffalo coating, while dairy-free butter keeps the sauce closer to the classic roundness of the original. The wings still crisp the same way because the texture comes from the baking powder and oven method, not the sauce.
Mild Buffalo Wings for Heat-Sensitive Guests
Use a milder cayenne sauce and increase the butter a little for a softer bite. You’ll lose some sharp tang, but the sauce will still coat evenly and the wings will keep that classic buffalo look without setting people on fire.
Gluten-Free Without Any Extra Work
This recipe is naturally gluten-free as written, as long as your hot sauce and baking powder are certified gluten-free if that matters for your kitchen. The method doesn’t change at all, which is one reason these wings are such a dependable crowd recipe.
Storage and Reheating
- Refrigerator: Store leftovers up to 4 days. The skin softens in the fridge, which is normal.
- Freezer: Freeze the baked wings before saucing for the best texture, then reheat and toss in fresh sauce. Sauced wings can be frozen, but the skin won’t stay as crisp.
- Reheating: Reheat on a wire rack in a 400°F oven until hot and re-crisped. The common mistake is microwaving, which turns the skin limp and pulls the coating away from the meat.
Answers to the Questions Worth Asking
Crispy Baked Buffalo Wings
Ingredients
Equipment
Method
- Pat the wings very dry with paper towels, then refrigerate uncovered for a few hours or overnight for extra crispness.
- Preheat the oven to 250°F, then toss the wings with baking powder, kosher salt, and 1/2 tsp garlic powder.
- Line a baking sheet with foil and fit with a wire rack, then arrange the wings skin-side up in a single layer.
- Bake at 250°F for 30 minutes.
- Increase the oven temperature to 425°F, then bake for another 40 to 50 minutes, rotating halfway, until deeply golden and crisp.
- Melt the butter with the hot sauce and 1/2 tsp garlic powder in a saucepan until smooth.
- Toss the hot wings in the buffalo sauce and serve immediately with celery, carrots, and ranch.