
Soft slider buns, juicy seasoned beef, and a glossy blanket of melted cheddar make these cheeseburger sliders disappear fast. The whole tray comes out warm, a little messy in the best way, with the tops brushed in butter and poppy seeds for that diner-style finish. They’re built for sharing, but the real trick is how neatly everything bakes together so you get full cheeseburger flavor without standing over a griddle assembling a dozen little sandwiches.
The part that makes this version work is the large, flat beef patty. One pan, one sear, then one clean cut into portions means you keep the meat juicy and cut down on all the fiddly shaping. The cheese sauce is another smart move: cheddar melted with a splash of milk coats the beef in a way slices of cheese never quite do, and it stays creamy instead of turning greasy in the oven.
Below, I’ve included the little things that matter most here: how to keep the buns soft under the cheese, when to cover the pan, and what to change if you want to make these ahead or adapt them for your own crowd.
The cheese sauce coated the beef instead of soaking the buns, and covering it for the first part of baking kept everything soft and pull-apart perfect. My kids were grabbing seconds before I even got the pan to the table.
These cheeseburger sliders bake up soft, cheesy, and perfect for a crowd — save this one for game day trays and easy dinner nights.
The Reason the Beef Goes in as One Big Patty
If you’ve ever made sliders from loose crumbled beef, you already know the problem: they slip apart, dry out, and leave the buns with more grease than flavor. Forming the beef into one large patty and cooking it as a single slab keeps the meat juicy and makes the whole tray easier to build. You get even browning on the outside, then clean portions once it comes off the skillet.
The other thing people get wrong is stacking hot beef directly into soft buns without any barrier. That’s how you end up with a soggy bottom layer before the sliders even hit the oven. Here, the cheese sauce does the protecting as much as it does the flavor work, coating the beef and helping everything bake into one cohesive tray instead of a pile of pieces.
What the Cheese Sauce Is Doing That Sliced Cheese Won’t
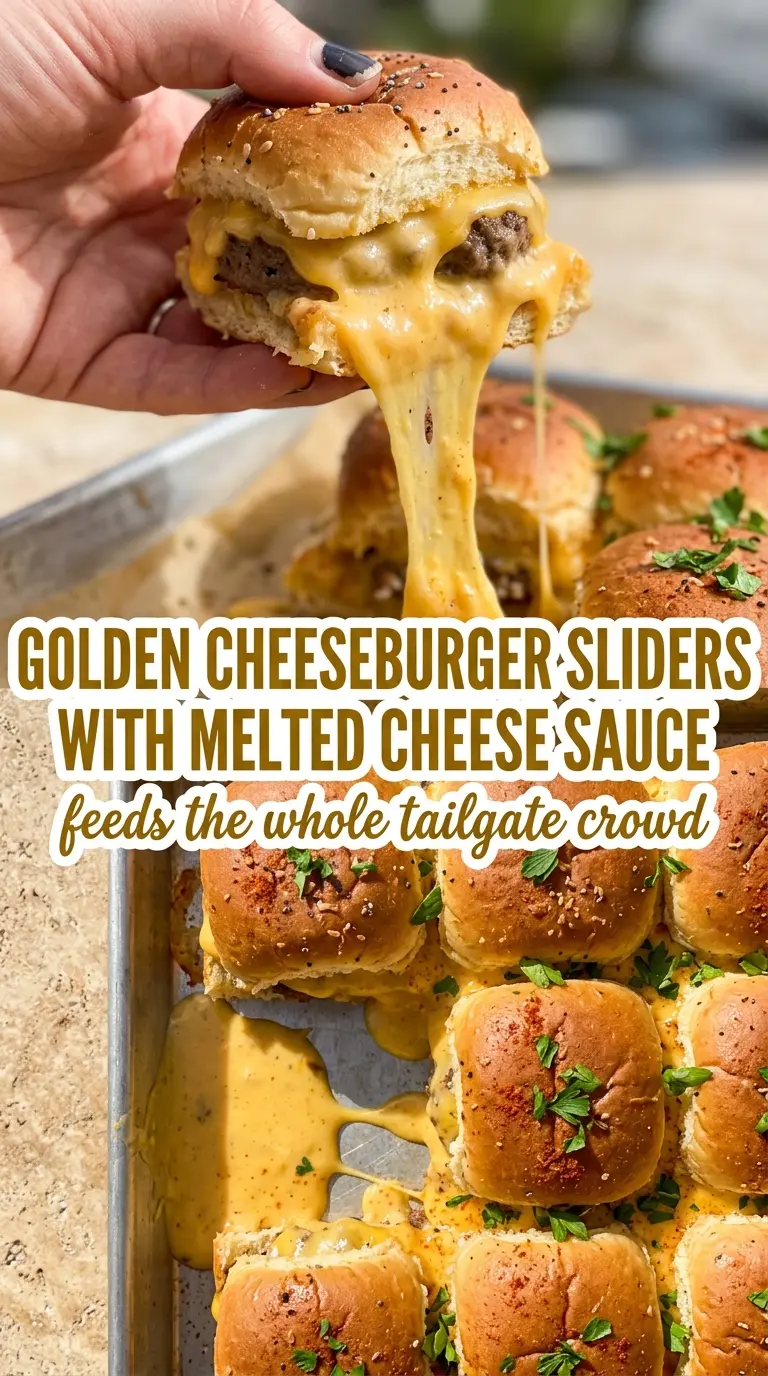
Cheddar and milk give you a quick sauce that melts smoothly over the beef without the oily separation you can get from trying to melt sliced cheese in the oven. Use a cheddar that you actually like eating on its own; stronger cheddar gives the sliders more backbone, while mild cheddar stays mellow and kid-friendly. Pre-shredded cheese works, but freshly shredded melts a little smoother because it doesn’t carry the anti-caking starch that can make the sauce slightly grainy.
- Ground beef — An 80/20 blend gives you enough fat for flavor without flooding the pan. Leaner beef works, but it can taste dry once the sliders finish baking.
- Cheddar cheese — This is where the bold, melty layer comes from. A sharper cheddar gives more burger flavor; a mild cheddar makes a softer, creamier sauce.
- Slider buns — Soft buns hold their shape better than crusty rolls here. If your buns are sturdy, they’ll stand up to the filling, but they won’t give that classic pull-apart texture.
- Milk — Just enough to help the cheddar melt into a pourable sauce. Whole milk is best, though 2% works fine; don’t use a tiny splash or the cheese can seize instead of melting smoothly.
- Butter and poppy seeds — The butter keeps the tops glossy and helps the seeds stick. If you skip the butter, the tops bake up dull and the seeds fall off the moment you slice them.
How to Build the Tray So the Buns Stay Soft and the Tops Brown
Seasoning and Shaping the Beef
Mix the garlic powder, onion powder, salt, and pepper into the beef before you shape it so the seasoning spreads through the full layer. Press it into one even slab that matches the skillet, then cook until the first side has a deep brown crust before flipping. If the pan is crowded or the heat is too low, the meat steams instead of browns, and you lose the burger flavor that makes these sliders worth making.
Making the Cheese Sauce
Once the beef is cooked, cut it into portions that fit the slider buns and set them on the bottom halves. Warm the cheddar with milk over low heat until the sauce turns smooth and glossy. High heat is the fastest way to make it grainy, so keep the saucepan gentle and pull it off the burner as soon as the cheese melts.
Finishing in the Oven
Brush the bun tops with melted butter, scatter the poppy seeds over them, and bake until the tops are lightly golden and the cheese is bubbling at the edges. Covering the pan for the first half of baking keeps the buns soft, then uncovering it at the end gives you that finished top without drying out the sliders. Let them sit for a couple of minutes before slicing so the cheese settles just enough to hold together.
How to Adapt These Cheeseburger Sliders for Different Crowds
Bacon Cheeseburger Sliders
Add cooked, crumbled bacon over the beef before the cheese sauce goes on. It brings salt and crunch, but it also adds grease, so drain the bacon well first or the sliders can turn heavy.
Gluten-Free Version
Use gluten-free slider buns and check that your seasonings are certified gluten-free. The filling itself is naturally adaptable, and this swap keeps the same juicy, cheesy result as long as the buns are soft enough to absorb the butter without crumbling.
Dairy-Free Version
Swap in a dairy-free shredded cheddar-style cheese and use unsweetened plant milk to help it melt. The texture will be a little less glossy than the original, but it still gives you that creamy layer over the beef without changing the rest of the method.
Storage and Reheating
- Refrigerator: Store leftovers covered for up to 3 days. The buns soften a bit as they sit, but the flavor stays solid.
- Freezer: These freeze best after baking and cooling completely. Wrap tightly and freeze for up to 2 months; the buns will be softer after thawing, but the sliders still hold up well for quick lunches.
- Reheating: Warm covered in a 325°F oven until heated through, about 10 to 15 minutes. The microwave works in a pinch, but it can make the bread rubbery and push the cheese out of the buns.
Answers to the Questions Worth Asking
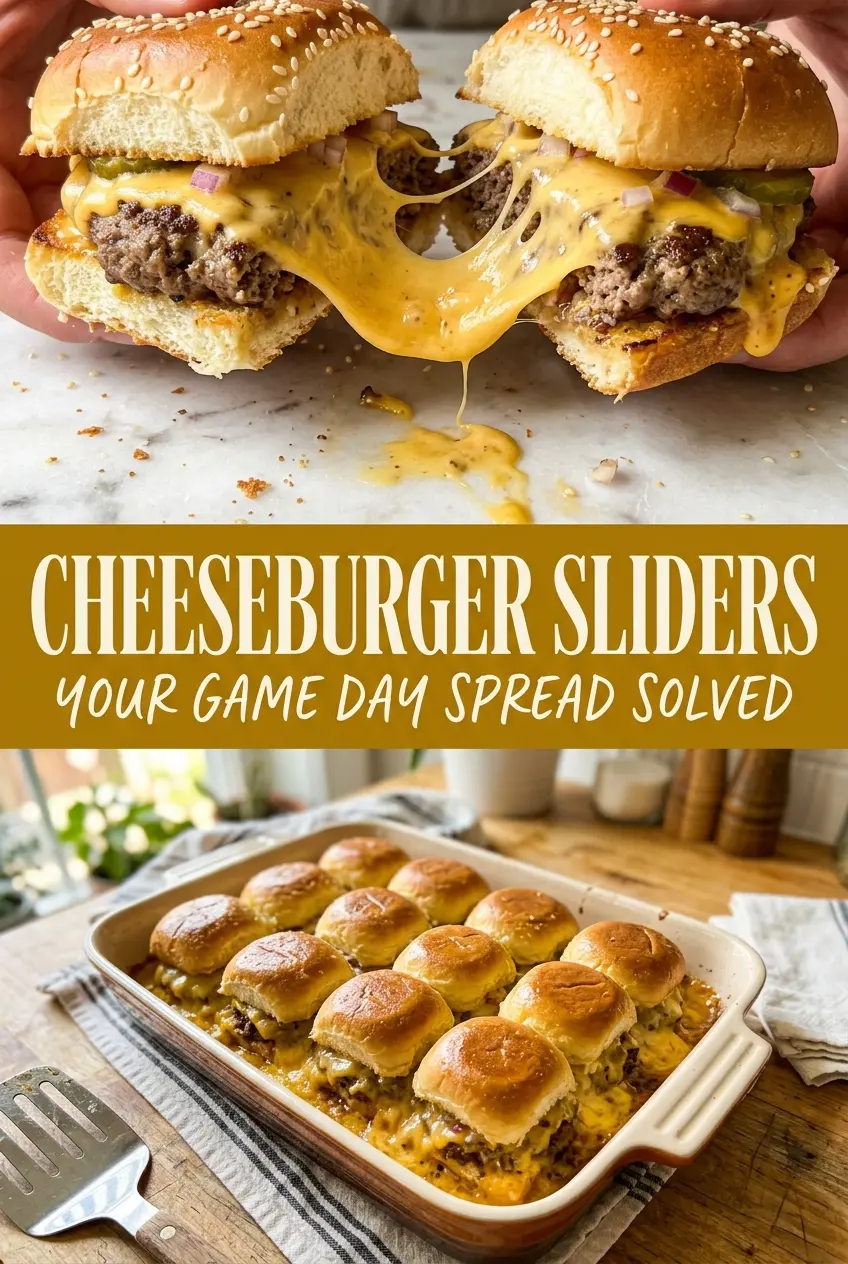
Cheeseburger Sliders
Ingredients
Equipment
Method
- Preheat the oven to 350°F. Season ground beef with garlic powder, onion powder, salt, and pepper, then form it into a large flat patty sized to fit the slider buns.
- Cook the patty in a skillet for 4–5 minutes per side until browned, then cut into 12 pieces. Use the skillet juices to keep the beef flavorful.
- Place the bottom halves of the slider buns in a baking dish, then top with the beef pieces. Arrange the pieces in an even layer so every bun gets coverage.
- Melt cheddar with milk in a saucepan until smooth, then pour the cheese sauce over the beef. Keep stirring until no lumps remain and the sauce looks glossy.
- Top with the bun tops, brush with melted butter, and sprinkle with poppy seeds. Lightly coat the tops so they turn golden as they bake.
- Bake at 350°F for 10–12 minutes until golden and cheese is bubbly. For softer buns, cover loosely with foil for the first half of baking.