
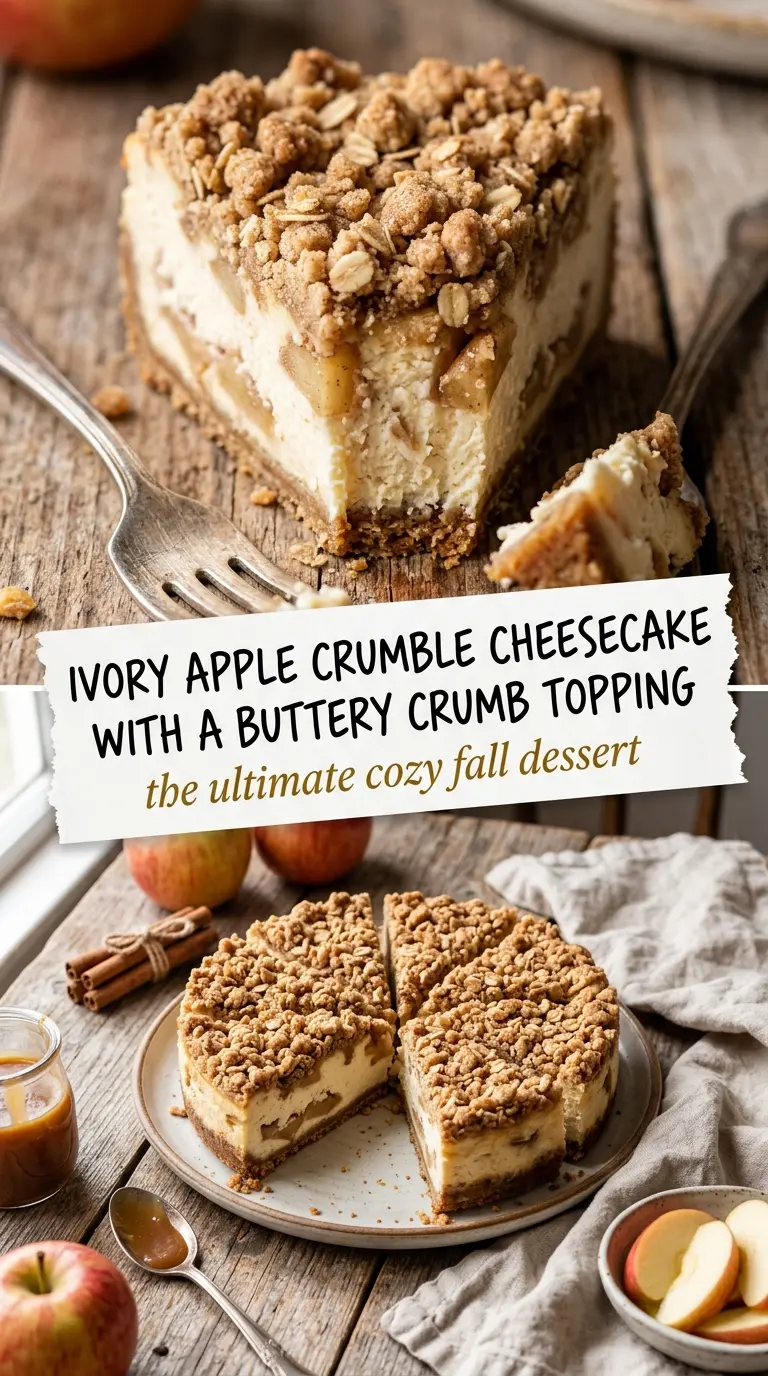
Apple crumble cheesecake gives you the best parts of two desserts in one pan: a creamy, tangy cheesecake layer, tender cinnamon apples, and a buttery crumb topping that bakes into crisp golden bits instead of sinking into the batter. The contrast is what makes each slice worth cutting carefully. You get a clean cheesecake base, soft fruit in the middle, and just enough crunch on top to keep every bite interesting.
What keeps this version from turning soggy is the order of the layers and the way the apples are handled. The cheesecake batter gets poured over a fully pressed crust first, which gives the filling a stable base. The apples are diced small so they soften quickly in the oven without dumping too much juice into the pan, and the crumb topping uses cold butter so it stays sandy and clumpy instead of melting into a paste.
Below, I’ve included the trick that helps the top bake evenly and the small adjustments that matter if you want a cleaner slice or a slightly more rustic finish.
The cheesecake set up beautifully and the crumb topping stayed crisp even after chilling overnight. I was worried the apples would make it watery, but the slices came out neat and the cinnamon flavor came through perfectly.
Save this apple crumble cheesecake for the dessert table when you want creamy filling, cinnamon apples, and a crunchy brown sugar topping in one slice.
The Water Bath Is What Keeps the Top Smooth
Cheesecake cracks when the edges set too fast and the center lags behind, which is exactly what an oven’s dry heat likes to do. A water bath softens that heat and gives the filling a gentler, more even bake, so the center can finish without the top pulling apart. It also helps the apple layer bake through without the cheesecake becoming rubbery around the edges.
If you’ve ever had a cheesecake rise, fall, and split, the problem wasn’t just the recipe. It was usually heat that was too aggressive or a pan that dried out before the center had a chance to catch up. In this version, the water bath buys you time, and time is what turns a fussy dessert into a clean slice.
What Each Layer Is Doing in This Apple Crumble Cheesecake
- Cream cheese — Full-fat cream cheese gives you the dense, tangy body that makes this dessert read as cheesecake instead of baked custard. Low-fat cream cheese tends to loosen the texture and can bake up grainy, so use the full-fat block style here.
- Graham cracker crumbs — These form a crust that stays sturdy under the filling and gives the first bite a little crunch. If you only have whole crackers, pulse them fine before mixing so the crust presses evenly and doesn’t crumble apart when sliced.
- Apples — A firm baking apple matters because it keeps its shape long enough to soften without collapsing into applesauce. If your apples are extra juicy, toss them with the brown sugar and cinnamon just before layering so they don’t sit and leak liquid.
- Cold butter for the crumb topping — Cold butter is what creates those sandy, clumpy crumbs that brown instead of disappearing. If the butter softens too much, the topping turns pasty and bakes into a flat layer instead of a crisp finish.
- Eggs — Eggs set the cheesecake base and give it that sliceable structure. Beat them in just until combined; overmixing adds too much air, which can make the center puff and crack as it cools.
Building the Layers So the Crumb Topping Stays Crisp
Pressing the Crust First
Mix the graham cracker crumbs with melted butter until the texture looks like damp sand, then press it firmly into the bottom of the springform pan. You want an even layer that holds together when tapped, not a loose scatter of crumbs. If the crust is packed unevenly, the filling will bake at different depths and the slices won’t stand straight.
Mixing the Cheesecake Base
Beat the cream cheese and sugar until the mixture looks smooth and glossy, with no visible lumps around the sides of the bowl. Add the eggs one at a time and stop as soon as they disappear into the batter. If you keep beating after that, you’re working air into the filling, and air is what gives you cracks later.
Layering the Apples and Crumb
Pour the cheesecake batter over the crust, then scatter the cinnamon apples evenly across the top so every slice gets fruit. Finish with the crumb topping, pinching some of it into bigger clusters for better texture after baking. If you dump the apples in one spot, the center stays wet and the outer edges bake up too dry.
Baking Until Just Set
Bake at 325°F until the edges are set and the center still has a slight wobble when you nudge the pan. That wobble should look like set gelatin, not a liquid slosh. Pull it out at that point and let it cool slowly; if you wait until the center looks completely firm in the oven, it will overbake as it rests.
How to Adapt This for Different Eaters and Different Pans
Gluten-Free Crust and Crumb Topping
Use gluten-free graham-style crumbs or crushed gluten-free cookies for the crust, then swap the flour in the topping for a 1:1 gluten-free baking blend. The texture stays close to the original, though the topping may be a little more delicate when sliced.
Dairy-Free Version
Use dairy-free cream cheese and plant-based butter with a firm, stick-style texture. The cheesecake will still set, but it usually tastes a little softer and less tangy, so keep the lemon-free balance simple and don’t overload the apple layer.
Spiced Apple Upgrade
Add a pinch of nutmeg or a little cardamom to the apples if you want a warmer, more aromatic finish. Use a light hand, though, because the cheesecake already has enough structure and richness without turning perfumy.
Storage and Reheating
- Refrigerator: Store covered for up to 5 days. The crumb topping softens a little over time, but the cheesecake base stays creamy.
- Freezer: It freezes well if you wrap individual slices tightly and freeze them before adding any garnish. Thaw overnight in the fridge for the cleanest texture.
- Reheating: Serve chilled or let slices sit at room temperature for 15 to 20 minutes. Microwaving this dessert will melt the filling and turn the topping soggy, which is the fastest way to lose the contrast that makes it good.
Answers to the Questions Worth Asking
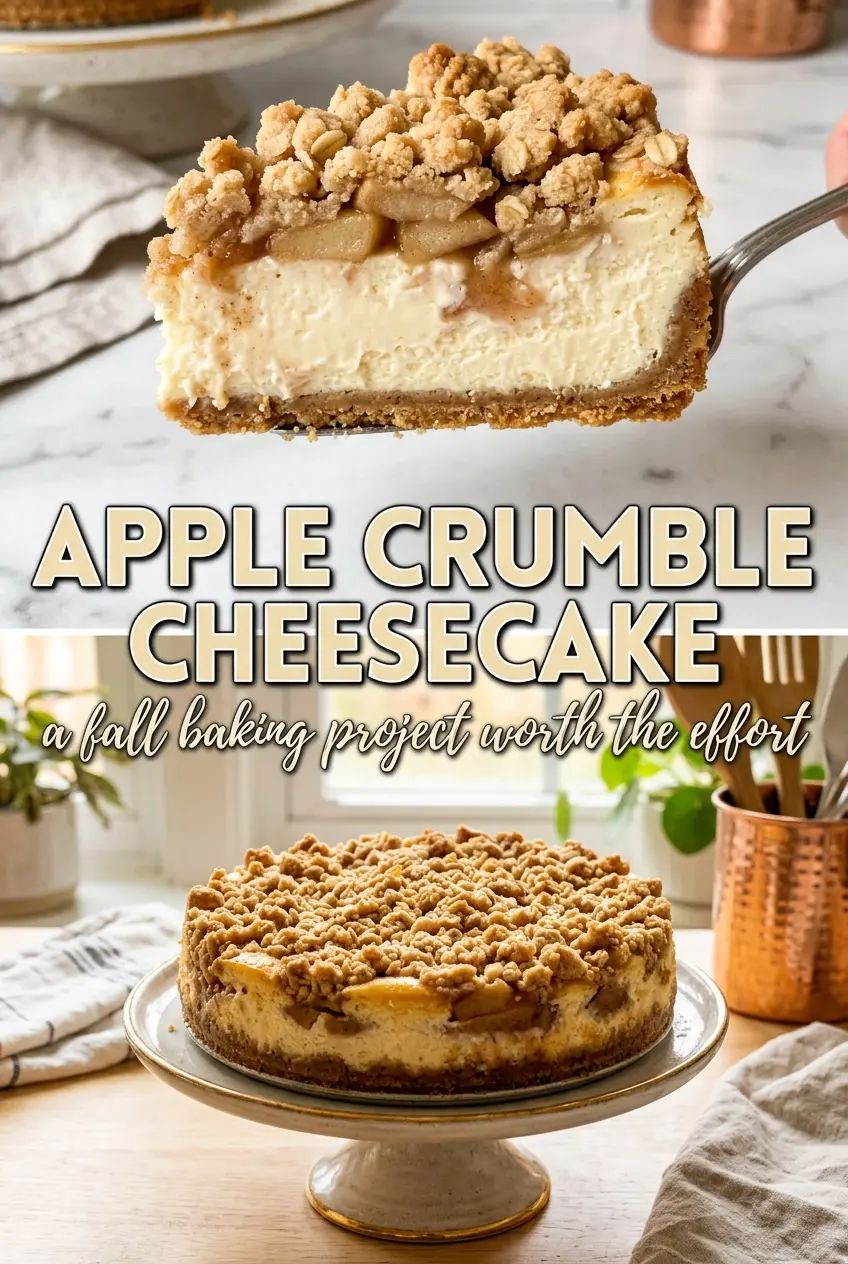
Apple Crumble Cheesecake
Ingredients
Equipment
Method
- Heat the oven to 325°F and press graham cracker crumbs mixed with melted butter firmly into the bottom of a springform pan until evenly packed.
- Wrap the outside of the springform pan with foil so it can be placed in a water bath without leaking.
- Beat cream cheese with granulated sugar until smooth and creamy, scraping the sides of the bowl as needed.
- Mix in eggs one at a time, then stir in vanilla extract until the batter is fully combined and silky.
- Pour the cheesecake batter over the crust and smooth the top into an even layer.
- Toss diced apples with brown sugar and cinnamon, then scatter them over the batter so they’re evenly distributed.
- Mix flour, brown sugar, and cold butter until crumbly, then sprinkle the crumb topping over the apples.
- Place the springform pan in a sheet pan and pour hot water around it to form a water bath, then bake at 325°F for 55-65 minutes until the center is just set with a slight jiggle.
- Cool the cheesecake to room temperature, then chill for at least 4 hours before slicing for cleaner cuts.