
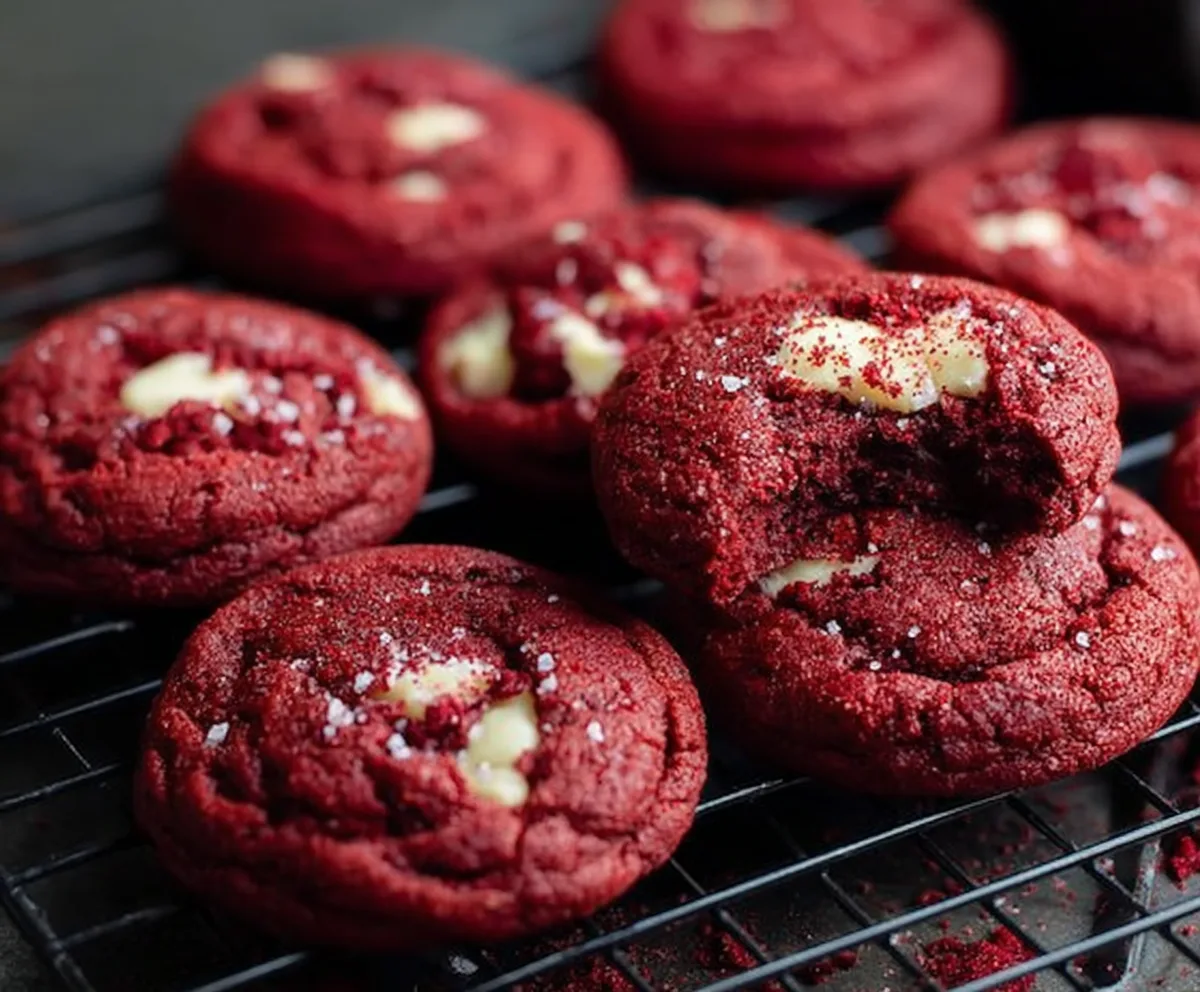
Red velvet cookies are a sweet little twist on the classic cake we all know and love. They’re soft and chewy with that rich, deep red color and just the right hint of cocoa to make them special. Plus, they often come with bits of white chocolate or cream cheese chips that add a fun surprise in every bite.
I love making these cookies when I want something festive but simple. The dough is easy to work with, and baking them fills the kitchen with a warm, chocolatey smell that always puts me in a good mood. One of my favorite tricks is to chill the dough a bit before baking—it helps keep the cookies nice and soft in the center while the edges get a little crisp.
These cookies are perfect for sharing, whether it’s at a holiday gathering, a bake sale, or just as a treat with a glass of milk. I often bring a batch to friends because they’re such a fun and unexpected cookie that almost everyone enjoys. Plus, the red color makes them feel festive year-round, not just around Valentine’s Day or Christmas!
Key Ingredients & Substitutions
All-purpose flour: This creates the perfect cookie texture—soft yet sturdy. If you prefer gluten-free, try a 1:1 gluten-free baking flour blend.
Cocoa powder: Just a tablespoon adds that hint of chocolate flavor essential for red velvet. Use natural unsweetened cocoa for the best color and taste.
Red food coloring: This gives the bright red color that’s fun and festive. If you’d rather avoid artificial dyes, consider natural liquid beet juice or red fruit powders.
White chocolate chips: These add sweetness and creamy chunks. If you don’t have white chocolate, regular chocolate chips or cream cheese chunks work too.
How Can I Make Sure My Red Velvet Cookies Stay Soft and Chewy?
Soft cookies mean careful mixing and baking just right. Here’s what helps:
- Beat butter and sugar well until fluffy to add lightness.
- Mix dry ingredients into wet ingredients gently—don’t overmix to avoid tough cookies.
- Use fresh baking soda for proper rise.
- Don’t skip chilling the dough if you have time; it helps cookies hold their shape and stay soft.
- Bake just until edges look set but centers still feel soft to touch. They’ll firm up as they cool.
Equipment You’ll Need
- Cookie scoop or tablespoon – I find it makes evenly sized cookies that bake uniformly.
- Parchment paper – keeps cookies from sticking and makes cleanup easier.
- Mixing bowls – for whisking dry ingredients and mixing wet ingredients separately.
- Electric mixer or whisk – helps beat the butter and sugar until fluffy to get soft cookies.
- Baking sheet – a sturdy, flat surface to hold the cookies as they bake.
Flavor Variations & Add-Ins
- Swap white chocolate chips for dark or milk chocolate chunks for a richer taste.
- Add a teaspoon of peppermint extract for a minty twist, perfect for the holidays.
- Mix in chopped nuts like pecans or walnuts for extra crunch and flavor.
- Use almond or vanilla extract instead of vanilla for a different aroma and depth of flavor.
Red Velvet Cookies
Ingredients You’ll Need:
Dry Ingredients:
- 1 1/4 cups all-purpose flour
- 1 tablespoon cocoa powder
- 1/2 teaspoon baking soda
- 1/4 teaspoon salt
Wet Ingredients:
- 1/2 cup unsalted butter, softened
- 3/4 cup granulated sugar
- 1 large egg
- 1 tablespoon red food coloring
- 1 teaspoon vanilla extract
- 1/2 teaspoon white vinegar
Add-Ins and Toppings:
- 1/2 cup white chocolate chips
- Sprinkles for decoration (optional)
How Much Time Will You Need?
This recipe takes about 10 minutes to prepare and 10-12 minutes to bake. Adding cooling time, allow about 20-25 minutes from start to finish, making it a quick and delightful treat!
Step-by-Step Instructions:
1. Prepare Your Oven and Baking Sheet
Preheat your oven to 350°F (175°C) and line a baking sheet with parchment paper to prevent sticking and help cleanup.
2. Mix the Dry Ingredients
In a medium bowl, whisk together the flour, cocoa powder, baking soda, and salt. This will ensure all your dry ingredients are evenly combined for the perfect cookie texture.
3. Beat the Butter and Sugar
In a large bowl, beat the softened butter and sugar until light and fluffy. This usually takes a few minutes and helps make the cookies soft and tender.
4. Add the Wet Ingredients
Mix in the egg, red food coloring, vanilla extract, and white vinegar with the butter and sugar mixture until everything is fully combined.
5. Combine Dry and Wet Ingredients
Gradually add the dry ingredients to the wet ingredients, mixing just until combined. Be careful not to overmix, as this can make the cookies tough.
6. Add White Chocolate Chips
Fold in the white chocolate chips gently to keep them from breaking up and to evenly distribute them throughout the dough.
7. Form and Decorate Cookies
Use a cookie scoop or spoon to make evenly sized balls of dough and place them on your prepared baking sheet. If you like, press a few sprinkles on top of each cookie for a fun, festive look.
8. Bake and Cool
Bake for 10-12 minutes or until the edges are set but the centers still look soft. Let the cookies cool on the baking sheet for about 5 minutes so they firm up before moving them to a wire rack to cool completely.
9. Enjoy!
Serve these soft, chewy, and flavorful red velvet cookies with your favorite drink or share with friends and family. They’re sure to brighten any day!
Can I Use Natural Food Coloring Instead of Artificial Red Coloring?
Yes, you can! Natural alternatives like beet juice or powdered beetroot work well. Just keep in mind they may slightly alter the flavor and not produce as bright a red color as artificial food coloring.
How Should I Store Leftover Red Velvet Cookies?
Store them in an airtight container at room temperature for up to 3 days to keep them soft and chewy. For longer storage, freeze the cookies in a sealed bag for up to 2 months.
Can I Substitute White Chocolate Chips With Something Else?
Absolutely! Regular milk or dark chocolate chips, cream cheese chunks, or even dried cranberries make great alternatives depending on your taste preference.
Is It Okay to Chill the Dough Before Baking?
Definitely! Chilling the dough for 30 minutes to an hour can help prevent spreading and results in thicker, softer cookies. Just bring the dough back to room temperature for a few minutes if it gets too firm before baking.