
Garlic Apple Crisp might sound like an unusual combo, but it’s a cozy twist on a classic dessert that brings a little warmth and a hint of savory to the sweet apples and crunchy topping. Imagine tender baked apples with just the right amount of cinnamon and nutty oats, and then the subtle punch of garlic that gives it a unique depth without overpowering the familiar apple crisp flavor.
I love making Garlic Apple Crisp when I want something that feels homey but also a bit different from the usual sweet treats. The garlic sneaks in like a secret ingredient, adding richness and a warm earthy note that makes everyone curious and happy when they take that first bite. It’s one of those dishes I like to make when friends are over because it always sparks some fun conversation about the unexpected mix of flavors.
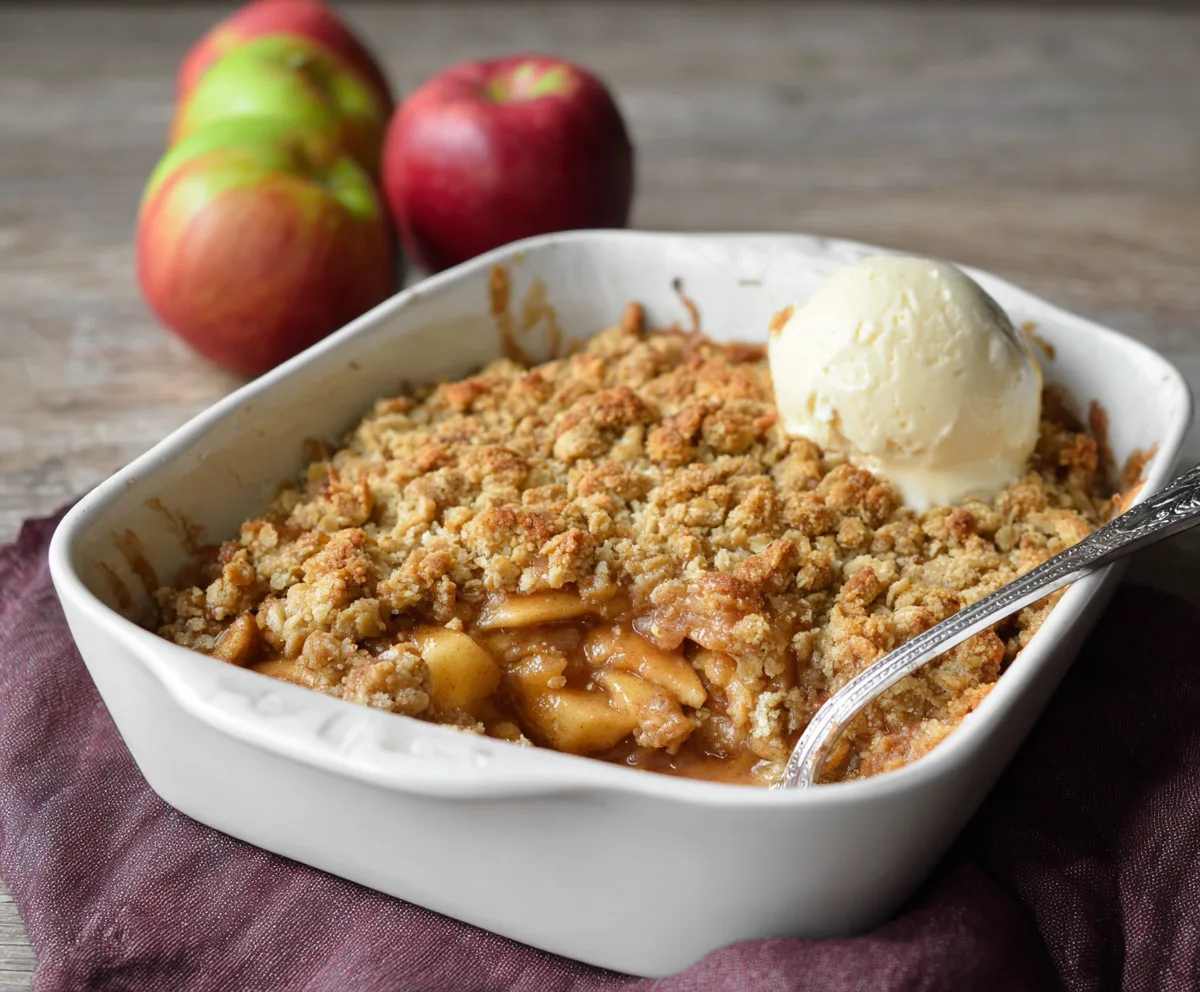
My favorite way to enjoy this crisp is warm from the oven, topped with a scoop of creamy vanilla ice cream or a dollop of whipped cream. That cold, smooth contrast with the spicy, crunchy topping and tender apples is just perfect. If you like traditional apple crisp but want to try something new and cozy, I’d definitely give this garlic twist a go—it’s a nice little surprise on your dessert table!
Key Ingredients & Substitutions
Apples: Granny Smith and Honeycrisp are great for their balance of tartness and sweetness. Feel free to mix apple types or use Fuji or Braeburn for a sweeter option.
Garlic: Fresh garlic gives a mild warmth here. If you prefer less punch, try roasting the garlic first or using garlic powder for a gentler flavor.
Rolled Oats & Flour: These create the crisp topping texture. For gluten-free, swap the flour for almond flour or a gluten-free blend and use certified gluten-free oats.
Butter: Cold butter helps form crunchy clusters. If dairy-free, try coconut oil but expect a slightly different texture and flavor.
Brown Sugar: Adds moisture and richness to the topping. You can sub with coconut sugar for a deeper flavor and lower glycemic index.
How Do You Get a Crunchy, Golden Crisp Topping Every Time?
The secret to a perfect crisp topping is how you combine and bake the ingredients. Here’s what works for me:
- Use cold butter. Cut it into small cubes and work it into the oat mixture quickly so you get crumbly clumps that bake up crunchy.
- Don’t over mix. The topping should be mixed until you still see small chunks of butter – those melt and brown beautifully.
- Even spreading. Sprinkle the topping evenly over apples to bake uniformly.
- Bake until golden and bubbly. Usually 40-45 minutes at 350°F, but keep an eye so it doesn’t burn.
- Let it rest. Cooling for 5-10 minutes helps the juices thicken and the topping set.
These simple steps will give you a lovely crunchy texture that contrasts nicely with the soft, spiced apples underneath.
Equipment You’ll Need
- 9×13-inch baking dish – I like it because it’s the perfect size for this dessert and allows even baking.
- Large mixing bowl – makes tossing apples and mixing the topping easy and mess-free.
- Small bowls or measuring cups – for measuring spices, garlic, and other ingredients accurately.
- Pastry cutter or fork – helps work the cold butter into the oat and flour mixture for a crunchy topping.
- Oven mitts – safety first when removing the hot dessert from the oven.
Flavor Variations & Add-Ins
- Protein boost: Add cooked sausage or bacon crumbles into the apples for a savory twist.
- Extra spice: Mix in ground ginger or a pinch of cardamom to complement the garlic and cinnamon.
- Nuts and seeds: Use chopped pecans or hemp seeds for added crunch and nutrition.
- Sweeteners: Swap brown sugar for maple syrup or honey for a different sweetness profile.
How to Make Garlic Apple Crisp?
Ingredients You’ll Need:
For The Apple Filling:
- 6 large apples (such as Granny Smith or Honeycrisp), peeled, cored, and sliced
- 1 tbsp lemon juice
- 3/4 cup granulated sugar
- 1 tsp ground cinnamon
- 1/4 tsp ground nutmeg
- 2 cloves garlic, finely minced or grated
- 1/2 tsp salt
For The Crisp Topping:
- 1 cup old-fashioned rolled oats
- 3/4 cup all-purpose flour
- 1/2 cup brown sugar, packed
- 1/2 cup unsalted butter, cold and cut into cubes
- 1/2 cup chopped nuts (optional, such as walnuts or pecans)
For Serving:
- Vanilla ice cream or whipped cream
How Much Time Will You Need?
This Garlic Apple Crisp takes about 15 minutes to prepare and 40-45 minutes to bake. Plan to let it cool for a few minutes before serving, so in total, around 1 hour.
Step-by-Step Instructions:
1. Prepare the Oven and Apples:
Preheat your oven to 350°F (175°C). Lightly grease a 9×13-inch baking dish. In a large bowl, toss the peeled, cored, and sliced apples with lemon juice to keep them from browning.
2. Mix the Apple Filling:
Add granulated sugar, cinnamon, nutmeg, minced garlic, and salt to the apples. Stir everything gently until the apples are evenly coated. Set the mixture aside for a moment.
3. Make the Crisp Topping:
In a medium bowl, combine the rolled oats, flour, brown sugar, and chopped nuts (if using). Add the cold butter cubes. Using your fingers or a pastry cutter, work the butter into the mixture until it looks like coarse crumbs.
4. Assemble and Bake:
Spread the apple mixture evenly in your prepared baking dish. Sprinkle the crisp topping evenly over the apples. Bake in the oven for 40-45 minutes until the topping is golden brown and the filling is bubbling.
5. Serve and Enjoy:
Remove the dish from the oven and let it cool for a few minutes. Serve warm with a scoop of vanilla ice cream or a dollop of whipped cream to enjoy the delicious contrast of flavors and textures.
Can I Use Frozen Apples for This Crisp?
Yes, you can use frozen apples! Just make sure to thaw and drain any excess liquid before using to avoid a soggy crisp.
How Can I Make This Dessert Vegan?
Swap the butter for a plant-based margarine or coconut oil, and use a dairy-free ice cream or whipped topping for serving.
Can I Prepare the Crisp Ahead of Time?
Absolutely! Assemble the crisp topping and apple mixture in the dish, cover, and refrigerate for up to 24 hours before baking. Add a few extra minutes to the baking time if baking straight from the fridge.
How Should I Store Leftovers?
Store leftovers in an airtight container in the refrigerator for up to 3 days. Reheat gently in the oven to keep the topping crisp or enjoy cold with ice cream!